In most cases, the Belkin Port Monitor (a virtual printer port) software will be
automatically installed and configured by the Print Server Setup Wizard. Some
advanced users may choose to manually configure the Belkin Port Monitor
software. This can be achieved by using the Belkin Port Monitor’s Advanced
Menu, which allows the user to enter a specific Print Server’s IP address and
to designate a specific printer or “queue” for print jobs connected to that
Print Server. The Advanced Menu features help when there is more than one
Print Server available on your network, and when print jobs fail because the
Port Monitor cannot determine the name of the printer.
Opening the Belkin Port Monitor Advanced Menu
1.
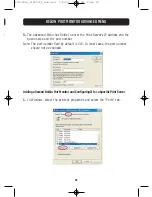
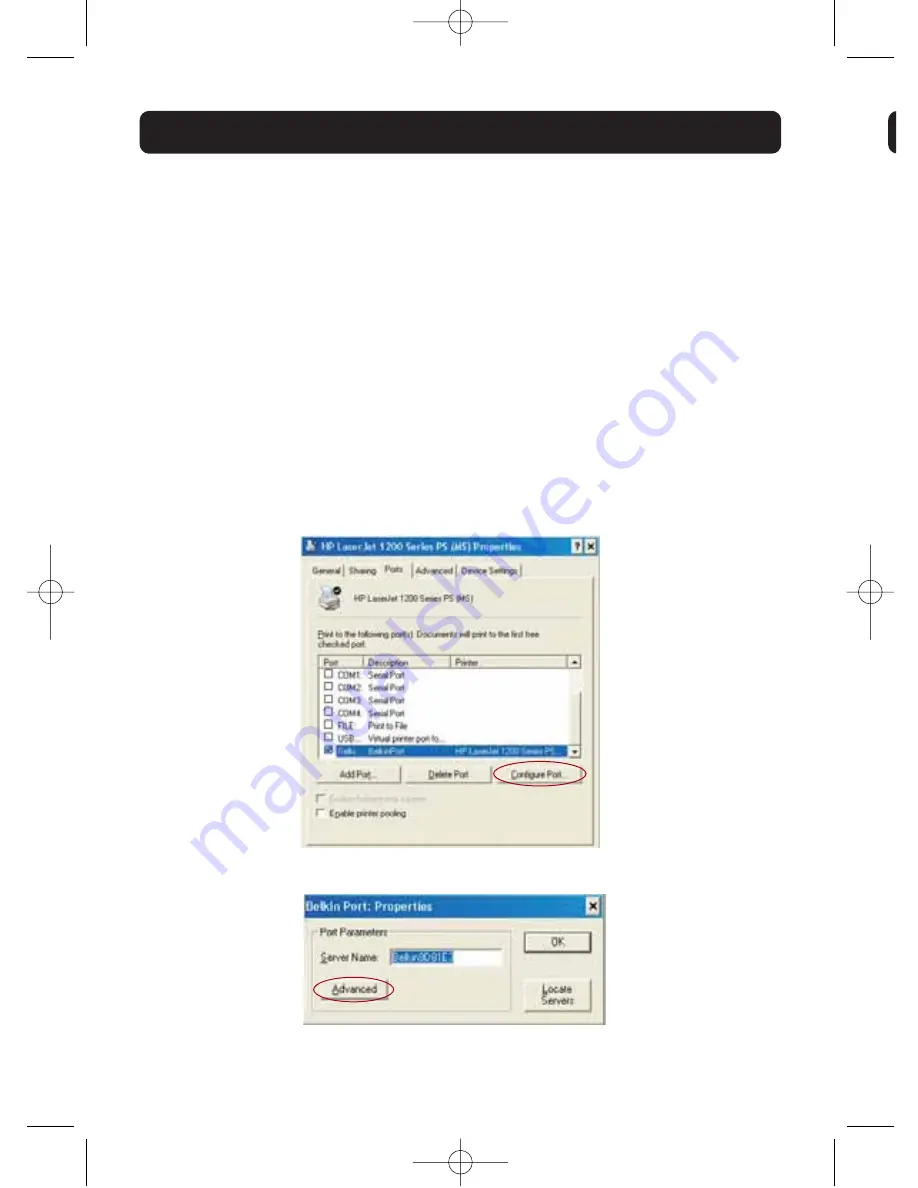
In Windows, select the printer’s properties and select the “Ports” tab,
select the Belkin Port, and click “Configure Port”.
2.
In the “Belkin Port: Properties” window, click the “Advanced” tab.
28
BELKIN PORT MONITOR ADVANCED MENU
3
N
A
1
P74390ea_F1UP0001_man.qxd 1/6/04 3:09 PM Page 28


