BELGACOM Twist 250 User Manual Download Page 11

 Twist 

250


10 

3.2.2.  Display of numbers not available 

Unavailable

: you are not in same area as your contact. 

withheld

: your contact does not want their number to be displayed. 


3.2.3.  Accessing the list of calls 

1. Press 

 or 


to access the list of calls made or received. The display shows the 

recent caller phone number (up to 12 digits). 

2. Press 

the 


or 


key through the caller List. 

If you press the key 

, the incoming call date and time are displayed. 

This function 

only works if you have set the date and time on your base station as described in 
this manual user


(refers to paragraph 6.1 page 14). 

If the list is empty, the screen 

displays "

no number

". 

If the number is too long (more than 12 digits), the screen will show only the 11 first digits. 
Press 


key to go to last number page for CID length. 

If the number is already stored in your phonebook, the name of the person in question is 
displayed. 

3.2.4.  Calling back a caller 

1. Press 

the 

 or 


key to enter the caller list menu. 

2. Press 

the 


or 


key to select a call record. 

3. Press 

the   key to dial the number. 

3.2.5.  Deleting caller list record 

1. Press 

the 


key to enter the caller list menu. 

2. Press 

the 


or 


key to select a call record. 

3. Press 

Menu

 key. 

 
To delete the current record : 
- Select 

"

delete 

" using the 


or 


key. 

-  The selected number is deleted. You will hear a confirmation tone. 
 
To delete the entire Caller list : 
- Select 

delete all ” 

using the 


or 


key. 

 
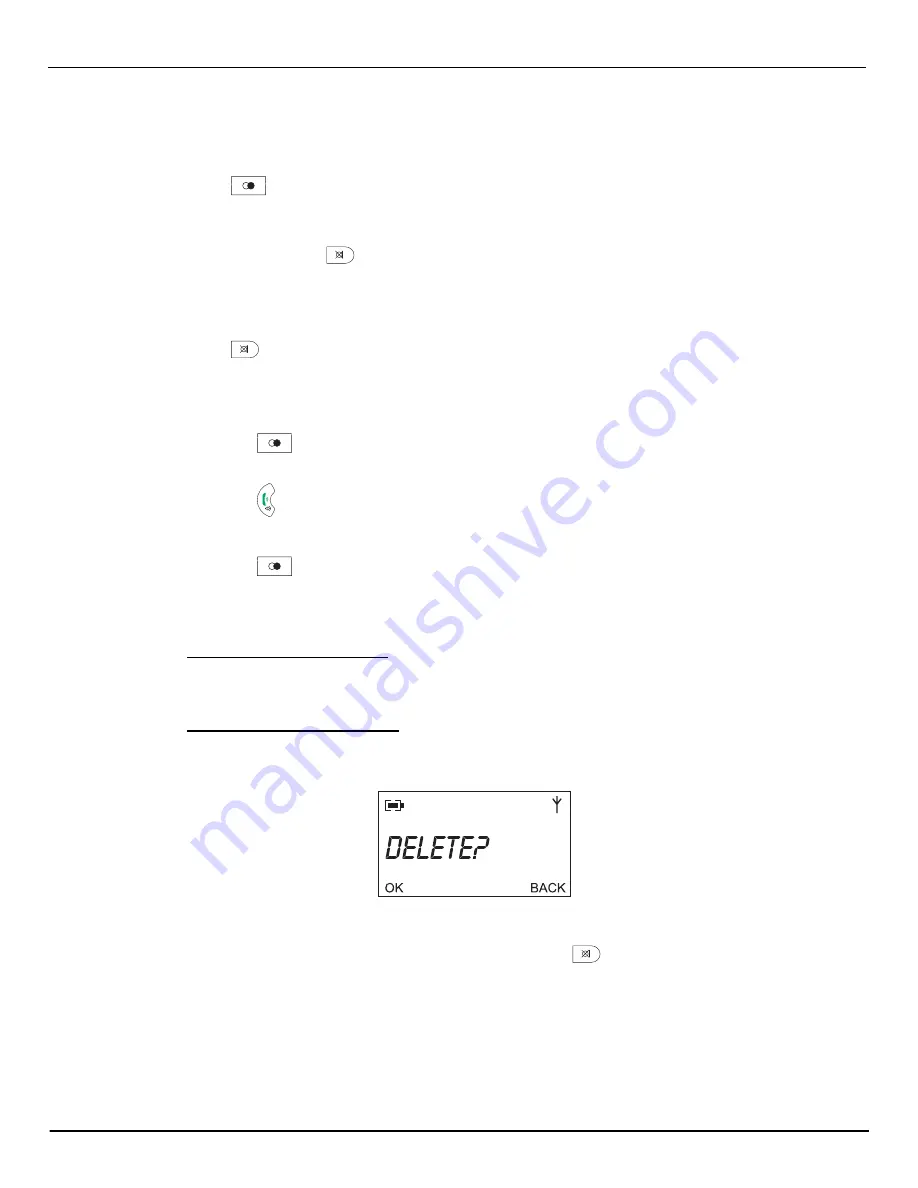
A confirmation screen appears :  


4. 

Using the keypad: 

If you do not wish to delete the current record, press


To delete the current record, press

 Menu

5. 

The record or the entire Caller list is deleted. You will hear a confirmation tone. 


Summary of Contents for Twist 250

Page 1: ...Belgacom Twist 250 User manual...

Page 2: ...550mAh never use non rechargeable batteries Insert the batteries in the handset battery compartment respecting polarity For your personal safety never place your handset on the base without the batter...

Page 3: ...1 11 Voice Mail According to operator 9 3 2 Calling line identification presentation CLIP 9 3 2 1 Caller list 9 3 2 2 Display of numbers not available 10 3 2 3 Accessing the list of calls 10 3 2 4 Cal...

Page 4: ...the language 17 7 5 Key lock 17 8 Advanced settings 18 8 1 Association handset base 18 8 2 Disassociation handset 18 8 3 Base master PIN code 18 8 4 Restoring the Handset Base Default Settings 19 8 5...

Page 5: ...harger One battery compartment cover Two rechargeable batteries 1 1 Digital security system Your cordless phone uses a security system to provide protection against false ringing unauthorised access a...

Page 6: ...and the other end into the jack on the base as shown in the illustration 6 Once the batteries are recharged press key you can hear dial tone Only use the supplied power adapter connect it to the base...

Page 7: ...k Talk on Handsfree Access to menu Validadate Access to dialled number Microphone Navigation key up Access the caller list Navigation key down Access to the phonebook Inserting pause Long press Intern...

Page 8: ...linking and the message charge is displayed on the screen If the battery charge state displays blinking this means that your battery level is low and you can no longer use the handset number keypad In...

Page 9: ...tation 3 1 3 Answering a call 1 When the phone rings press the key to answer the call OR 1 If AUTO TALK MODE is ON pick up the handset from the base station to answer Refer to paragraph 7 3 page 17 2...

Page 10: ...y 3 1 11 Voice Mail According to operator This function allows you to receive calls while you are absent You can then listen to the messages as network Voice Mails To indicate that a new message has b...

Page 11: ...show only the 11 first digits Press key to go to last number page for CID length If the number is already stored in your phonebook the name of the person in question is displayed 3 2 4 Calling back a...

Page 12: ...are used for handset management when two or more handsets are registered on the same base 4 1 Intercom Call Intercom 1 Press the key on the handset If your installation has two handsets the second han...

Page 13: ...simultaneously 1 Press key The external user is put on hold 2 The internal call number Wait until the internal user answers 3 Press and hold down the key to start the three way conference 4 Press to...

Page 14: ...e an incorrectly entered digit Press 2 new entry appears on the screen press Menu again 3 Enter the name of the entry Press Menu to confirm the name entered The entry phone number is displayed with th...

Page 15: ...Please Contact your telephony operator in order to obtain the appropriate voicemail number 1 Press Menu phonebook appears on the screen Press 2 Using the or key select direct mem Press Menu 3 Using th...

Page 16: ...t 5 Press Menu to confirm your selection You will hear a confirmation tone 6 3 Alarm clock The alarm clock function arranges for your handset to ring once or each day according to your choice at a tim...

Page 17: ...the or key select ring tones Press Menu 4 Ten tones are available melody 1 melody 10 Select a tone then press Menu You will hear a confirmation tone 7 1 3 Key tone On Off This function allows you to a...

Page 18: ...ll hear a confirmation tone 7 4 Modifying the language 1 Press Menu select personal set using the or key Press Menu 2 Using the or key select language Press Menu 3 A list of languages is available Cho...

Page 19: ...creen saver 8 2 Disassociation handset This function allows you to remove the registration of a handset from your base station You may need to do this if you have lost a handset or if you have already...

Page 20: ...8 6 Setting the flash access time If you connect your telephone to a private automatic branch exchange or use it in a foreign country you may need to modify the flash duration in order to use your te...

Page 21: ...the batteries in accordance with the instructions provided in this user manual Keep batteries out of children s reach remove the batteries from the handset if storing over 30 days 10 General product c...

Page 22: ...s not ring Make sure the RINGER setting on the handset is programmed to ON You may have too many extension phones on your line Try unplugging some phones See solutions for NO dial tone You experience...

Page 23: ...anty shall not apply damage of any kind that does not predate the sale any damage faults or defects attributable to the Customer or to causes unrelated to the Equipment lightning power surges humidity...

Page 24: ...nd to diminish the pressure on the natural resources we encourage you to use the appropriate take back systems Those systems will reuse or recycle most of the materials of your end life equipment in a...

Page 25: ......

Reviews: