82
System Configuration
Adding Fonts to a Kaleido-IP
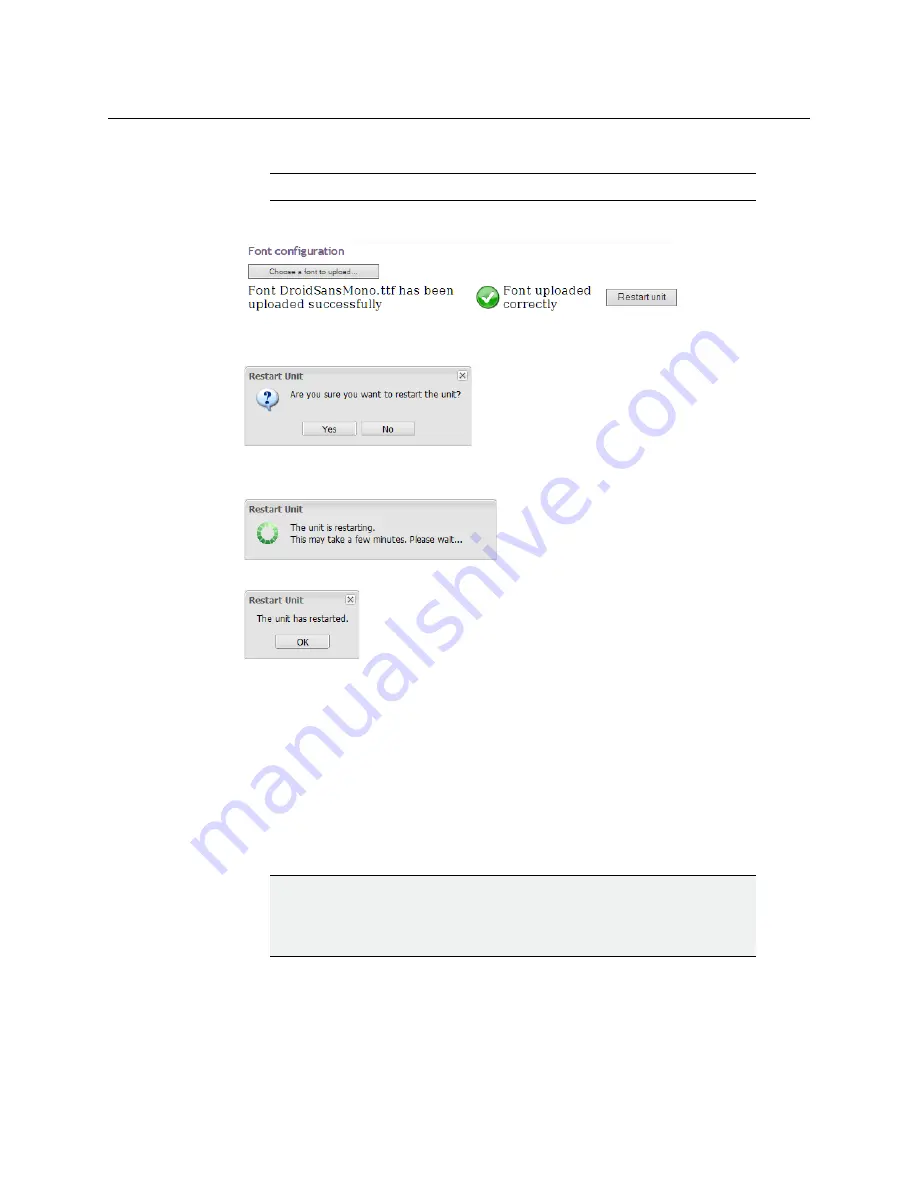
5 Navigate to the font file you want to upload, select it, and then click
Open
.
A progress indicator appears momentarily, followed by a confirmation message.
6 Click
Restart unit
.
The system prompts you to confirm.
7 Click
Yes
to proceed.
Your multiviewer will shut down, and then start again. This may take a while.
Once the multiviewer has restarted, the system notifies you.
8 Click
OK
.
The XAdmin
Status and Options
page appears.
9 Make sure the same font is available on the client PC where you use XEdit. (To install a
font on Windows 7 or later, right-click the TTF file, and then click
Install
.)
10 Close XEdit and then open it again.
The new fonts are now available, if you:
• Connect XEdit to the multiviewer.
• Download the database from the multiviewer to your local workspace
Note:
The Kaleido Software supports true type fonts (TTF) only.
IMPORTANT
Upgrading or reinstalling the Kaleido Software removes all additional fonts
you may have uploaded to the multiviewer. In such case, you will need to
repeat this procedure.
Summary of Contents for grass valley Kaleido-IP X120
Page 14: ...14 Table of Contents...
Page 17: ...17 Kaleido IP X320 X120 Installation Service Manual Overview of the Kaleido IP System...
Page 18: ...18 Overview Overview of the Kaleido IP System...
Page 26: ...26 Multiviewer Cabling Changing the Output Resolution...
Page 100: ...100 Maintenance Troubleshooting Disposal and Recycling Information...
Page 109: ...109 Kaleido IP X320 X120 Installation Service Manual...


