15.3 Playing recordings
If the recording is not a snapshot, it is possible to view all occlusion pressure changes
over time, just like a video.
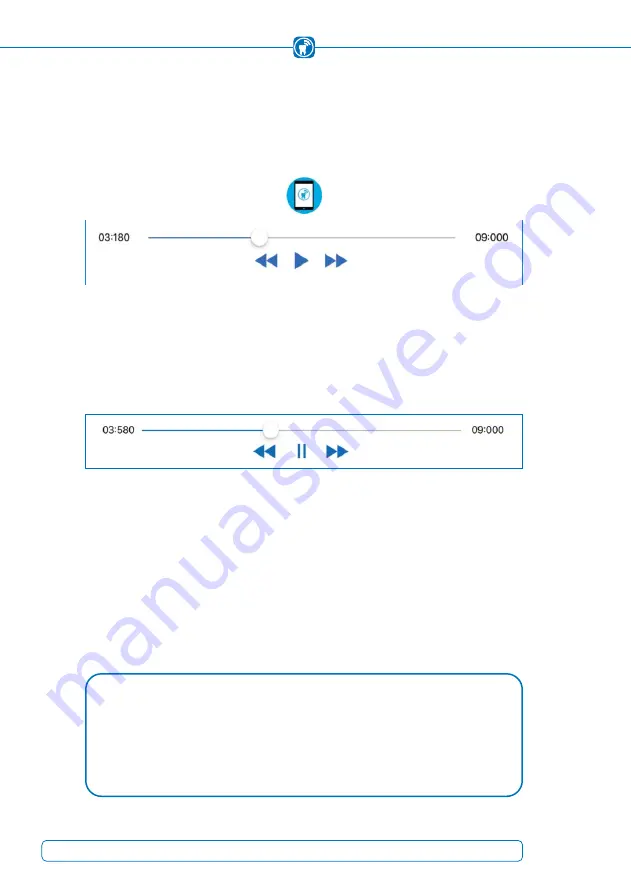
The operative elements for this purpose can be found on the bottom of the screen
(Figure 42)
.
Figure 42:
Controls of a recording (while the recording is paused)
To play back the recording, press the “Play” button which is depicted as a simple arrow
pointing to the right. If the recording is already running, the “Play” button is replaced
with the “Pause” button, which is depicted as two vertical parallel bars
(Figure 43)
.
Figure 43:
Controls of a recording (while the recording is playing)
Left and right of these buttons are two double-headed arrows which are pointing to the
left or right. These buttons move the recording back or forward by one frame, to let you
find the exact moment of the recording that is relevant for you.
Above the described buttons, you will see a blue line with a white point. This line sym-
bolizes the total length of the recording, while the point shows where the current frame
is located in relation to the total length. Both of these time units are shown in seconds
and milliseconds.
NOTE
Due to the higher frequency the playback time of a recording is longer than
•
actually displayed, since the playback is always shown using 25 frames per se-
cond. A 10 second recording, for instance, with a frequency of 50 Hz will have
a duration of 20 seconds for full playback.
56
Summary of Contents for OccluSense
Page 3: ...Instructions for Use ...
Page 5: ...3 ...


