page 84
page 84
page 84
page 84
page 84
160B&C TM
800-00140
NOTE:
NOTE:
NOTE:
NOTE:
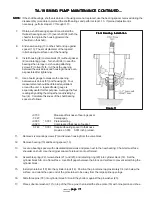
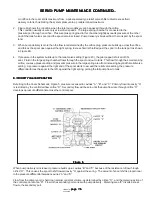
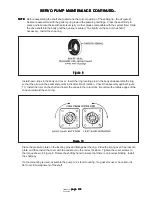
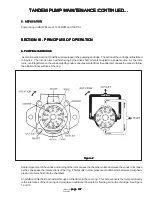
NOTE: Before assembling the shaft seal, determine the correct position of the sealing lip. (See Figure 9).
Seals are assembled with the garter spring toward the pumping cartridge. Press the seal firmly in
place and lubricate the lip with petroleum jelly or other grease compatible with the system fluid. Slide
the drive shaft into the body until the bearing is seated. Tap lightly on the end of the shaft if
necessary. Install the snap ring.
Figure 9
Figure 9
Figure 9
Figure 9
Figure 9
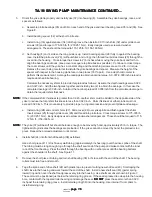
Install new o-rings in the body and cover. Insert the ring locating pins in the body and assemble the ring
so that the arrow on the perimeter points in the direction of rotation. Check the assembly against Figure
10. Install the rotor on the shaft and insert the vanes in the rotor slots. Be certain the radius edges of the
vanes are toward the cam ring.
Figure 10
Figure 10
Figure 10
Figure 10
Figure 10
Place the pressure plate on the locating pins and flat against the ring. Place the spring over the pressure
plate, and then install the cover with the outlet port in the correct position. Tighten the cover screws to
the torque shown in Figure 8. Rotate the shaft by hand to insure that there is no internal binding. Install
the shaft key.
If a foot mounting is used, assemble the pump to it’s foot mounting. If a gasket is used, be certain it is
flat to avoid misalignment of the shaft.
SERVO PUMP MAINTENANCE CONTINUED...
SERVO PUMP MAINTENANCE CONTINUED...
SERVO PUMP MAINTENANCE CONTINUED...
SERVO PUMP MAINTENANCE CONTINUED...
SERVO PUMP MAINTENANCE CONTINUED...

