601
–
0445 /05
Loki
98
5.
Repeat the same procedure for the other projector,
6.
Disable the
“
Show lines
”
when the Black level adjustment is completed.
8.5.5 Black level files
About custom Black Level Files
Next to setting your specific Black Level Adjustment in the GUI, you can also upload or download a custom
Black Level adjustment file in png, jpeg or tiff format to/from the projector.
To upload or download Black Level masks you can use the Prospector tool. Alternatively, you can contact the
“
file endpoint
”
directly via the curl program or some other tool that supports http upload.
For more information on uploading/downloading Black Level files using the Prospector, refer to the Prospector
user manual.
For more information on uploading/downloading Black Level files using curl or other tools that supports HTTP
upload, refer to the Pulse API Reference Guide.
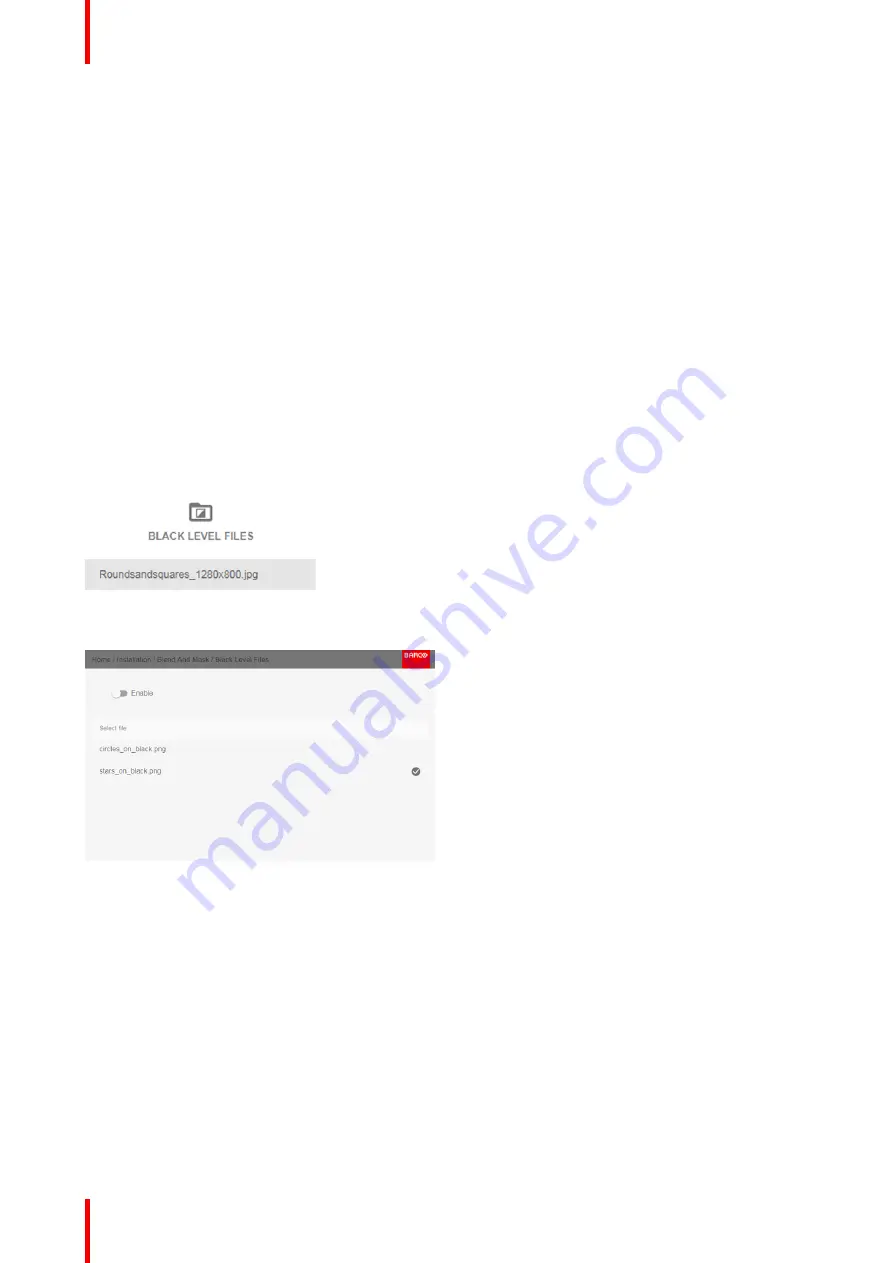
How to activate an uploaded Black Level adjustment file?
1.
In the main menu, select
Installation
→
Blend and Mask
→
Black Level
.
→
Black Level Files
Image 8-51: Blend and Mask menu, Black Level Files
The Black Level Files menu is displayed.
Image 8-52
2.
If any custom Black Level adjustment files are available, select the desired file.
Summary of Contents for Loki
Page 1: ...ENABLING BRIGHT OUTCOMES Installation Manual Loki...
Page 8: ...601 0445 05 Loki 8...
Page 20: ...601 0445 05 Loki 20 Safety...
Page 26: ...601 0445 05 Loki 26 Image 2 6 Image 2 7 All calibrations performed and OK Lenses...
Page 38: ...601 0445 05 Loki 38 Physical installation...
Page 48: ...601 0445 05 Loki 48 Getting started...
Page 70: ...601 0445 05 Loki 70 Image menu...
Page 71: ...71 601 0445 05 Loki Advanced picture adjustments 7...
Page 76: ...601 0445 05 Loki 76 Advanced picture adjustments...
Page 106: ...601 0445 05 Loki 106 Installation menu...
Page 116: ...601 0445 05 Loki 116 Status menu...
Page 120: ...601 0445 05 Loki 120 3D...
Page 121: ...121 601 0445 05 Loki Risk Group 3 Safety 12...


