53
Overview
•
•
•
•
•
•
•
About Image adjustment menus
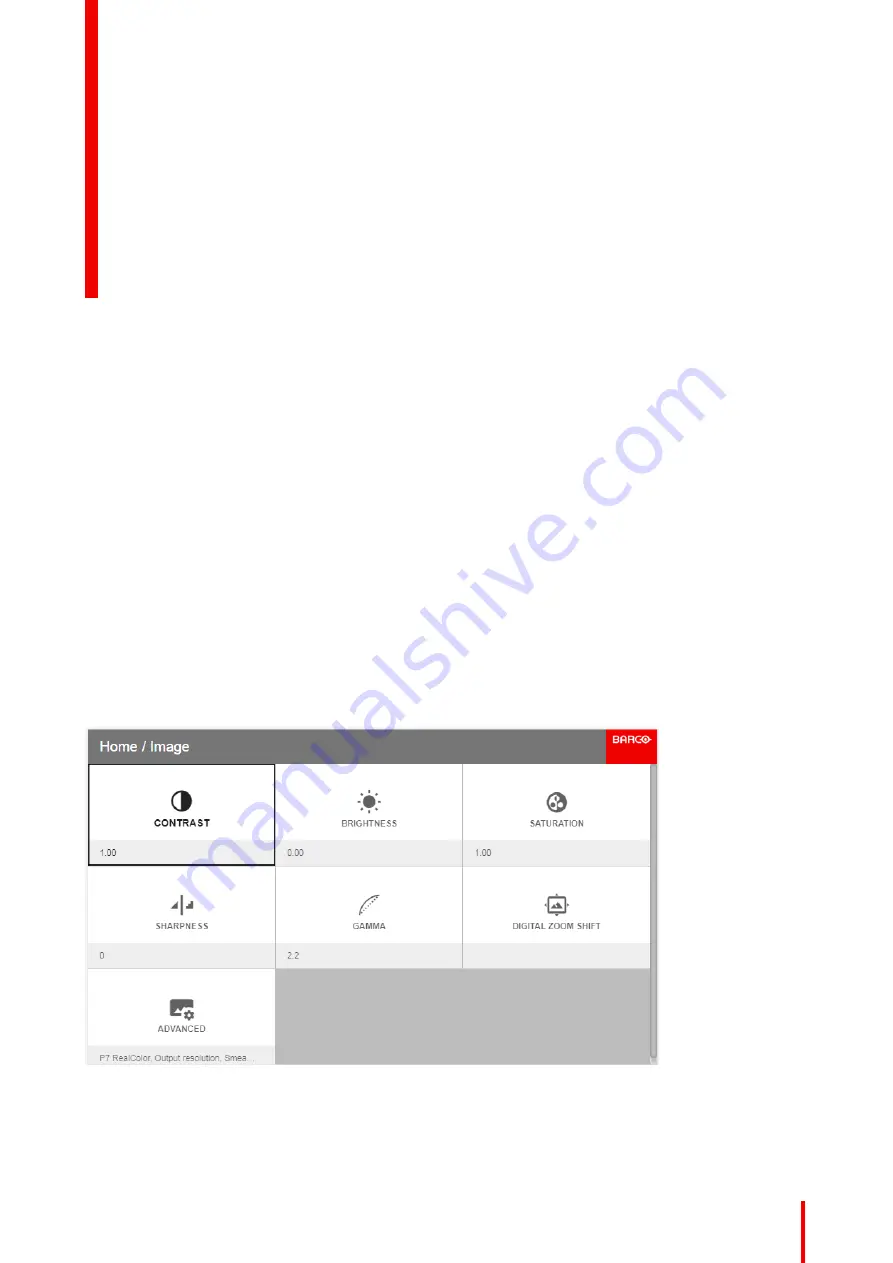
There are different menu pictures showing up for the LCD display and the OSD. For the LCD display, the
menu is shown below. The OSD menu is shown in the different topics below, and is visible in the lower left
corner of the screen. The operation of the menus can be done with both the remote control or the arrows on
the keypad. It is also possible to switch between the different adjustments by using the up and down arrows,
instead of exit one menu and then enter the next one.
Image 6-1
601
–
0445 /05
Loki
Summary of Contents for Loki
Page 1: ...ENABLING BRIGHT OUTCOMES Installation Manual Loki...
Page 8: ...601 0445 05 Loki 8...
Page 20: ...601 0445 05 Loki 20 Safety...
Page 26: ...601 0445 05 Loki 26 Image 2 6 Image 2 7 All calibrations performed and OK Lenses...
Page 38: ...601 0445 05 Loki 38 Physical installation...
Page 48: ...601 0445 05 Loki 48 Getting started...
Page 70: ...601 0445 05 Loki 70 Image menu...
Page 71: ...71 601 0445 05 Loki Advanced picture adjustments 7...
Page 76: ...601 0445 05 Loki 76 Advanced picture adjustments...
Page 106: ...601 0445 05 Loki 106 Installation menu...
Page 116: ...601 0445 05 Loki 116 Status menu...
Page 120: ...601 0445 05 Loki 120 3D...
Page 121: ...121 601 0445 05 Loki Risk Group 3 Safety 12...


