5)
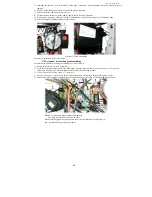
Throw the front panel with a cap down;
6)
Put the casing off pulling it upwards and towards yourself;
7)
Unscrew 4 self-threading screws of the sealing cap’s fastening.
Put the cap off pulling it hard towards yourself. When assembling take into consideration the proper installation of
the cap’s sidewalls which should enter slots on the back side of the boiler.
In order to dismantle the boiler’s burner block after removing the casing and he sealing cap it is necessary to do the
following:
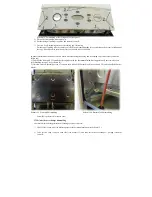
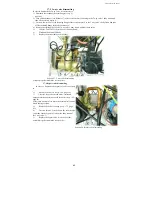
1) Take off the front wall 2 from the boiler together with the thermoinsulation, having previously unscrewed seven
self-threading screws 1 (see scheme 19);
2) Unscrew two self-threading screws 2 (one on each side of the burner block) (see scheme 20) and take off the burner
block 1.
Scheme 19. Front wall dismantling
Scheme 20. Burner block dismantling
Assembly is performed in reverse order.
17.2 Primary heat exchanger dismantling
In order to dismount the primary heat exchanger, it is necessary to:
1)
Take off the front wall of the boiler together with the thermoinsulation (see Scheme 19.);
2)
Take off two clips 2 (one on each side) (see Scheme 23) and take off the heat exchanger 1, pulling it towards
yourself.
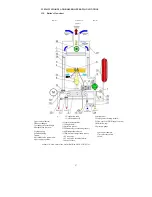
Scheme 16. Dismantling of the casing and the front panel
Summary of Contents for NEVALUX-8230
Page 35: ...Assembly is performed in reverse order Scheme 23 Heat exchanger dismantling...
Page 41: ...48...
Page 47: ...Ignition and ionization plugs in the assembly pos 67...
Page 54: ......
Page 55: ......

