


Connecting and Configuring Cameras
AXIS 2460 User’s Manual
18
Connecting and Configuring Cameras
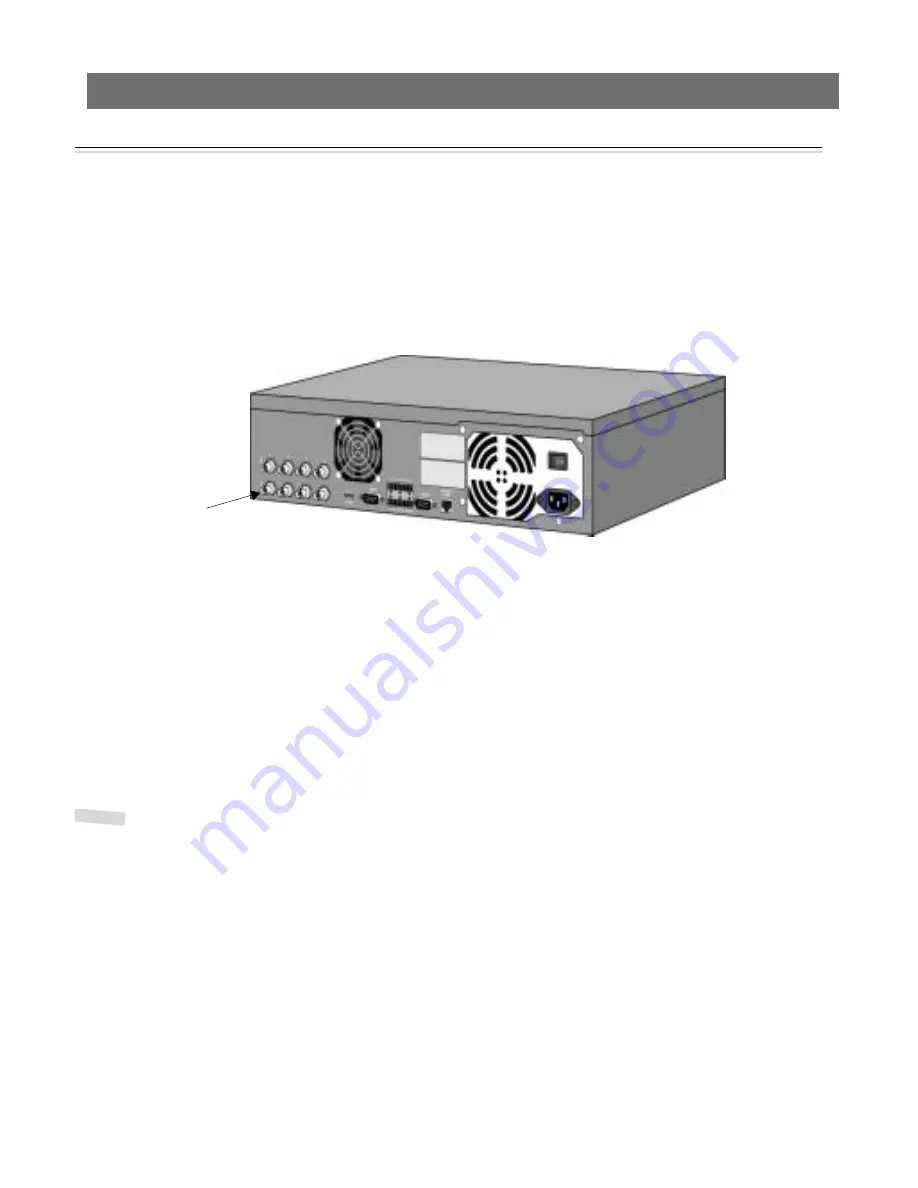
Up to four standard analog video cameras can be connected to the AXIS 2460. The
connectors are located on the rear panel (see also page 10) and the status for each input is
indicated on the front panel by an LED (see page 9).
1. Position the camera as required.
2. Connect the camera to the input on the rear panel of the Network DVR.
3. Connect power to the camera.
4. Now start your browser and enter the IP address of your AXIS 2460, as described in the
installation section. The camera will probably be indicated as being
Disabled
. Click the
link provided to go to the configuration page for the camera, and enable it by checking
the box. Click
Save
and then return to
Live
Quad View
.
If for some reason the camera should stop functioning, e.g. a loss of power or a cable
break, the LED for the input on the front panel will show red, and the image in the browser
will go black.
Note:
The camera will automatically start recording as soon as it is enabled. This is controlled by a
default event called
Continuous Recording
, which is
supplied pre-configured with the unit.
Complete Camera Settings
The
Camera Options
provide the tools for configuring the cameras connected to the AXIS
2460. These tools are accessed from the administration tools on the left hand side of the
main window. Click the
Edit
button to set or change the configuration for the camera.
The following settings are available for each camera:
Enabled -
Check this box to enable the camera. A disabled camera cannot be used to record
from.
Camera Name -
The name you provide here for the camera will be used in image headings
and in all menus that show camera names.
Connect
camera(s) here.