3: C
on
so
le O
pe
ra
tio
n
•
2
6
©2012 Axia Audio
selecting a show profile change or other optional selec-
tion process which will appear on the OLED display.
13.
PREVIEW in HEADPHONE Key:
The
H/P
PREV
key controls whether audio from the
Preview
bus will be fed to the board op’s headphones, and if
so, in what manner. Pressing this key toggles through
the following options:
»
Off:
The operator will not hear Preview audio in
the headphone channel.
»
ON (Stereo):
audio from the Preview channel
overrides the
Headphone Monitor
selection
and is sent to both the left and right channels of
the operator’s headphones.
14.
HEADPHONE Level Control:
Rotate to adjust
the Headphone volume. Headphone source follows
CR Monitor selection.
15.
MONITOR:
Adjusts the level of your Con-
trol Room Monitors. This output will automatically
MUTE whenever any Control Room microphone is
ON
or when Record Mode is active
16.
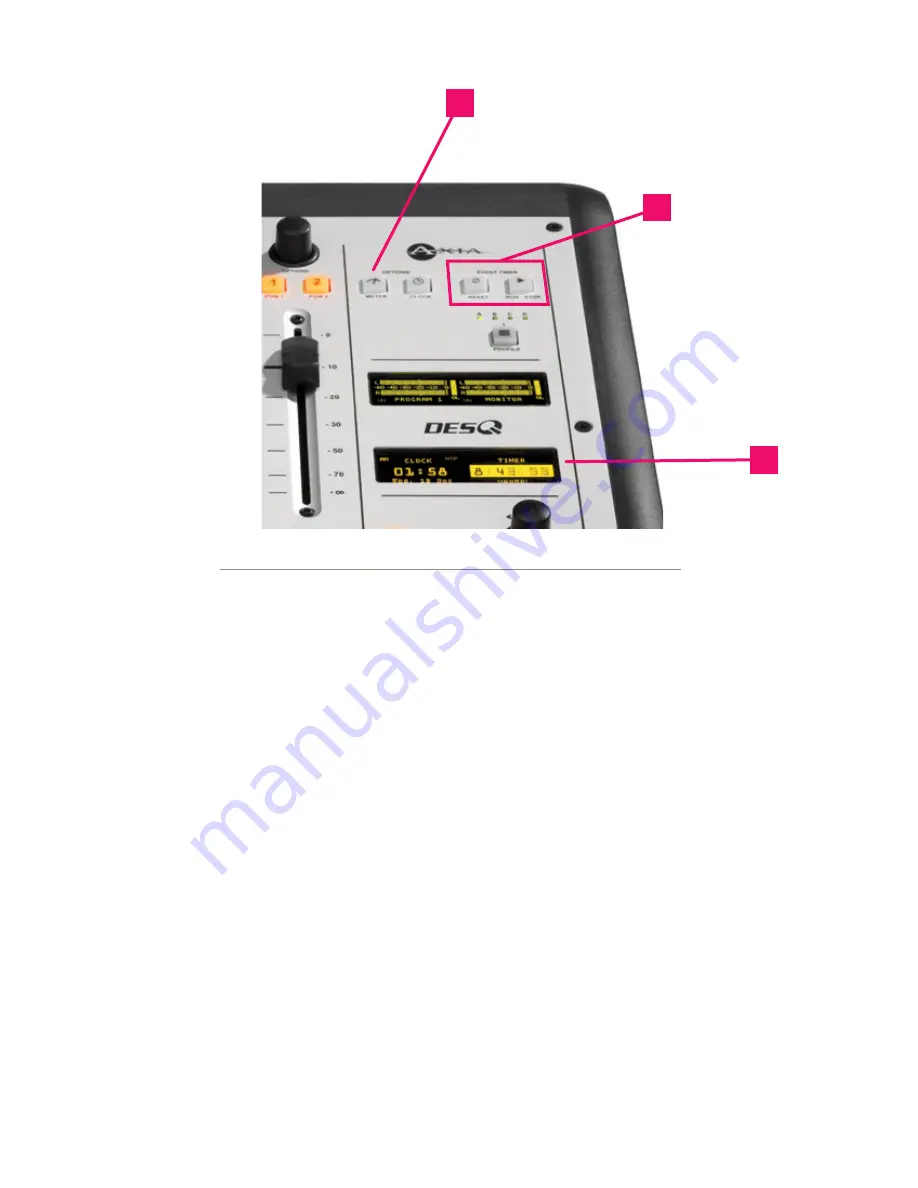
Clock Key (DESQ only):
Pressing this key
toggles between AUTO and MANUAL modes for the
count-up timer. AUTO allows it to be reset and started
by any source starting that has it’s timer start option
enabled. MANUAL ignores those starts and follows
the RUN/STOP/RESET keys only. Note that even if
you are set to AUTO, the run/stop/reset keys still work.
To set the clock, push and hold the Clock key for 6
seconds to enter clock adjust mode. The Clock key
will illuminate indicating that clock setup is active.
Release the Clock key and press RUN-STOP to set
the clock display forward, and press RESET to set it
back. Press the Clock key again to save the current
time and exit clock adjust mode. If NTP is active and
enabled (via web page configuration), the time can-
not be adjusted manually.
17.
Event timer keys (DESQ only):
The Reset
key and Run-Stop key control the count up timer as is
typical in a stop watch. Run-Stop starts and stop the
timer. Reset will set the timer back to zero value.
Figure 3-3: DESQ
16
17
18


