


DVR User Manual
22
Step 2
: Enable channels by checking the checkboxes beside the desired channels.
Step 3
: Set the alarm type according to triggered alarm type. Two option: NO and NC.
Step 4
: Click “Apply” button to save the setting.
Step 5
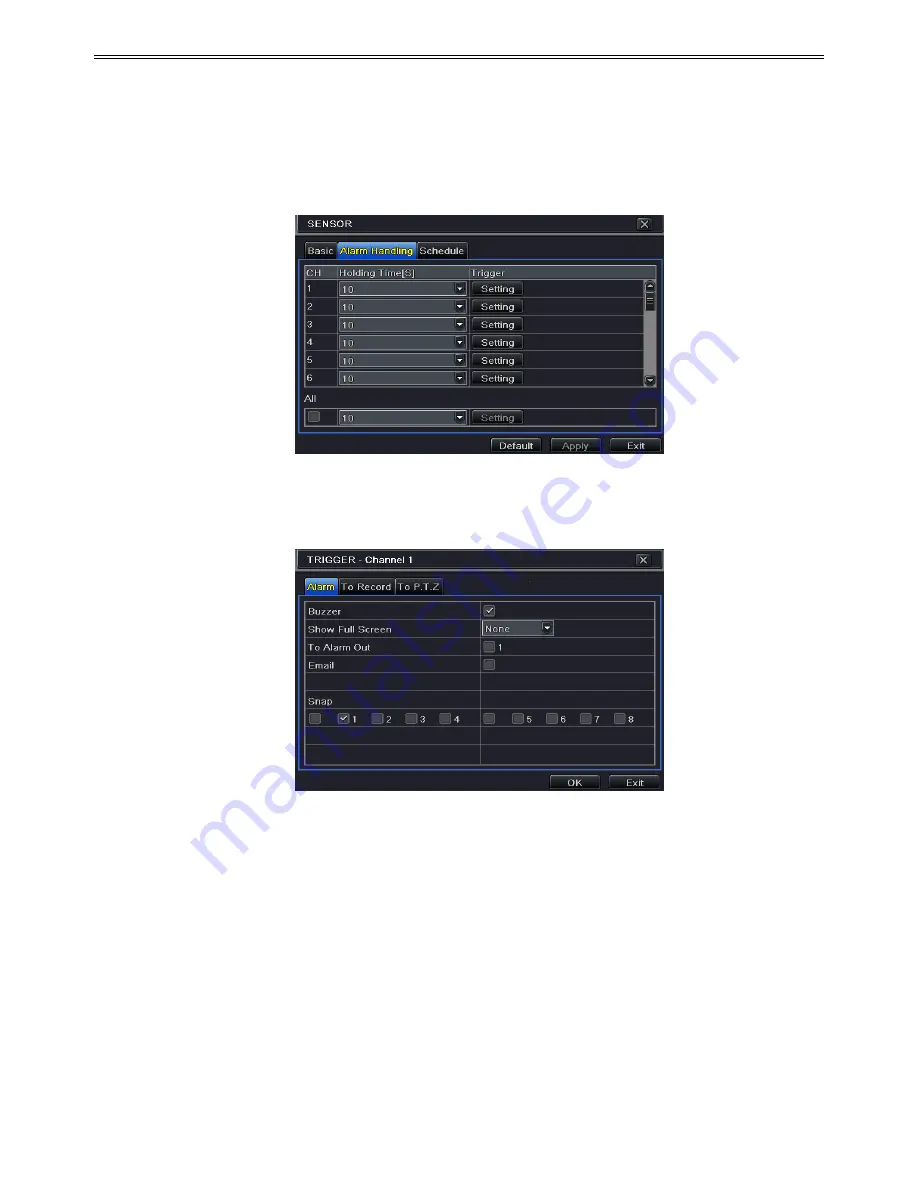
: Enter into Alarm Handling tab. Refer to Fig 4-17. Select hold time and then click
“Setting” button to pop up a dialog box as shown in Fig 4-18.
Fig 4-17 Alarm Configuration-Sensor-Alarm Handling
Step 6:
Enter into alarm tab to select the options to handle alarm.
Fig 4-18 Alarm Handling-Trigger
Buzzer
: If selected, the local buzzer would be activated on an alarm.
Show Full Screen:
If selected, there will pop up the chosen channel on the monitor on an
alarm trigger.
Email:
If selected, the DVR will send an email alert to the preconfigured email address in
case of a sensor based alarm from the particular input.
Snap
: If selected, the system will snap images of the checked channels on an alarm and save
them in the HDD automatically.
Step 7
: Enter into To Record tab. Select recording channels. It would be recorded in case of an
alarm. Click OK button to save the setting.
Step 8
: Enter into To PTZ tab. Set preset, cruise and track options for a PTZ in case of a


