8
SwitchView OSD Installer/User Guide
Connecting Computers to the SwitchView OSD
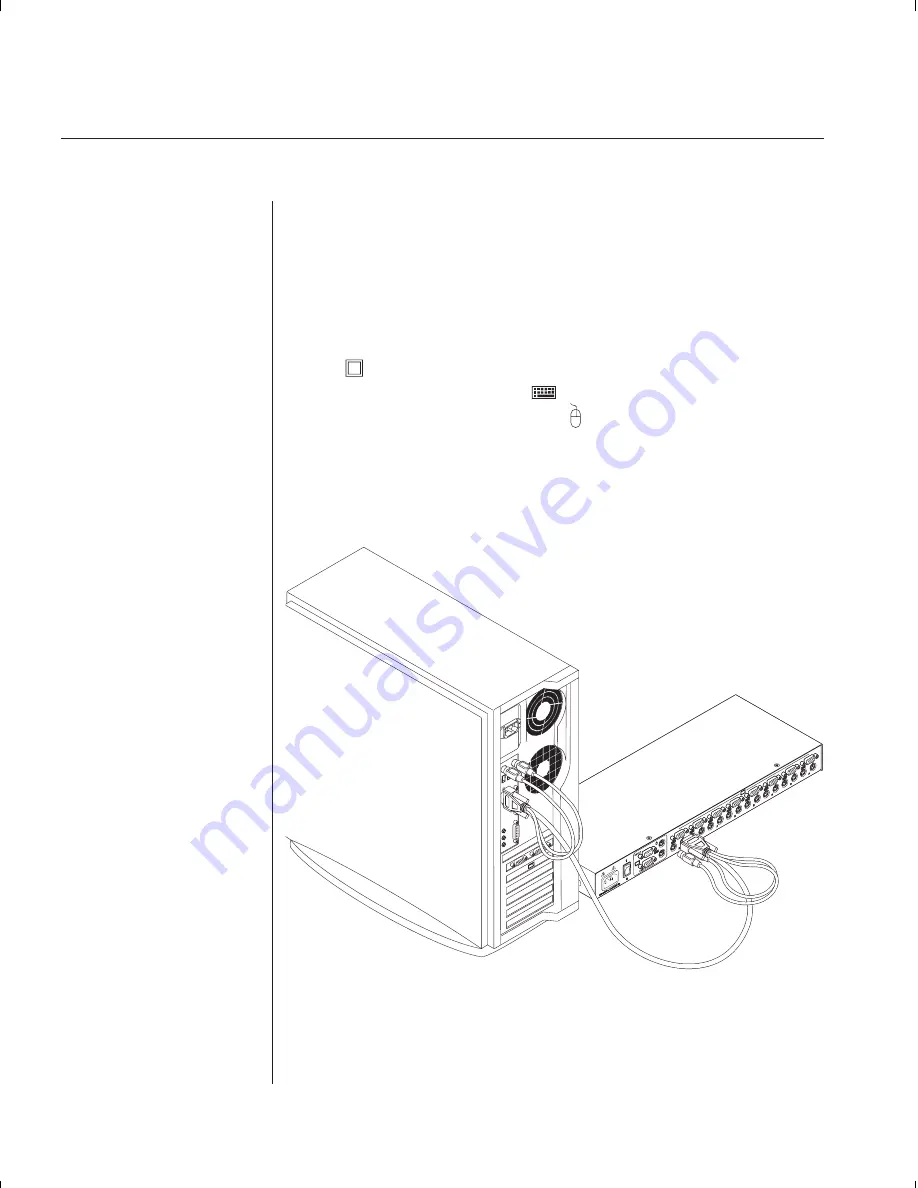
4. Locate your first expansion cable. There will be one 6-foot cable ending
with three connectors on each end: one 15-pin “HDD ” for your video,
one 6-pin miniDIN connector for a PS/2 keyboard connection, and one
6-pin miniDIN connector for a PS/2 mouse connection.
Choose an available port, labeled A-H, on the rear of your
SwitchView OSD unit. Plug the video expansion cable connector into the
blue
port of your chosen channel. Plug the PS/2 keyboard expansion
cable connector into the purple
port. Plug the mouse expansion cable
connector into the appropriate green port.
5. Plug the remaining ends of the video, PS/2 keyboard and mouse expan-
sion cables into the matching ports on your computer.
6. Locate your next set of expansion cables. Repeat steps 4 and 5 until all
computers are properly attached to the SwitchView OSD.
B
Summary of Contents for SWITCHVIEW OSD -
Page 1: ...i Installer User Guide SwitchView OSD ...
Page 6: ......
Page 7: ...C H A P T E R Product Overview Contents Feature Overview 3 Compatibility 4 1 ...
Page 8: ......
Page 11: ...C H A P T E R Installation Contents Basic Install 7 Advanced Install 10 2 ...
Page 12: ......
Page 18: ......
Page 24: ......
Page 36: ......
Page 41: ...C H A P T E R Appendices Contents Specifications 37 Pairing 38 Troubleshooting 44 6 ...
Page 42: ......


