5-8
To scan a page,
1.
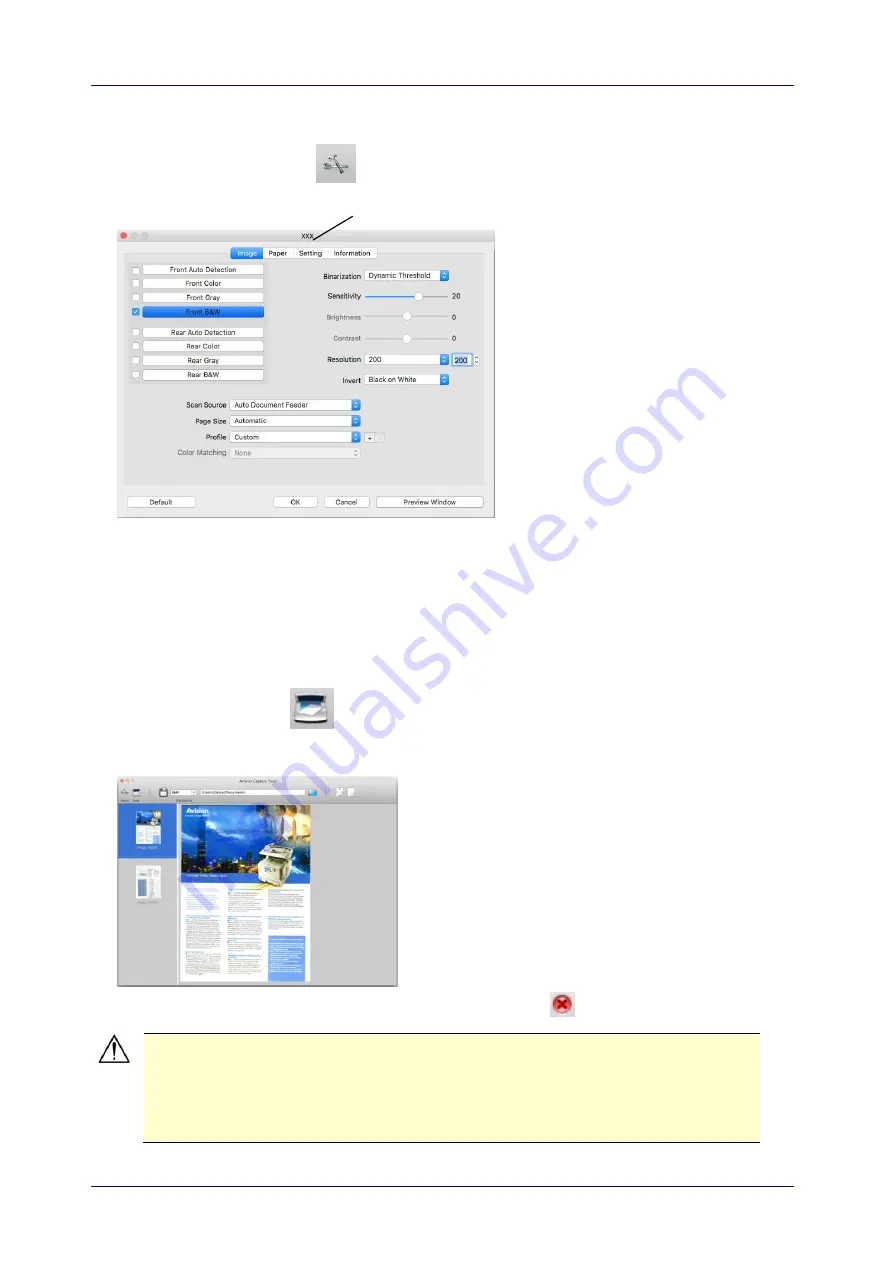
Click the [
Setup
] button (
) to access the Avision Scanner Properties dialog box.
2.
From the Image Selection Box, choose your desired image type for your scanned image.
(Default is Front B&W) If you have a duplex scanner, choose Front and Rear to scan both
sides of your document.
3.
Click
OK
to quit the Avision Scanner Properties dialog box. (To learn more details about
using the Avision Scanner Properties dialog box, please see the subsequent chapter,
Using
the Avision Properties Dialog Box
.)
4.
Place your document face down on the document glass or face up in the auto document
feeder.
5.
Click the Scan button (
).
6.
The document will be scanned and displayed in the main window of Avision Capture Tool.
7.
To leave the main window of Avision Capture Tool, click (
) on the upper-left corner.
Important!
Please note the scanner buttons do not work if you start a scan via the
Avision Capture Tool.
To perform your first scan, we recommend you to use the default scan
settings. When you become more familiar with the software, change the
scan settings to fit your own purpose.
This indicates the scanner model