4-2
4.2
View or Download the Scanned Images
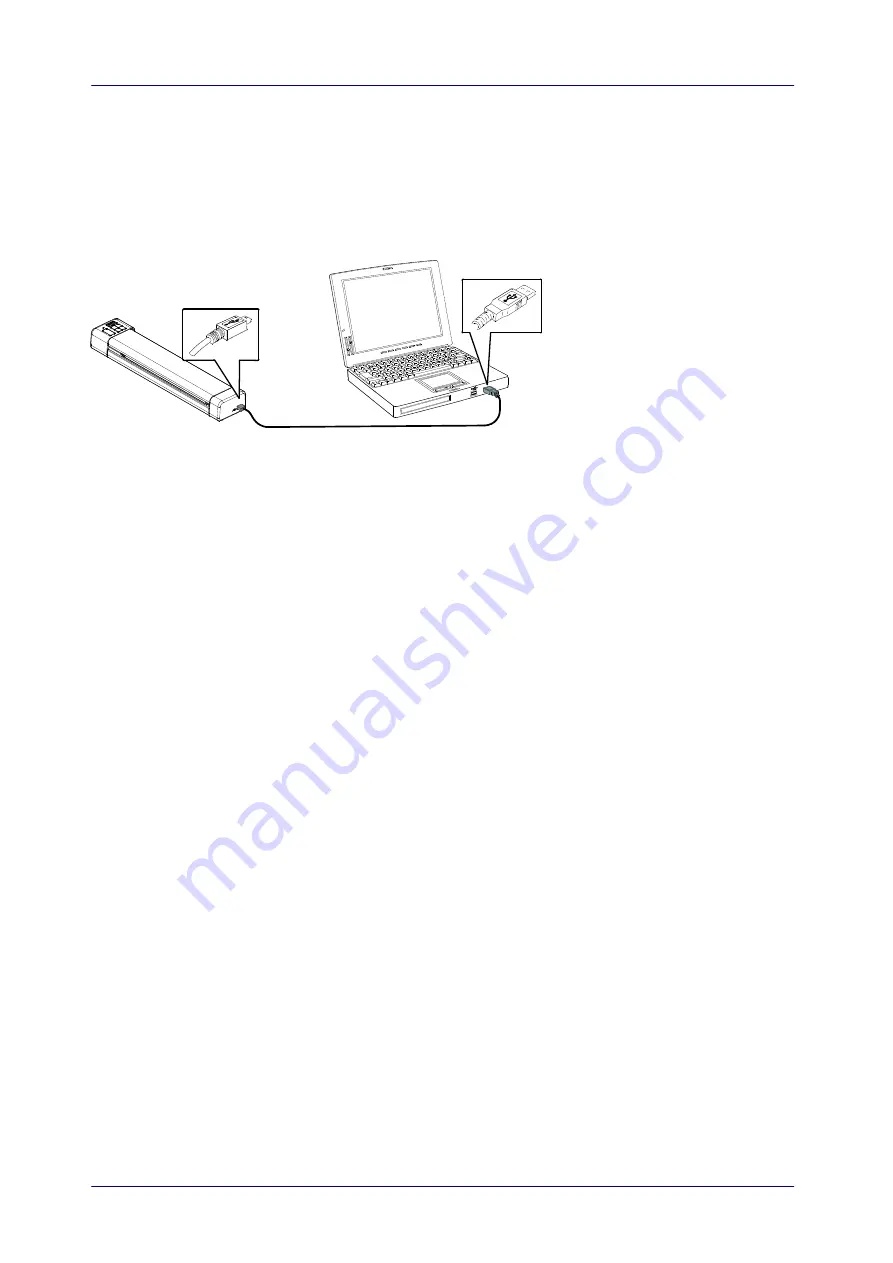
Connect the scanner to your computer to access the scanned images from the scanner’s built-
in disk or from the inserted memory card without using an independent card reader. While
connected, you can view your scanned image files, copy and paste files from one storage area
to the other, or delete files you don’t wish to keep.
4.2.1
Computer System Requirements
Operating System: Windows – XP, Vista, Windows 7, Windows 8
Macintosh – Mac OS 10.5, 10.6, or later
USB Port: USB 2.0
4.2.2
Windows Operating System
1.
Turn on the scanner.
2.
Insert the memory card containing your scanned images into the scanner’s memory
card slot.
3.
Connect the included USB cable to the scanner and to your computer.
4.
Your computer should recognize the card or the scanner as a Removable Disk.
5.
Click the Removable Disk and you will find a folder of “DCIM” is created and all the PDF
files will be stored in the subfolder of “200DOC” and the JPEG files in the subfolder of
“100PHOTO”. File name starts from IMG_0001.pdf or IMG_0001.jpg.