M3060 User Instructions
23
3.6 Optional Communications Connections
1.
Disconnect the indicator and peripheral device from the power source.
2.
Loosely connect the communications cable (serial cable) to the required COM
port.
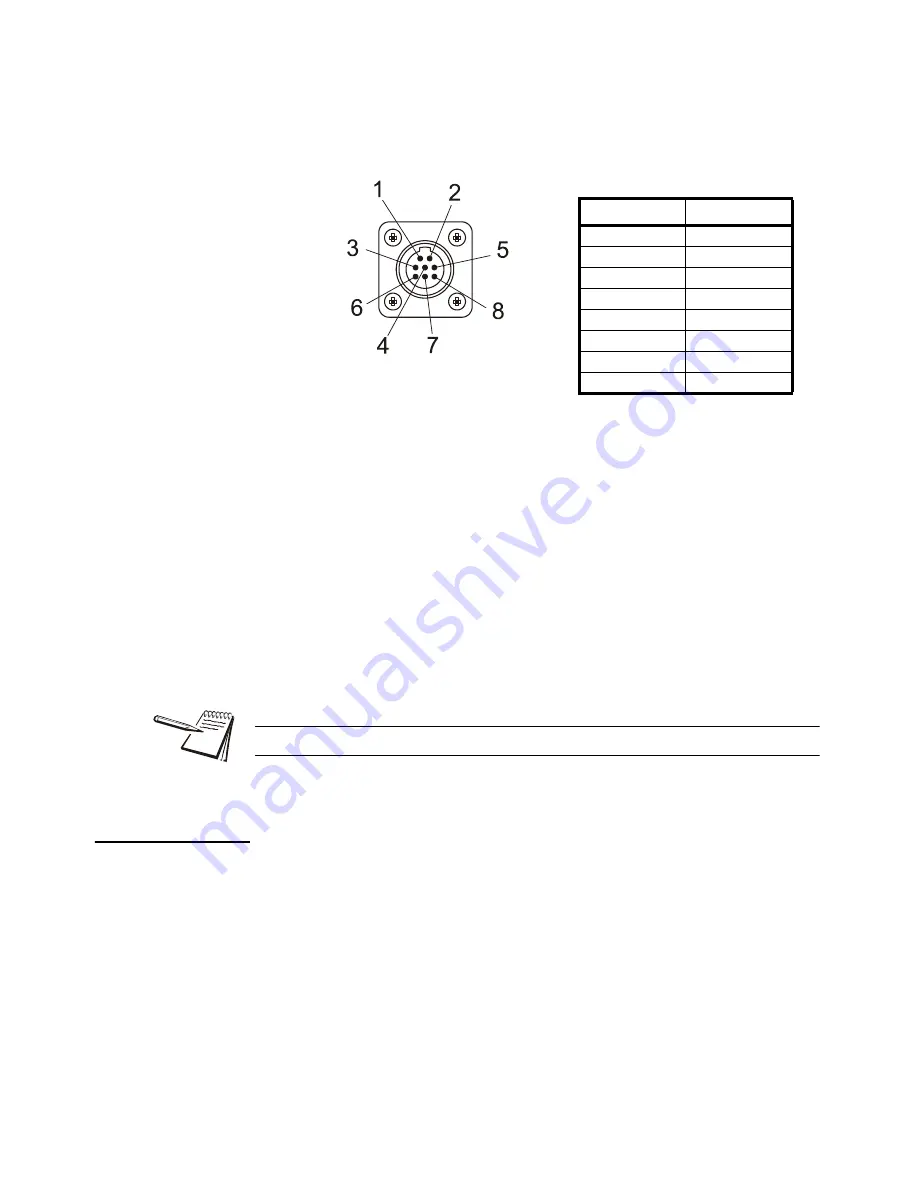
Figure 3.13 Sample COM Port
3.
Route the serial cable to the peripheral device using existing channels or
conduit whenever possible.
4.
Connect the serial cable to the device.
5.
Inspect the cable run and make sure that the cable is not pinched, kinked or in
the way of moving parts or sharp objects.
6.
Tighten the connector at the indicator.
7.
Reconnect power to the indicator and device.
8.
Press and hold the
On/Off
button on the M3060 until the red light comes on
and the indicator powers on.
3.6.1 Additional Connectors
The M3060 also has the following connectors:
l
USB connector - located on one side of the back panel. Use the USB
connector to connect a USB keyboard or jump drive.
l
Ethernet connector - located on one side (opposite side of the USB
connector) of the back panel. This port is application dependent.
l
Two Compact Flash slots - one on either side of the main body of the
indicator. These slots are application dependent.
Your scale is now installed and ready for use. If you have any questions during
installation, please contact your local Avery Weigh-Tronix representative.
COM Port
Pin
Description
1
N/C
2
XMT
3
N/C
4
RXD
5
GND
6
GND
7
+5 V
8
+8 V
For a list of optional cables and serial devices, see
.


