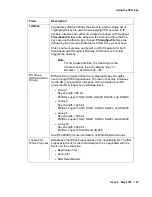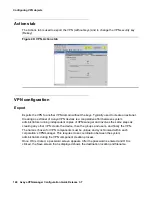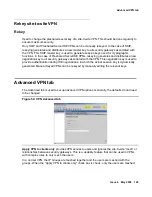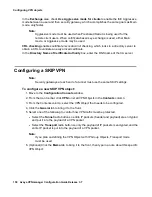
Importing a VPN object from an extranet
Issue 4 May 2005
161
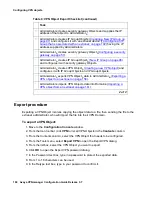
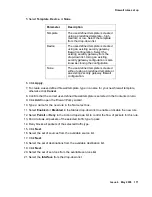
10. Click OK to open the Save dialog.
11. Use the controls in the Save dialog to select a location for the VPN Object data file.
12. In the File name text box, type in a name for the file, and use VPN as the file name
extension.
13. Click Save to create the file.
You can now deliver the data file, using e-mail, floppy disk, or FTP, to the extranet administrator.
The extranet administrator can use the instructions described by the
Importing a VPN object
from an extranet
section to import the data file.
Importing a VPN object from an extranet
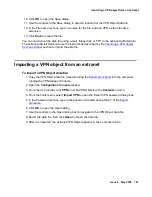
To import a VPN Object data file:
1. Copy the VPN Object data file (created during the
Export procedure
) into the computer
running the VPNmanager Console.
2. Open the Configuration Console window.
3. From the Icon toolbar, click VPN to list all VPN Objects in the Contents column.
4. From the Tools menu, select Import VPN to open the Export VPN password dialog box.
5. In the Password text box, type in the password created during Step 7 of the
Export
procedure
.
6. Click OK to open the Open dialog.
7. Use the controls in the Open dialog box to navigate to the VPN Object data file.
8. Select the data file, then click Open to import the data file.
9. After it is imported, the extranet VPN Object appears in the Contents column.
Summary of Contents for 3.7
Page 1: ...VPNmanager Configuration Guide Release 3 7 670 100 600 Issue 4 May 2005...
Page 4: ......
Page 20: ...Preface 20 Avaya VPNmanager Configuration Guide Release 3 7...
Page 32: ...Overview of implementation 32 Avaya VPNmanager Configuration Guide Release 3 7...
Page 53: ...Preferences Issue 4 May 2005 53 Figure 16 Tunnel End Point Policy...
Page 54: ...Using VPNmanager 54 Avaya VPNmanager Configuration Guide Release 3 7...
Page 244: ...Using advanced features 244 Avaya VPNmanager Configuration Guide Release 3 7...
Page 292: ...Upgrading firmware and licenses 292 Avaya VPNmanager Configuration Guide Release 3 7...

