User’s Manual
Highlight the
Sched
box and press the button. A schedule screen appears. Set the schedule as
described earlier.
Highlight the
Notify
box and press the
button. This toggles between
On
and
Off
. When it is
On
,
the DVR notifies the remote site when it has text input from a text-in device based on a defined
schedule.
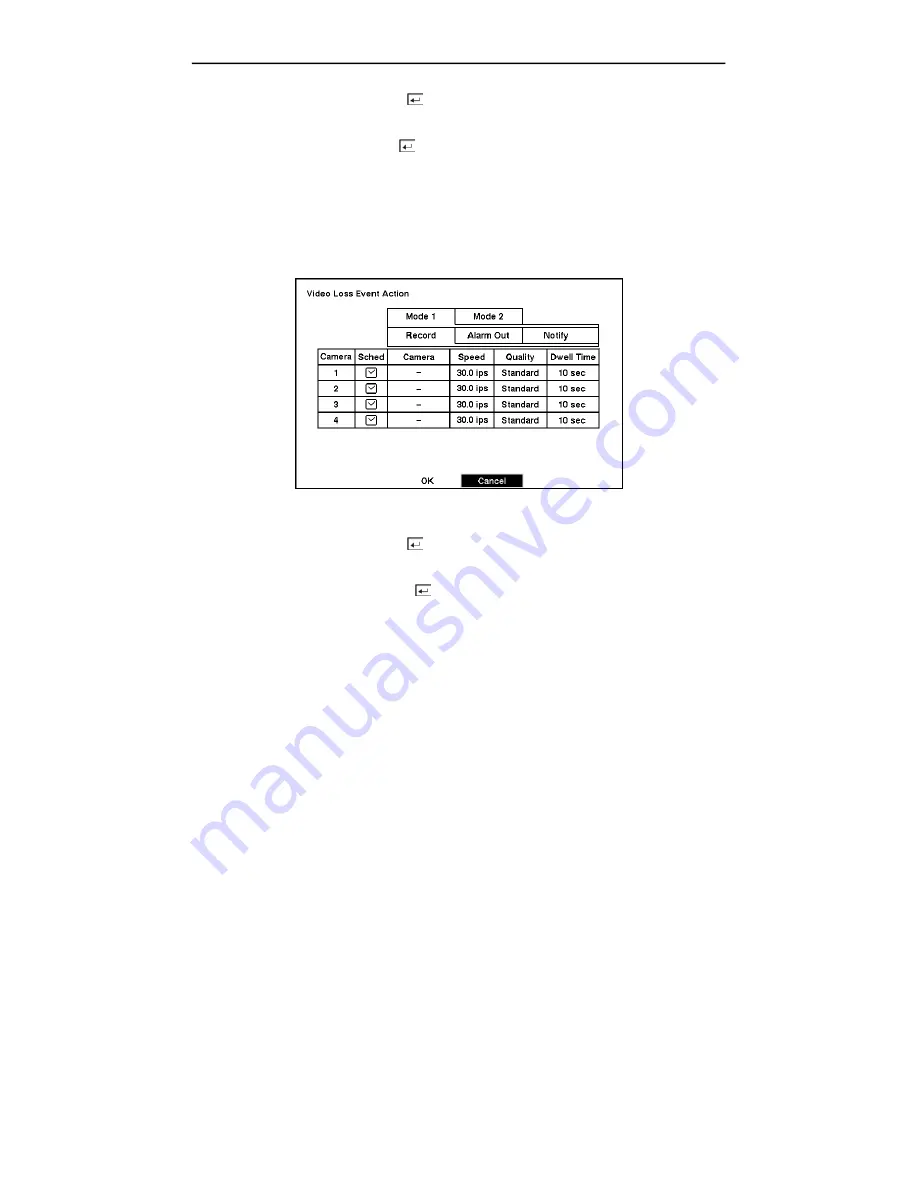
Video Loss Event Action (Record) Setup Screen
The DVR can be set to react to video loss from a camera differently. Each camera can be assigned
a schedule, associated camera, recording speed, video quality and dwell time.
Figure 55 — Video Loss Event Action (Record) setup screen.
Highlight the
Sched
box and press the button. A schedule screen appears. Set the schedule as
described earlier.
Highlight the
Camera
box and press the button. A camera selection screen appears. Select the
camera number you would like to associate with the camera that has lost video.
NOTE: You can associate multiple cameras with a camera.
Highlight the
Speed
box and select number of images per second you would like to record from the
drop-down menu.
Highlight the
Quality
box and select the image quality you want to record from the drop-down
menu.
Highlight the
Dwell Time
box and set the length of time you would like to record for the associated
video loss.
42
Summary of Contents for FA4-120
Page 1: ......
Page 2: ...User s Manual ii...
Page 10: ...User s Manual x...
Page 20: ...User s Manual 10...
Page 64: ...User s Manual 54...
Page 79: ...Four Channel Digital Video Recorder Appendix D Map of Screens 69...