ASTi Telestra 4 Training Manual (Ver. 1, Rev. F)
82
Copyright © 2010 Advanced Simulation Technology inc.
Note
: Before getting started, connect a speaker to the ACU in Channel A and connect a headset
with mic and 4 Channel PTT to the ACU in Channel B. In this example, the PTT is used to select
channels to listen to two different playsounds.
1. Create a new Project and install.
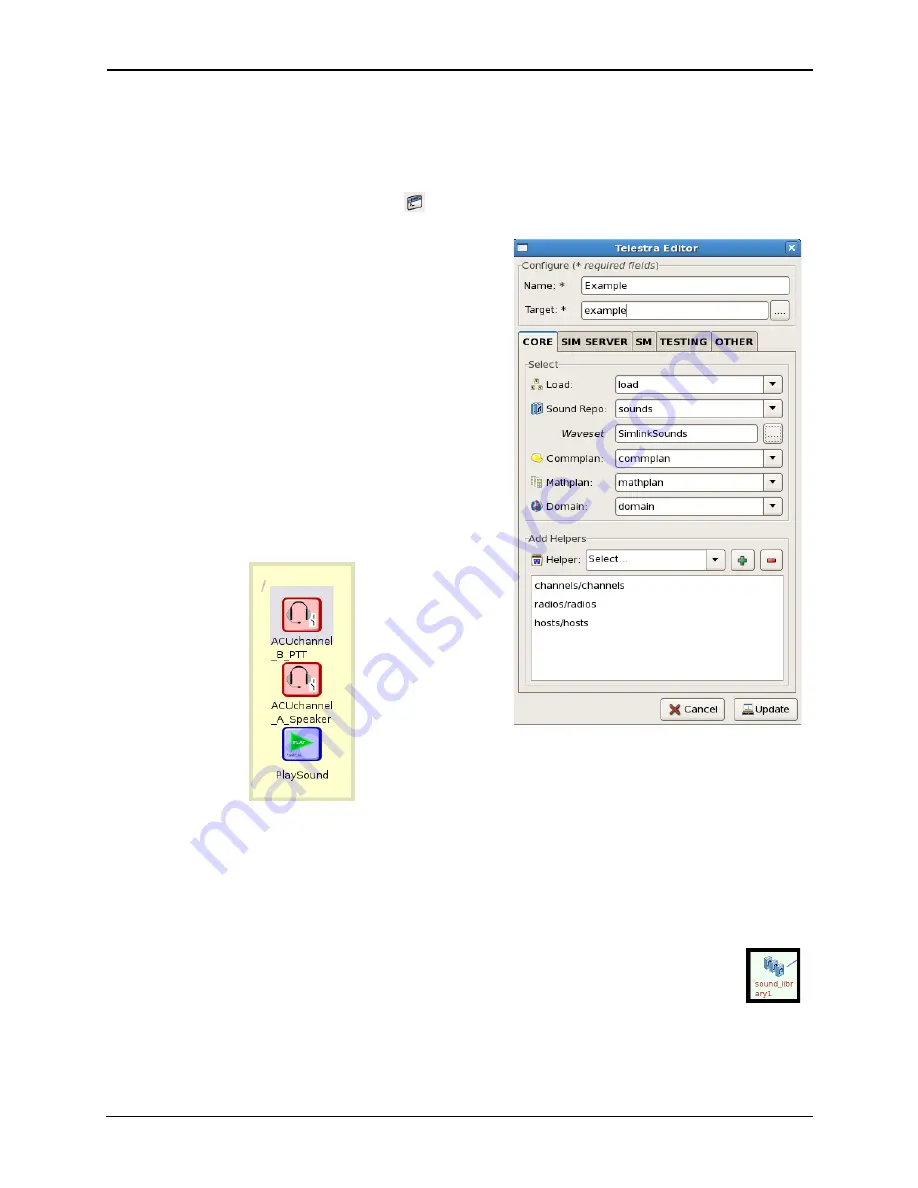
2. In the Layout, open the Telestra Editor. Select
the Target name, load, and sound repository.
3. Add a folder name in the waveset field. The
waveset folder contains the sound files that
are uploaded to the Target.
4. Select ‘
Update
.’
5. Open the Load and add a new Sim Model and
name it.
6. Navigate to the Model canvas and add the
Audio >Playsound component.
7. Add two I/OInterfaces > ACUchannel and
name them
ACUChannel_A_Speaker
and
ACUChannel_B_PTT
.
8. Navigate to the
RMS Audio Upload Sound File
page. Follow the directions on the page
to upload two sound files. (The files must be previously added to the workstation.)
Note
: All sound files must be in the following format: 16-bit PCM MONO wave files with
a 48khz sample rate. To convert audio to this format, download a free audio conversion
application such as Audacity at http://audacity.sourceforge.net.
9. Navigate to the Project and open the
Sound Repository
. Add a new sound
library and name it.


