N U M E R I C A L O C / E F P R O T E C T I O N R E L AY AD R 1 4 1 C / 2 4 1 C
ASHIDA Electronics Pvt. Ltd.
Ref: Manual / ADR141C / 241C
Issue: 04D
Date : 10.07.2014
Page
36/86
8.3.6
COLD LOAD SETTINGS
8.3.6.1 To Set Cold Load Setting
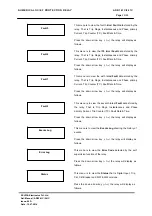
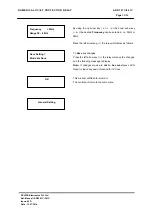
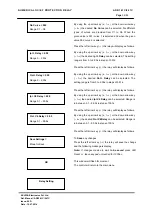
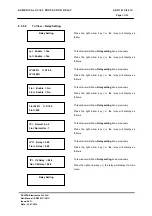
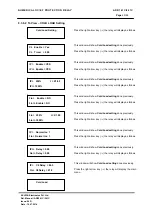
Cold Load Setting
Password protected window for
“Cold Load”
for setting CL
Enable, CL Timer, IP> Enable, IP> Range, IP TMS, IP>>
Enable, IP>> Multiply, 3Io> Enable, 3Io> Range, 3Io TMS,
3Io>> Enable, 3Io>> Multiply, IP Curve, 3Io Curve, IP>>
Delay, 3Io>> Delay, IP> C6 Delay, 3Io> C6 Delay.
Press the left arrow key (
) the relay will display as follows.
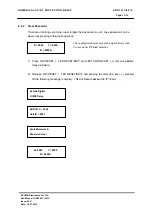
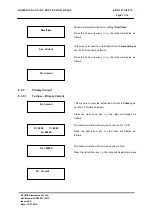
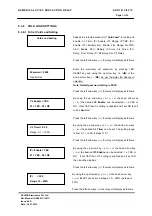
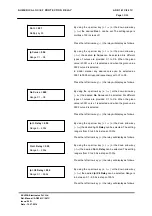
Password = 0000
Use Inr/Dec
Enter the previously set password, by pressing LED
RESET key and using the up arrow key (
+ /
)
or the
down arrow key (
- /
).
As per the Enter the Password
selection.
Note: Default password setting is ‘0000’
Press the left arrow key (
) the relay will display as follows.
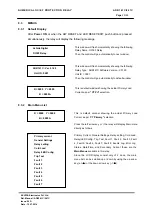
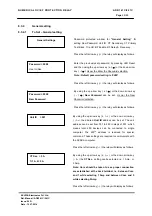
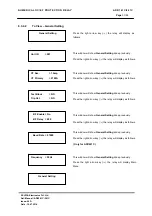
CL Enable = YES
01 = YES , 02 = N0
By using the up arrow key (
+ /
) or the down arrow key
(
- /
) the desired
CL Enable
can be selected i. i.e. YES or
NO. If set YES then CL setting is enabled and if set NO then it
will be disabled
Press the left arrow key (
) the relay will display as follows.
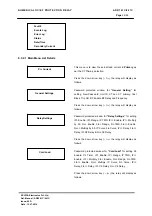
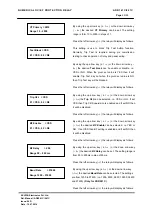
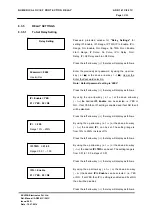
CL Timer = 0.50
Range 0.1
–
10.0S
By using the up arrow key (
+ /
) or the down arrow key
(
- /
) the desired
CL Timer
can be set. The setting range
is from 0.1
–
10.0S in steps of 0.1.
Press the left arrow key (
) the relay will display as follows.
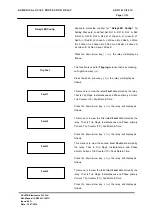
IP> Enable = YES
01 = YES , 02 = N0
By using the up arrow key (
+ /
) or the down arrow key
(
- /
) the desired
IP> Enable
can be selected . i.e. YES or
NO. If set YES then IP> setting is enabled and if set NO
then it will be disabled
Press the left arrow key (
) the relay will display as follows.
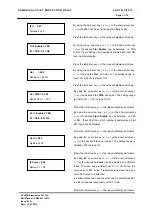
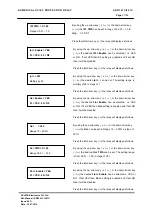
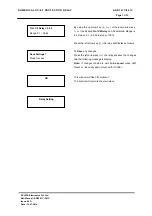
IP> = 250
Range 10 – 250%
By using the up arrow key (
+ /
) or the down arrow key
(
- /
) the
IP>
can be set in Range 10
–
250% in steps of
001%
Press the left arrow key (
) the relay will display as follows.

