69
SKI SHOCK ABSORBER SPRINGS
The shock absorber springs have been matched to the
shock valving and rear suspension. These springs are
the result of hours of testing and comparison riding
trying many different combinations of springs and
shocks. If there is a need to make changes, there are
several spring and shock sizes to choose from. While
making these changes, keep the following points in
mind.
Heavier/Lighter Springs
1. Using heavier or lighter springs will affect the
shock function. Changes in compression or
rebound damping may be necessary to attain
desired performance.
2. With heavier springs, the front end will become
more aggressive in the corners as more weight will
be transferred to the skis when decelerating. Also,
more weight is transferred to the rear on accelera-
tion and can cause the rear shocks and spring to
bottom out.
3. With lighter springs, the front end will generally
“ride in” more. This could aid in cornering, but
may cause the chassis to “roll.” Lighter springs
generally create more pitch change from front to
back. This can also aid with traction.
Spring Tension Too Soft
1. Front end bottoms out; hard on front end parts.
2. Less aggressive steering in corners on decelera-
tion, and less weight is transferred to the skis
because of softer springs.
3. Less weight gets transferred to rear of the machine
upon acceleration.
NOTE: When softening the ski springs, also
soften the rear to match entire suspension.
SERVICING ZERO PRO SHOCK
ABSORBERS (Ski Shock)
This procedure shows the proper method for servicing
the ski shock absorbers.
NOTE: Some illustrations and photographs used
in the following sub-sections are used for clarity
purposes and are not designed to depict actual
conditions.
Disassembling
1. Remove the spacers and O-rings from the eyelets.
2. Clean the entire shock assembly with soapy water.
Dry the shock assembly with compressed air.
NOTE: If compressed air is not available, use
clean towel to dry the shock assembly.
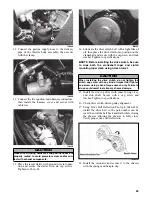
3. Using a 3/32-in. hex key, remove the button-head
screw from the air valve in the shock body.
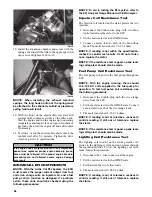
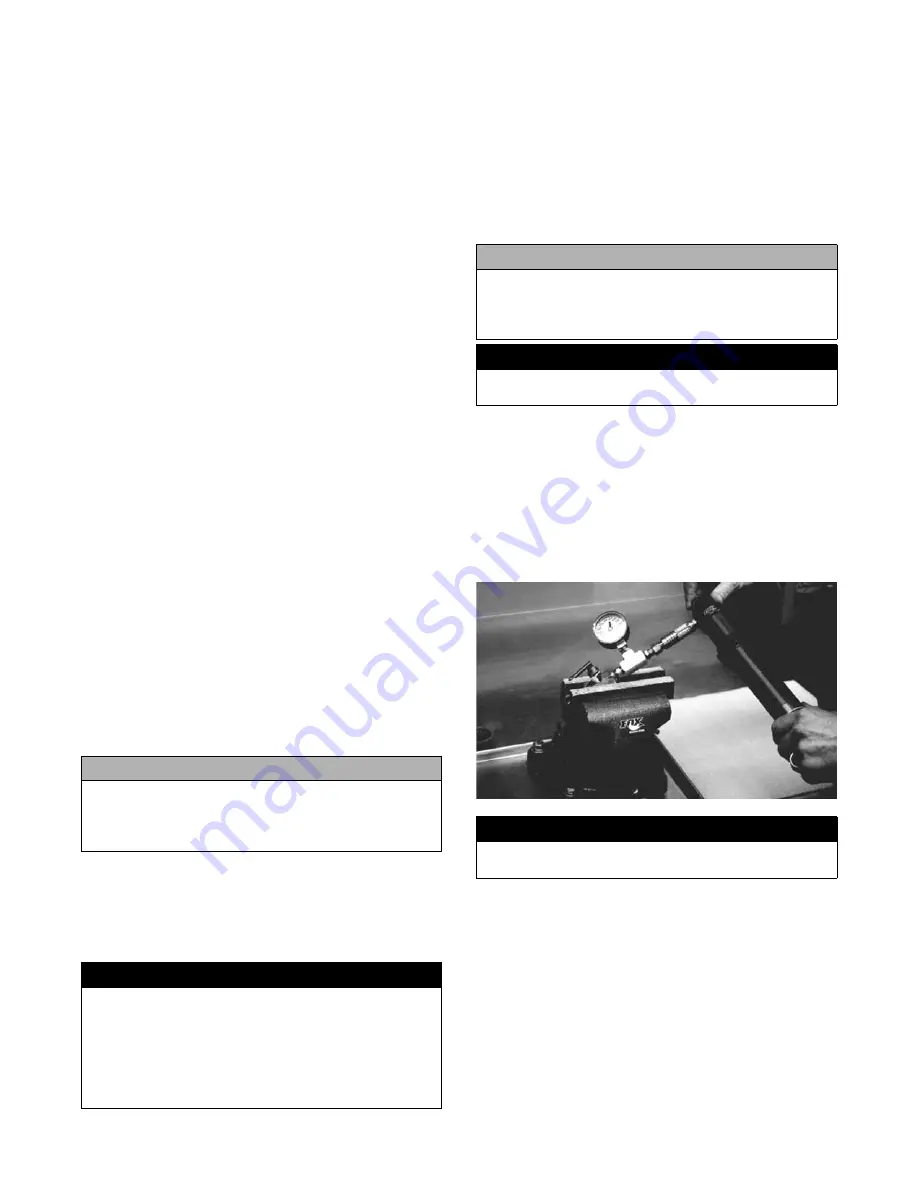
4. Clamp an inflation needle in a vise; then insert the
needle squarely into center of the nitrogen valve to
release the pressure.
FS274
5. When the shock is fully discharged, pull the needle
away from the reservoir in a straight, smooth
motion.
NOTE: At this point, inspect the FAV3 nitrogen
valve for signs of wear such as holes on the face
of the pellet. Replace if necessary.
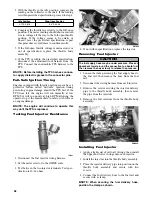
6. Clamp the body and eyelet securely in a soft-
jawed vise with the shaft side up.
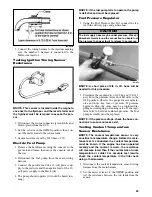
7. Using a 1 3/8-in. wrench, loosen and unscrew the
bearing assembly from the shock body.
CAUTION
If the ski shock spring is adjusted too loose, the
spring retainer may fall out. If the spring is adjusted
beyond specification, the spring will coil bind and
spring adjuster damage will occur.
! WARNING
Before starting, read through all of these instructions
first to become familiar with the procedure. Make sure
the work area is clean and all of the necessary tools
are available. These shocks contain high pressure
nitrogen gas. Always use proper safety equipment
such as latex gloves and safety glasses when working
on shock absorbers.
CAUTION
Use a soft-bristle brush to remove as much dirt and
debris as possible. Do not pressure wash the shock
as this can force water and debris inside causing dam-
age to the seals.
! WARNING
When using compressed air to dry components,
always wear safety glasses.
! WARNING
Point the air valve away from face and body to avoid
injury when discharging or charging the shock.
Summary of Contents for 500 Sno Pro
Page 1: ...TM SHARE OUR PASSION Operator s Performance Manual Performance Manual 500 Sno Pro...
Page 2: ......
Page 6: ...NOTES...
Page 22: ...16 NOTES...
Page 68: ...62 NOTES...
Page 92: ...86 NOTES...
Page 93: ...87 NOTES...
Page 94: ...88 NOTES...
Page 95: ...Printed in U S A Trademarks of Arctic Cat Inc Thief River Falls MN 56701 p n 2258 721...

