43
5. Inspect the bearing dowel pins for wear.
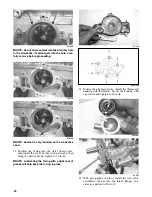
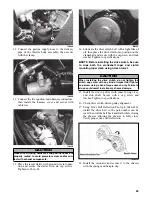
6. Inspect the sealing surfaces of the crankcase
halves for trueness by placing each crankcase half
on the surface plate covered with #400 grit wet-or-
dry sandpaper. Using light pressure, move each
half in a figure eight motion. Inspect the sealing
surfaces for any indication of high spots. A high
spot can be noted by a bright metallic finish. Cor-
rect any high spots by continuing to move the half
in a figure eight motion until a uniform bright
metallic finish is attained.
NOTE: Care must be taken not to remove an
excessive amount of aluminum, or the crankcase
must be replaced. If excessive aluminum is
removed, too much pre-load will be exerted on the
crankshaft bearings when assembled.
CM160
Crankshaft
NOTE: If any servicing of the connecting rods,
center bearings, or oil-injection pump drive gear is
necessary, Arctic Cat recommends that the crank-
shaft be taken to a qualified machine shop for that
service.
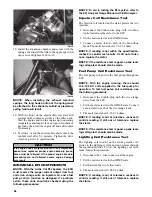
1. Wash the crankshaft with bearings in parts-clean-
ing solvent.
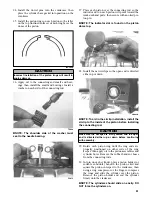
2. Inspect the bearings for wear, scoring, scuffing,
damage, or discoloration. Rotate the bearings.
Bearings must rotate freely and must not bind or
feel rough. If any abnormal condition is noted,
replace the bearing.
FC039
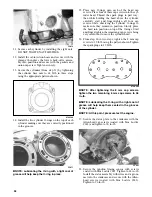
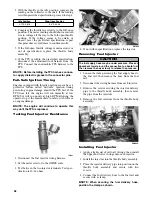
3. Inspect the connecting-rod bearings by rotating
them. The bearings must rotate freely and must not
bind or feel rough. If a connecting-rod bearing
must be replaced, the connecting rod and crank pin
must also be replaced.
FC040
4. Inspect the oil-injection pump drive gear for any
signs of worn or chipped teeth. If either condition
exists, replace the gear.
NOTE: Lubricate bearings thoroughly prior to
assembly.
Removing/installing Outer
Crankshaft Bearings
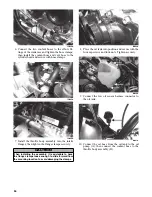
NOTE: The end bearings are not pressed onto
the crankshaft. The bearings can be removed sim-
ply by sliding them off the crankshaft.
CM161
Inspect the crankshaft bearing area for wear. If any
wear is noted on either end, replace the crankshaft end.
CAUTION
Water or parts-cleaning solvent must be used in con-
junction with the wet-or-dry sandpaper or damage to
the sealing surface may result.
Summary of Contents for 500 Sno Pro
Page 1: ...TM SHARE OUR PASSION Operator s Performance Manual Performance Manual 500 Sno Pro...
Page 2: ......
Page 6: ...NOTES...
Page 22: ...16 NOTES...
Page 68: ...62 NOTES...
Page 92: ...86 NOTES...
Page 93: ...87 NOTES...
Page 94: ...88 NOTES...
Page 95: ...Printed in U S A Trademarks of Arctic Cat Inc Thief River Falls MN 56701 p n 2258 721...


