61
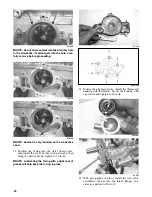
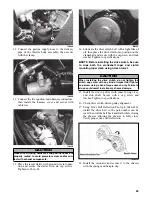
6. Connect the wiring harness to each injector and
throttle position sensor.
NOTE: Install the air silencer and the expansion
chamber.
7. Place the rear of the snowmobile on a shielded
safety stand and start the engine without touching
the throttle. It may idle slowly and stop. Restart
using the same procedure until the engine starts
and builds RPM on its own.
8. Check the cooling system.
9. Adjust the throttle cable and oil pump cable as
necessary.
INDIVIDUAL FUEL SYSTEM
COMPONENTS
Removing Throttle Body Flange
NOTE: The expansion chamber and air-intake
silencer must be removed for this procedure.
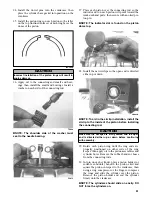
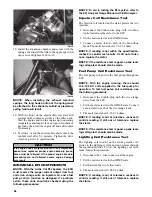
1. Loosen the clamps securing the throttle body
assembly to the throttle body flanges.
2. Remove the throttle body assembly from the
flanges.
3. In turn on each flange, remove the two nuts, lock
washers, and flat washers securing the intake
flange to the cylinder; then remove the flange.
Installing Throttle Body Flange
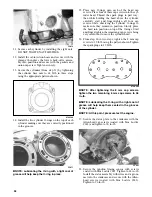
1. Apply a thin coat of high-temperature silicone to
the cylinder side of each flange; then attach each
flange to a cylinder and secure each with two flat
washers, lock washers, and nuts. Tighten to 15 ft-
lb.
2. Install the flange clamps on the flanges; then place
the throttle body assembly into the flanges and
secure with the clamps.
3. Secure all wires and hoses with cable ties.
Removing Throttle Cable
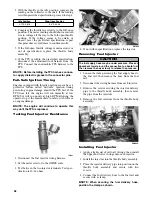
1. Loosen the throttle cable adjuster at the bracket.
2. Remove the throttle cable from the pulley on the
throttle body lever shaft.
3. Remove the E-clip securing the oil-injection cable
to the oil-injection pump control arm. Account for
a washer.
4. Loosen the oil-injection cable jam nuts.
5. Remove the handlebar pad.
6. Remove the cable ties securing the throttle cable.
7. Remove the throttle cable ends from the throttle
lever and from the throttle control housing.
Installing/adjusting Throttle Cable
1. Install the throttle cable into the throttle switch
assembly making sure the cable snaps into place.
2. Install the throttle cable end on the throttle lever.
3. Route the throttle cable from the throttle switch
assembly to the throttle body assembly and oil-
injection pump; avoid any sharp bends or moving
components.
4. Attach the throttle cable to the pulley on the throt-
tle body shaft.
5. Install the oil-injection cable adjuster on the oil-
injection pump; secure with the jam nuts.
6. Install the oil-injection cable on the control arm;
secure with a washer and E-clip.
7. Secure the throttle cable to the handlebar and
steering post with cable ties.
8. Install the handlebar pad.
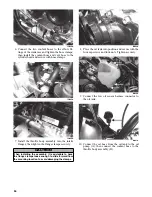
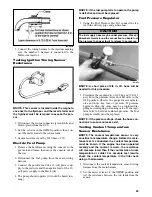
9. Adjust the throttle cable tension by turning the jam
nuts in the appropriate direction until 0.030-0.060
in. free-play exists in the throttle lever and the but-
terfly completely opens and closes. Tighten the
jam nuts securely.
741-518A
10. Synchronize the oil-injection pump.
CAUTION
When installing the throttle bodies, make sure the
gasline hose is properly routed to avoid premature
wear and/or contact with exhaust components.
CAUTION
Compress the throttle control lever to ensure free
movement. If the throttle cable sticks or binds, correct
the problem before starting the engine.
Summary of Contents for 500 Sno Pro
Page 1: ...TM SHARE OUR PASSION Operator s Performance Manual Performance Manual 500 Sno Pro...
Page 2: ......
Page 6: ...NOTES...
Page 22: ...16 NOTES...
Page 68: ...62 NOTES...
Page 92: ...86 NOTES...
Page 93: ...87 NOTES...
Page 94: ...88 NOTES...
Page 95: ...Printed in U S A Trademarks of Arctic Cat Inc Thief River Falls MN 56701 p n 2258 721...


