3-26
CD140
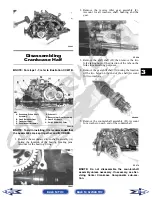
12. Remove the snap ring securing the water pump
drive gear; then remove the gear noting the direc-
tion of the sides of the gear for installing purposes.
Account for the drive gear alignment pin.
CD944
13. Remove the snap ring securing the water pump
driven gear; then remove the gear noting the direc-
tion of the sides of the gear for installing purposes.
Account for the driven gear alignment pin.
CD952A
NOTE: There is an oil passage beneath the driven
gear/drive gear assembly. This passage should be
plugged prior to removing the driven gear and
drive gear. Failure to do so could result in the loss
of an alignment pin into the crankcase.
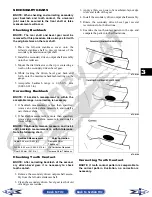
14. Remove the shift shaft noting the timing marks for
assembling purposes. Account for two washers.
PR430A
15. Remove the gear shift cam plate; then remove the
cam stopper and cam stopper spring. Account for
two washers.
PR434A
Installing Right-Side
Components
NOTE: Plug the oil passage in the crankcase
housing prior to installing the drive gear/driven
gear assembly to prevent loss of an alignment pin.
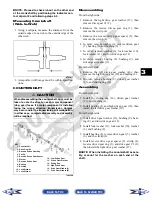
1. Install the water pump driven gear alignment pin
and the driven gear (with the beveled side of the
gear facing outward as noted in removing); then
secure with the snap ring.
CD950A
Back to TOC
Back to Section TOC
Next
Back


