


1.
Power off, then unplug the QuantStudio
™
6 or 7 Flex System. Allow it to cool for
15 minutes.
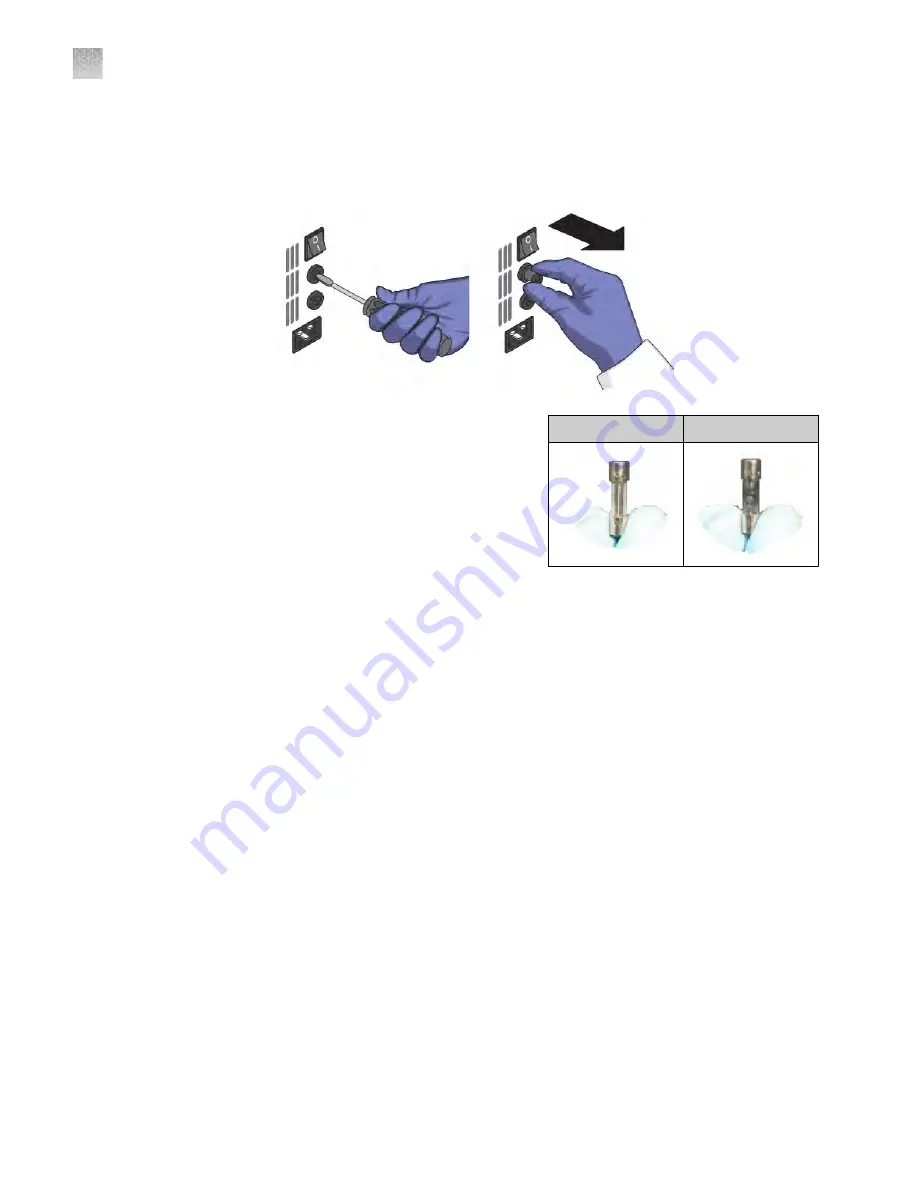
2.
Using a flat-head screwdriver, unscrew and remove the fuse holder.
3.
Remove each fuse from its fuse
holder and inspect it for damage.
Carbon typically coats the inside of
failed fuses.
4.
Replace each failed fuse with a
12.5A, Time-Lag T, 250VAC, 5 ×
20-mm Fuse.
Note:
The voltage and amperage ratings are on the fuse holder.
Note:
For AU/NZ only, replace each failed fuse with a 6.3A, Time-Lag T,
250VAC, 5 × 20-mm Fuse.
5.
Install the fuse holder.
6.
Plug in, then power on the QuantStudio
™
6 or 7 Flex System. The installation is
successful if the instrument powers on.
Note:
Fuse failure can result from fluctuations in the supplied power to the
QuantStudio
™
6 or 7 Flex System. To prevent further failures, consider installing an
electrical protective device, such as a UPS or a surge protector.
Install the QuantStudio
™
Real
‑
Time PCR Software
See “Computer requirements“ on page 22 for a list of hardware and operating system
requirements for the QuantStudio
™
6 and 7 Flex Real-Time PCR System Software.
1.
Go to thermofisher.com/qpcrsoftware.
2.
In the Real-Time PCR section, click Applied Biosystems QuantStudio 6 & 7 Flex
Real-Time PCR Systems.
3.
Click Download, then follow the instructions.
Replace the fuses
Good
Failed
Computer
requirements
Install the
software
Appendix B
Maintenance
Install the QuantStudio
™
Real
‑
Time PCR Software
B
104
QuantStudio
™
6 and 7 Flex Real-Time PCR Systems v1.6 Maintenance and Administration Guide


