18
S10 User Manual
rev 1C
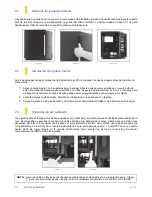
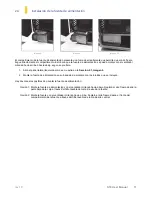
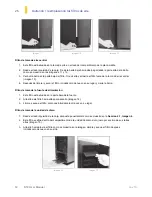
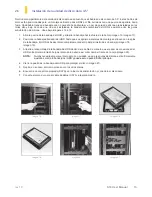
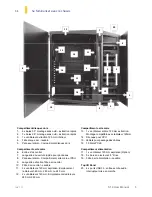
El único e innovador diseño en tres compartimentos de la S10 permite que el paso de aire por todos y cada uno de los
compartimentos sea controlado individualmente, consiguiendo así el máximo equilibrio entre rendimiento y computación
silenciosa. Hay un total de 7 ventiladores preinstalados (más un montaje para otro más opcional) dentro de esta caja.
4.1
Ventilador de salida alto / Radiador – Compartimento de la placa madre
Hay 2 ventiladores preinstalados de 140 mms en la parte alta del compartimento de la placa madre para expulsar
silenciosa y eficientemente el calor generado en la placa madre, especialmente en la CPU.
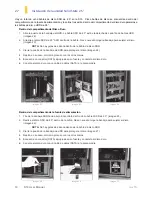
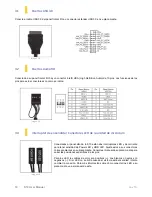
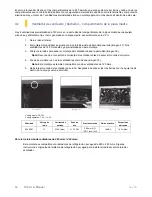
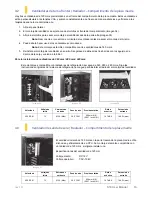
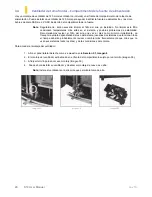
1. Abra el panel lateral.
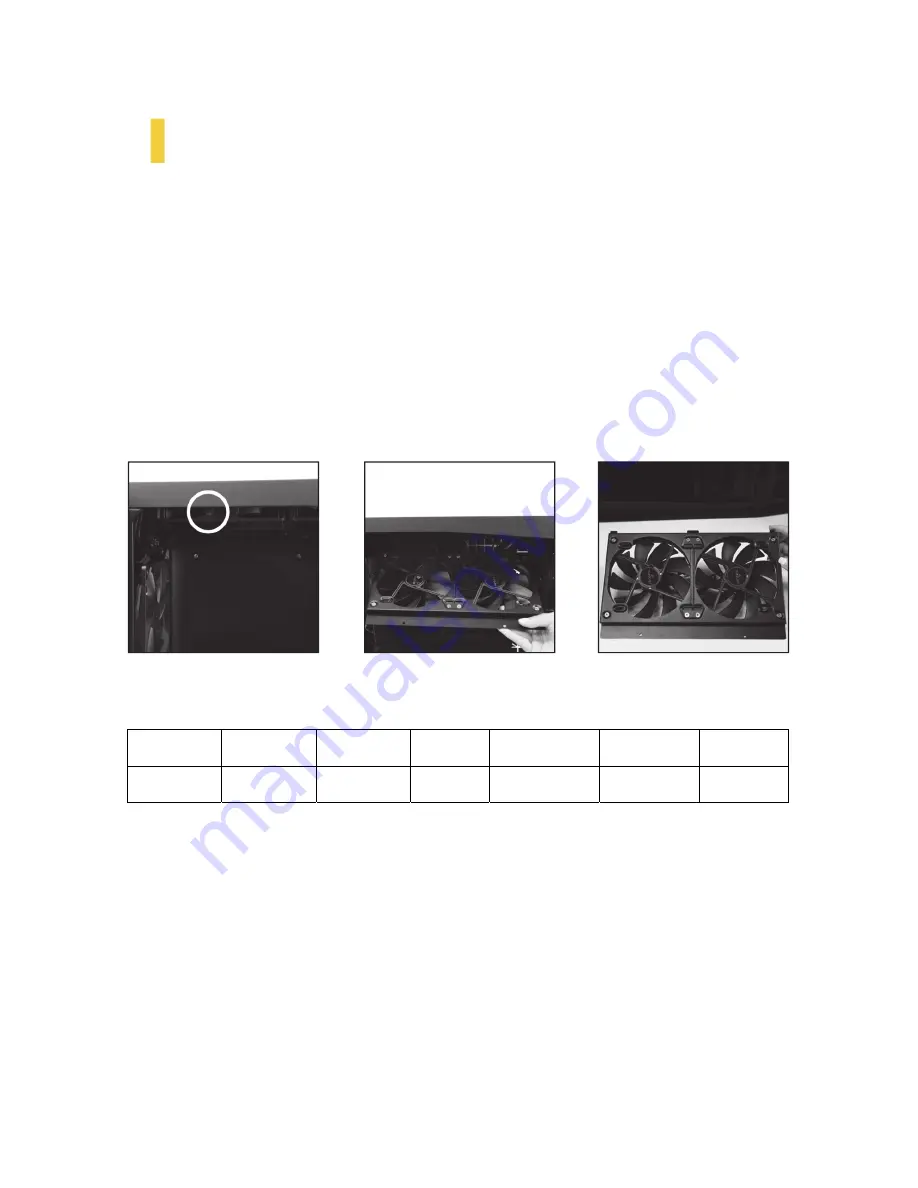
2. El montaje del ventilador se sujeta con dos tornillos justo debajo del panel alto (imagen 31). Dos
ventiladores de 140 mms están ya preinstalados en este montaje.
3. Afloje los tornillos para sacar el montaje del ventilador desde la parte alta (imagen 32).
Nota:
Desconecte el conector de corriente del ventilador antes de sacar el montaje del mismo.
4. Puede ahora hacer uso de los ventiladores como desee (imagen 33).
Nota:
Este montaje es también compatible con dos ventiladores de 120 mms.
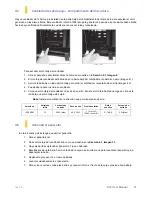
5. Reinstale el montaje del ventilador en su sitio. Asegúrese de alinear las tres barras con los agujeros de
dentro de la caja y vuelva a atornillar.
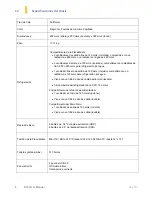
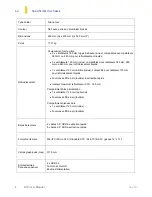
Voltaje medio: DC 12V
Voltaje operativo: 7.0V – 13.2 V
Velocidad
Voltaje de
inicio
Corriente de
entrada
Paso de
aire
Presión estática
Ruido acústico
Potencia de
entraada
800 RPM
7V
0.12A (Max)
41.2 CFM
0.28mm- H
2
O
(0.011 inch-H
2
O)
14 dBA
1.4 W (Max)
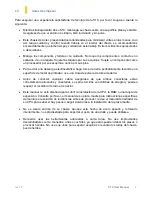
Para la instalación de radiadores de 280 mms / 240 mms:
Este montaje es compatible con radiadores de refrigeración por agua de 280 o 240 mms. Siga las
instrucciones originales del sistema de refrigeración por agua para instalar el radiador al montaje del
ventilador.
Imagen 31
Imagen 32
Imagen 33
Summary of Contents for Signature S10
Page 1: ...User Manual...
Page 4: ...4 S10 User Manual rev 1C Section 1 Introduction...
Page 9: ...rev 1C S10 User Manual 9 Section 2 Hardware Installation...
Page 15: ...rev 1C S10 User Manual 15 Section 3 Front I O Ports...
Page 17: ...rev 1C S10 User Manual 17 Section 4 Cooling System...
Page 23: ...Manual del Usuario...
Page 26: ...4 S10 User Manual rev 1C Secci n 1 Introducci n...
Page 31: ...rev 1C S10 User Manual 9 Secci n 2 Instalaci n del Hardware...
Page 37: ...rev 1C S10 User Manual 15 Secci n 3 Puertos Frontales I O...
Page 39: ...rev 1C S10 User Manual 17 Secci n 4 Sistema de Refrigeraci n...
Page 45: ...Manuel d utilisation...
Page 48: ...4 S10 User Manual rev 1C Section 1 Introduction...
Page 53: ...rev 1C S10 User Manual 9 Section 2 Installation du mat riel...
Page 59: ...rev 1C S10 User Manual 15 Section 3 Ports entr e sortie en fa ade...
Page 61: ...rev 1C S10 User Manual 17 Section 4 Syst me de refroidissement...
Page 67: ...Benutzer Handbuch...
Page 70: ...4 S10 Benutzer Handbuch rev 1C Bereich 1 Einleitung...
Page 75: ...rev 1C S10 Benutzer Handbuch 9 Bereich 2 Einbau Ihrer Hardware...
Page 81: ...rev 1C S10 Benutzer Handbuch 15 Bereich 3 Frontseitige I O Anschl sse...
Page 83: ...rev 1C S10 Benutzer Handbuch 17 Bereich 4 K hlungssystem...
Page 89: ...Manuale d uso...
Page 92: ...4 S10 Manuale d uso rev 1C Sezione 1 Introduzione...
Page 97: ...rev 1C S10 Manuale d uso 9 Sezione 2 Installazione Hardware...
Page 103: ...rev 1C S10 Manuale d uso 15 Sezione 3 Pannello I O Frontale...
Page 105: ...rev 1C S10 Manuale d uso 17 Sezione 4 Sistema di Raffreddamento...
Page 111: ......
Page 114: ...4 S10 rev 1C...
Page 117: ...rev 1C S10 7 1 3 S10 S10 Antec CPU RAM CPU...
Page 118: ...8 S10 rev 1C 1 4 S10 S10 1 S10 2 1 2...
Page 119: ...rev 1C S10 9...
Page 120: ...10 S10 rev 1C 2 1 4 11 2 2 CPU 1 2 3 2 3 S10 SATA NOTE 6 7 HDD PSU 6 7 5 3 4...
Page 121: ...rev 1C S10 11 2 4 1 Section 2 1 Figure 4 2 1 2 10 9 8...
Page 122: ...12 S10 rev 1C 2 5 1 2 11 12 3 13 4 1 2 14 3 1 2 1 Figure 4 2 15 3 13 12 11 15 14...
Page 125: ...rev 1C S10 15 I O...
Page 126: ...16 S10 rev 1C 3 1 USB 3 0 USB 3 0 3 2 HD Intel 10 HDA 3 3 LED S10 LED LED LED 28 29 30...
Page 127: ...rev 1C S10 17...
Page 130: ...20 S10 rev 1C 4 4 120mm 120mm 5x 2 5 SSD 24 1 2 1 4 2 38 3 39 4 38 39 40...
Page 133: ......
Page 136: ...4 S10 rev 1C...
Page 139: ...rev 1C S10 7 1 3 S10 S10 Antec CPU RAM CPU...
Page 140: ...8 S10 rev 1C 1 4 S10 S10 1 S10 2 1 2...
Page 141: ...rev 1C S10 9...
Page 142: ...10 S10 rev 1C 2 1 4 11 2 2 CPU 1 2 2 3 S10 SATA 6 7 HDD PSU 6 7 5 3 4...
Page 143: ...rev 1C S10 11 2 4 1 2 1 4 2 1 2 10 9 8...
Page 144: ...12 S10 rev 1C 2 5 1 2 11 12 3 13 4 1 2 14 3 1 2 1 4 2 15 3 13 12 11 15 14...
Page 147: ...rev 1C S10 15 I O...
Page 148: ...16 S10 rev 1C 3 1 USB 3 0 USB 3 0 3 2 HD Intel 10 HDA 3 3 LED S10 LED LED LED 28 29 30...
Page 149: ...rev 1C S10 17...
Page 152: ...20 S10 rev 1C 4 4 120mm 120mm 5x 2 5 SSD 24 1 2 1 4 2 38 3 39 4 38 39 40...
Page 155: ......
Page 158: ...4 S10 rev 1C 1...
Page 161: ...rev 1C S10 7 1 3 S10 Antec PC CPU RAM CPU...
Page 162: ...8 S10 rev 1C 1 4 S10 S10 S10 2 1 2...
Page 163: ...rev 1C S10 9 2...
Page 165: ...rev 1C S10 11 2 4 PSU PSU PSU 1 2 1 4 2 PSU PSU 2 1 PSU 2 PSU PSU 10 9 8...
Page 166: ...12 S10 rev 1C 2 5 1 2 11 12 3 13 4 PSU 1 PSU 2 14 3 HDD 1 2 1 4 2 HDD 15 3 13 12 11 15 14...
Page 169: ...rev 1C S10 15 3 I O...
Page 171: ...rev 1C S10 17 4...
Page 174: ...20 S10 rev 1C 4 4 PSU PSU 120 mm 120mm PSU 2 5 SSD 1 7 1 2 1 4 2 38 3 39 4 38 39 40...
Page 177: ......
Page 178: ......
Page 183: ......


