10
S10 User Manual
rev 1C
2.1
Opening the Side Panels
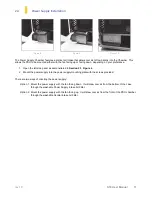
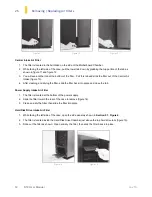
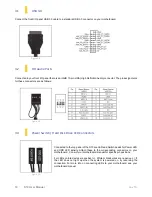
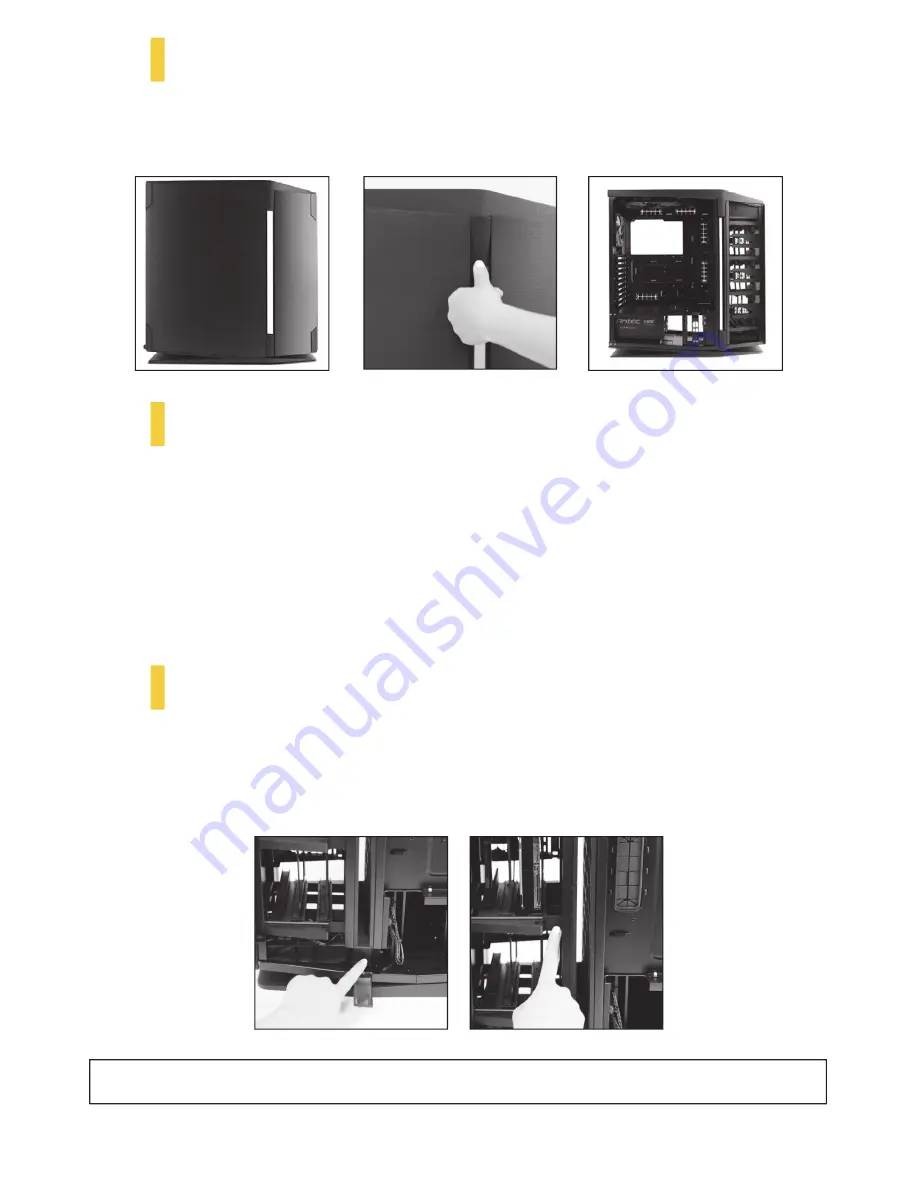
There are two tabs on each side of the case. The top tab is designed to open the side panels. Push the lower part of
the tab (figure 4) to disengage the door from the metal chassis. The lower tab (figure 11) is for unlocking the Central Air
Intake Filter during maintenance.
2.2
Motherboard
Installation
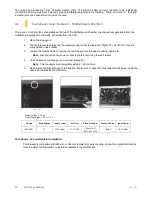
Before proceeding: Check the manual of your CPU cooler for pre-installation steps before installing a motherboard.
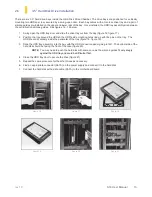
1. Align the motherboard with the standoff holes on the motherboard tray. Determine which holes line up and
remember where they are. Not all motherboards will match with all of the provided screw holes, and this is not
necessary for proper functionality. Some standoffs may be pre-installed for your convenience.
2. Lift up and remove the motherboard. Screw in the brass standoffs to the threaded holes that line up with the
motherboard.
3. Place the motherboard on the brass standoffs. Screw in the motherboard to the standoffs with the provided
Phillips-head screws.
2.3
Cable
Management
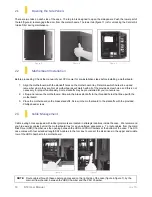
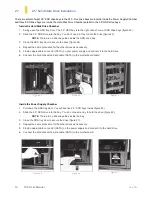
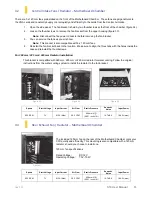
Cable routing holes equipped with rubber grommets are located in strategic locations inside the case. We recommend
you hide excess cables behind the motherboard tray for an uncluttered appearance. To route cables from the Hard
Disk Drive (HDD) Chamber, use the opening between the HDD and PSU chambers at the bottom of the case. The S10
case comes with four extended length SATA cables in the tool box to connect the disk drives in the upper and middle
row of the HDD chamber to the motherboard.
NOTE:
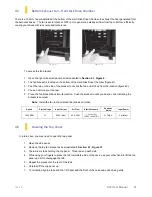
Route cables through these openings accessed on the right side of the case (figure 6, figure 7), by the
main air flow channel, between the HDD Chamber and the PSU Chamber.
Figure 5
Figure 3
Figure 4
Figure 6
Figure 7
Summary of Contents for Signature S10
Page 1: ...User Manual...
Page 4: ...4 S10 User Manual rev 1C Section 1 Introduction...
Page 9: ...rev 1C S10 User Manual 9 Section 2 Hardware Installation...
Page 15: ...rev 1C S10 User Manual 15 Section 3 Front I O Ports...
Page 17: ...rev 1C S10 User Manual 17 Section 4 Cooling System...
Page 23: ...Manual del Usuario...
Page 26: ...4 S10 User Manual rev 1C Secci n 1 Introducci n...
Page 31: ...rev 1C S10 User Manual 9 Secci n 2 Instalaci n del Hardware...
Page 37: ...rev 1C S10 User Manual 15 Secci n 3 Puertos Frontales I O...
Page 39: ...rev 1C S10 User Manual 17 Secci n 4 Sistema de Refrigeraci n...
Page 45: ...Manuel d utilisation...
Page 48: ...4 S10 User Manual rev 1C Section 1 Introduction...
Page 53: ...rev 1C S10 User Manual 9 Section 2 Installation du mat riel...
Page 59: ...rev 1C S10 User Manual 15 Section 3 Ports entr e sortie en fa ade...
Page 61: ...rev 1C S10 User Manual 17 Section 4 Syst me de refroidissement...
Page 67: ...Benutzer Handbuch...
Page 70: ...4 S10 Benutzer Handbuch rev 1C Bereich 1 Einleitung...
Page 75: ...rev 1C S10 Benutzer Handbuch 9 Bereich 2 Einbau Ihrer Hardware...
Page 81: ...rev 1C S10 Benutzer Handbuch 15 Bereich 3 Frontseitige I O Anschl sse...
Page 83: ...rev 1C S10 Benutzer Handbuch 17 Bereich 4 K hlungssystem...
Page 89: ...Manuale d uso...
Page 92: ...4 S10 Manuale d uso rev 1C Sezione 1 Introduzione...
Page 97: ...rev 1C S10 Manuale d uso 9 Sezione 2 Installazione Hardware...
Page 103: ...rev 1C S10 Manuale d uso 15 Sezione 3 Pannello I O Frontale...
Page 105: ...rev 1C S10 Manuale d uso 17 Sezione 4 Sistema di Raffreddamento...
Page 111: ......
Page 114: ...4 S10 rev 1C...
Page 117: ...rev 1C S10 7 1 3 S10 S10 Antec CPU RAM CPU...
Page 118: ...8 S10 rev 1C 1 4 S10 S10 1 S10 2 1 2...
Page 119: ...rev 1C S10 9...
Page 120: ...10 S10 rev 1C 2 1 4 11 2 2 CPU 1 2 3 2 3 S10 SATA NOTE 6 7 HDD PSU 6 7 5 3 4...
Page 121: ...rev 1C S10 11 2 4 1 Section 2 1 Figure 4 2 1 2 10 9 8...
Page 122: ...12 S10 rev 1C 2 5 1 2 11 12 3 13 4 1 2 14 3 1 2 1 Figure 4 2 15 3 13 12 11 15 14...
Page 125: ...rev 1C S10 15 I O...
Page 126: ...16 S10 rev 1C 3 1 USB 3 0 USB 3 0 3 2 HD Intel 10 HDA 3 3 LED S10 LED LED LED 28 29 30...
Page 127: ...rev 1C S10 17...
Page 130: ...20 S10 rev 1C 4 4 120mm 120mm 5x 2 5 SSD 24 1 2 1 4 2 38 3 39 4 38 39 40...
Page 133: ......
Page 136: ...4 S10 rev 1C...
Page 139: ...rev 1C S10 7 1 3 S10 S10 Antec CPU RAM CPU...
Page 140: ...8 S10 rev 1C 1 4 S10 S10 1 S10 2 1 2...
Page 141: ...rev 1C S10 9...
Page 142: ...10 S10 rev 1C 2 1 4 11 2 2 CPU 1 2 2 3 S10 SATA 6 7 HDD PSU 6 7 5 3 4...
Page 143: ...rev 1C S10 11 2 4 1 2 1 4 2 1 2 10 9 8...
Page 144: ...12 S10 rev 1C 2 5 1 2 11 12 3 13 4 1 2 14 3 1 2 1 4 2 15 3 13 12 11 15 14...
Page 147: ...rev 1C S10 15 I O...
Page 148: ...16 S10 rev 1C 3 1 USB 3 0 USB 3 0 3 2 HD Intel 10 HDA 3 3 LED S10 LED LED LED 28 29 30...
Page 149: ...rev 1C S10 17...
Page 152: ...20 S10 rev 1C 4 4 120mm 120mm 5x 2 5 SSD 24 1 2 1 4 2 38 3 39 4 38 39 40...
Page 155: ......
Page 158: ...4 S10 rev 1C 1...
Page 161: ...rev 1C S10 7 1 3 S10 Antec PC CPU RAM CPU...
Page 162: ...8 S10 rev 1C 1 4 S10 S10 S10 2 1 2...
Page 163: ...rev 1C S10 9 2...
Page 165: ...rev 1C S10 11 2 4 PSU PSU PSU 1 2 1 4 2 PSU PSU 2 1 PSU 2 PSU PSU 10 9 8...
Page 166: ...12 S10 rev 1C 2 5 1 2 11 12 3 13 4 PSU 1 PSU 2 14 3 HDD 1 2 1 4 2 HDD 15 3 13 12 11 15 14...
Page 169: ...rev 1C S10 15 3 I O...
Page 171: ...rev 1C S10 17 4...
Page 174: ...20 S10 rev 1C 4 4 PSU PSU 120 mm 120mm PSU 2 5 SSD 1 7 1 2 1 4 2 38 3 39 4 38 39 40...
Page 177: ......
Page 178: ......
Page 183: ......


