28
pIps on your Screen can be resized, positioned; you can add borders,
transparency and create other effects.
To position a PIP:
1/
Select the pIp you wish to move.
2/
In the Layout section, press the
[
POS]
button, and move the
PIP with the help of the joystick (see also
Using The Joystick
,
p.27).
3/
When you have reached the desired position, press the
[
TAKE]
button to view the result on the Main output.
To resize a PIP:
1/
Select the pIp you wish to resize.
2/
In the Layout section, press the
[
SIzE]
button, and resize the
PIP with the help of the joystick (see also
Using The Joystick
).
3/
When you have resized your pIp, press the
[
TAKE]
button to
view the result on the Main output.
To zoom into and out of a PIP:
1/
Select the pIp you wish to zoom in or out of.
2/
In the Layout section, press the
[
zOOM]
button, and adjust the
zoom in the PIP with the help of the joystick (see also
Using
The Joystick
).
3/
When you have set the pIp zoom, press the
[
TAKE]
button
to
view the result on the Main output.
To select the pIp you wish to work with, press several times on the
SELECT PIP
button until the required PIP is displayed in yellow or
press on the pIp on the tactile screen of the
ORCHESTRA
.
Selecting a PIP
Manipulating a PIP
To add a border to a PIP:
1/
Select the pIp you wish to add a border to.
2/
Select the element page on your touch screen, press the
[
BORDER]
button in the preset Edition Section to access border
settings displayed on the tactile screen of the
ORCHESTRA
(see also
Element Settings
, p.27).
3/
Set border attributes.
4/
press the
[
TAKE]
button to view the result on your Main output.
>
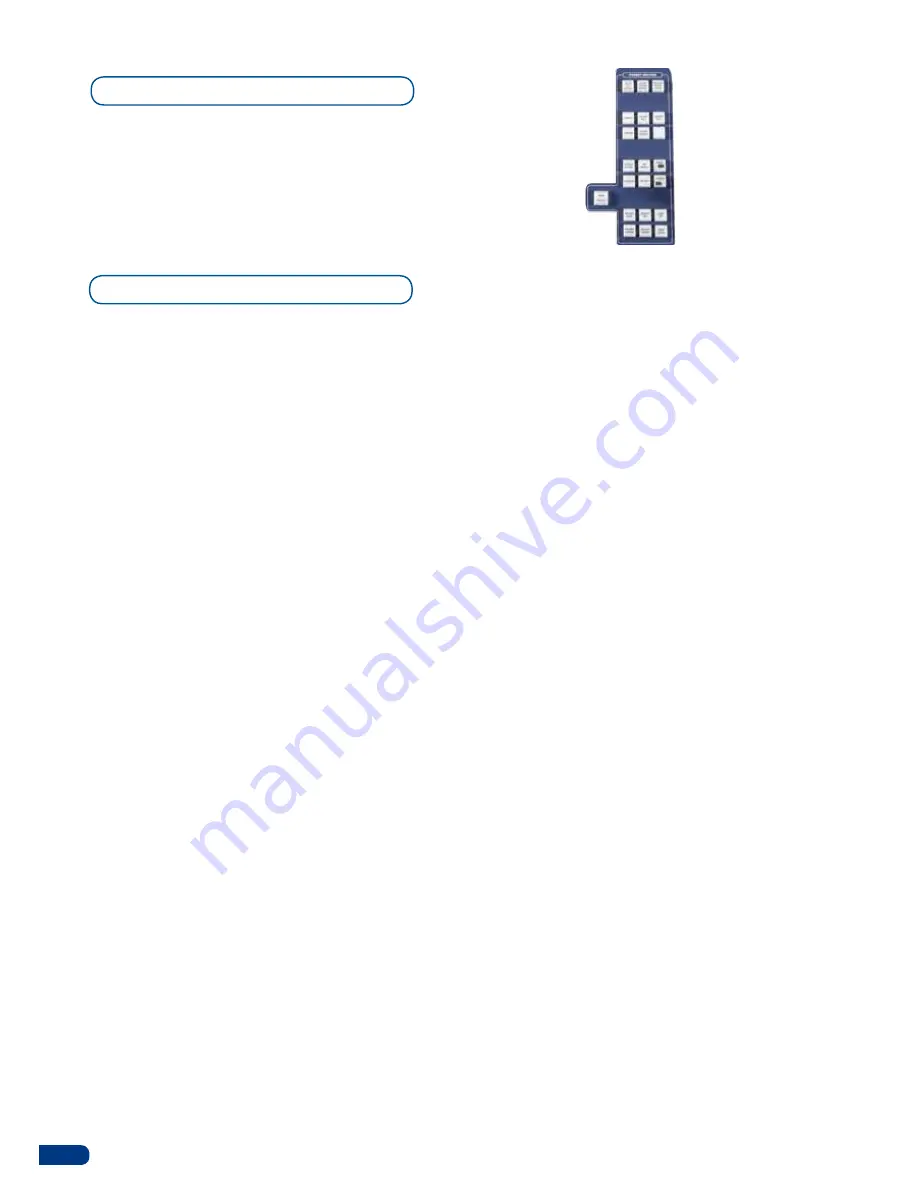
Preset Edition:
Save,
load and modify presets.
Various layer properties
are also available in this
section.
>
CLEAR ALL
button: delete
all layers.
> please refer to our user
manual for all the functions
in this section.
Summary of Contents for ORCHESTRA
Page 1: ...version 3 10 USER MANUAL...


