background image

EN

Troubleshooting

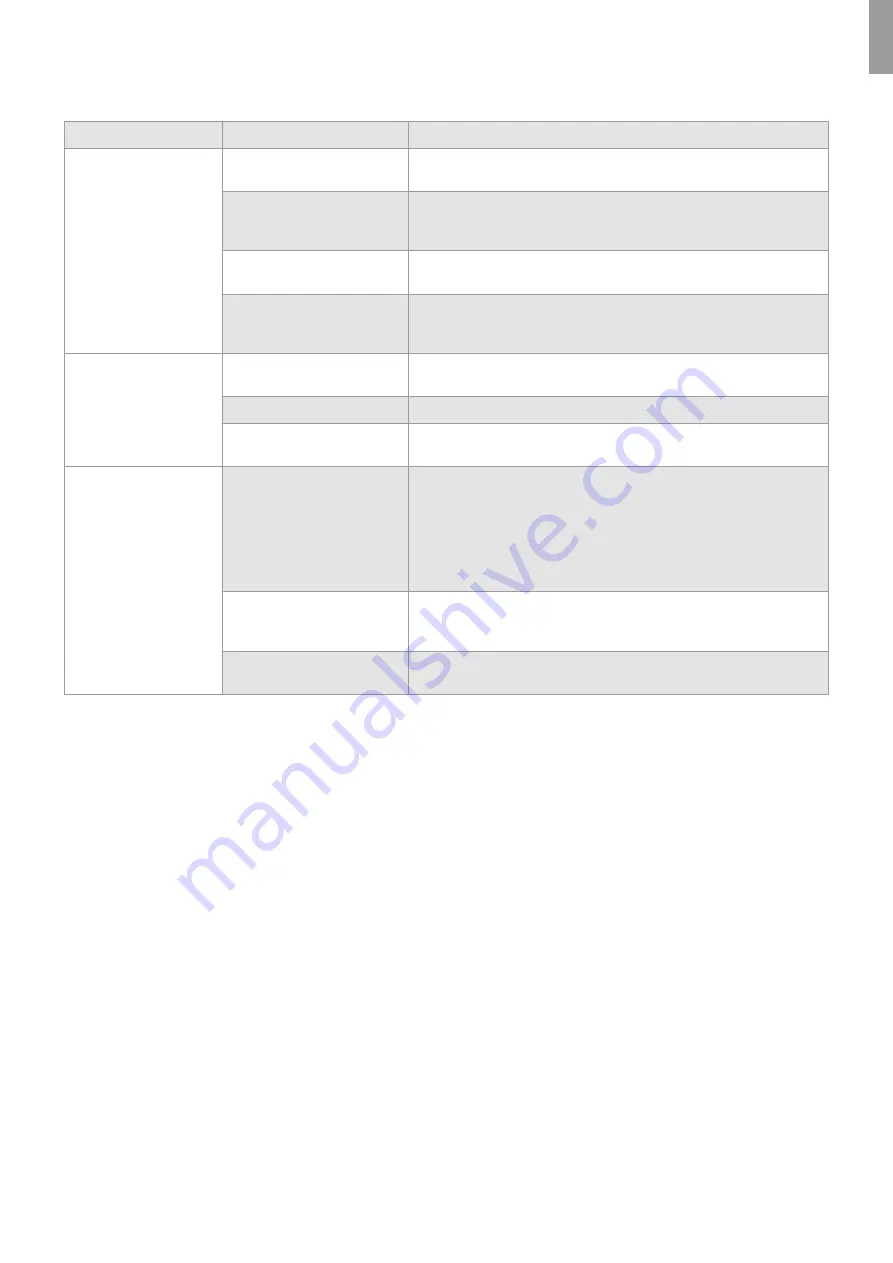
If problems occur with the aView monitor, please use this trouble-shooting guide to identify the cause and correct the error. 

Problem

Possible cause

Recommended action

No live image on the 
screen but User Interface is 
present on the display or 
the image shown is frozen.

An Ambu visualization device  
is not connected to aView.

Connect an Ambu visualization device to the blue or green port on aView.

aView and the Ambu 
visualization device have 
communication problems.

Restart aView by pressing the power button for at least 2 seconds. 
When aView is off restart by pressing the power button once more.

The Ambu visualization device 
is damaged.

Replace the Ambu visualization device with a new one.

A recorded image is shown in 
the yellow file management tab.

Return to live image by pressing the blue Live image tab or restart aView  
by pressing the power button for at least 2 seconds.  
When aView is off restart by pressing power button once more.

Low picture quality.

Light reflecting on  
the aView screen.

Move aView to a position where no direct light influences the screen.

Dirty / damp screen.

Wipe the screen with a clean cloth.

Brightness and contrast settings 
not optimal.

Adjust the contrast and brightness using the designated menu on aView.

Video out is not working.

No live image on  
the external screen.

Make sure the external monitor is connected to aView using the composite 
cable and that the external monitor is displaying the correct input.  
The external monitor shall be capable of receiving NTSC or PAL. Toggle 
between NTSC and PAL in the video out menu on aView for best result.  
The external monitor is only displaying a live image when aView is  
displaying a live image. The image size on the external monitor is  
determined by the settings in the external monitor.

The colours, brightness and 
contrast looks different from 
the aView screen.

Adjust the colours, brightness and contrast on the external monitor to 
achieve the desired result.

Horizontal lines (noise)  
on external monitor.

If horizontal lines (noise) appear on the external monitor, try to connect  
the aView power supply.

15

Summary of Contents for aView

Page 1: ...User Guide Ambu aView For use by trained clinicians physicians only For in hospital use For use with Ambu visualization devices...

Page 2: ...Ambu is a registered trademark and aScope and aView are trademarks of Ambu A S Pat Pending 2...

Page 3: ...EN Content Page Important Information 4 The aView User Interface 4 Operating aView 5 1 Basic functions 5 2 File management 6 3 User accounts 10 4 Advanced settings 11 Troubleshooting 15 3...

Page 4: ...rding live image The screen layout may vary depending on the software version The screen layout may vary depending on the software version Interface nomenclature Power button Video recording Brightnes...

Page 5: ...mbu Visualization Device is connected or a blue screen will appear After about one minute aView will be ready A white hourglass indicating that aView is loading the User Interface will appear on the s...

Page 6: ...lacement of files for file placement Image Extend Assumption Live image is present To extend the live image double click on the live image displayed To remove Image Extend double click on the image ag...

Page 7: ...folder is located under ALL USERS folder Yellow tab for File Management Press the yellow File Management tab to view delete rename or transfer recorded files NOTE Press the blue Live Image tab or to...

Page 8: ...is highlighted when selected Press to rename the folder or file Foldername filename and keyboard appears Enter new filename Confirm name by pressing Cancel rename by pressing NOTE Renaming is also po...

Page 9: ...o the demo folder called FAVORITES NOTE Files from a device folder can only be transferred to the DEMO folder called FAVORITES Multi select functionality To select more files click the files one by on...

Page 10: ...playing the selected user account name and the PIN selection button turns red Type a 4 digit PIN and press User Account is created and the user is automatically logged in NOTE Create User Account is a...

Page 11: ...r account Press to cancel deletion NOTE Press to create a user account or to login How to change User Account PIN or ADMIN PIN Login to the ADMIN account After login to ADMIN account all User Accounts...

Page 12: ...settings Press the up or down arrow to adjust the colour for the Red Green and blue The arrow will light up red when pressed and the achieved level will be shown for a few seconds The value for each...

Page 13: ...able clock in SIMPLE MODE Press to return to main settings menu Enable disable User Accounts USB Transfer and Renaming and USB ZIP Assumption ADMIN is logged in Press to enter software settings Press...

Page 14: ...ftware update Press to enter software settings Insert USB stick containing the upgrade file in its root directory Press to initiate software upgrade Do not unplug power or power down during update aVi...

Page 15: ...n once more Low picture quality Light reflecting on the aView screen Move aView to a position where no direct light influences the screen Dirty damp screen Wipe the screen with a clean cloth Brightnes...

Page 16: ...Ambu A S Baltorpbakken 13 DK 2750 Ballerup Denmark T 45 72 25 20 00 F 45 72 25 20 50 www ambu com 492 405 100 V01 2017 09 TCC 10391...

Reviews: