


43
ALUVISION > Clemence Dosschestraat 44 > 9800 Deinze, Belgium > T: +32 (0)9 381 54 70 > [email protected] > www.aluvision.com
The second option is to configure both screens in 2 setups. Therefore, first select the quantity of screens
you want to configure, in this example. Click
‘Configure’
to confirm this number. 2 screen tabs appear
on top of the screen configuration window. Select the first tab
‘Screen 1’
. With the first ouput selected
(Ethernet port No. 1), configure data flow 1 (Columns: 3, Rows: 2). Please note that the coordinates are
both ‘0’.
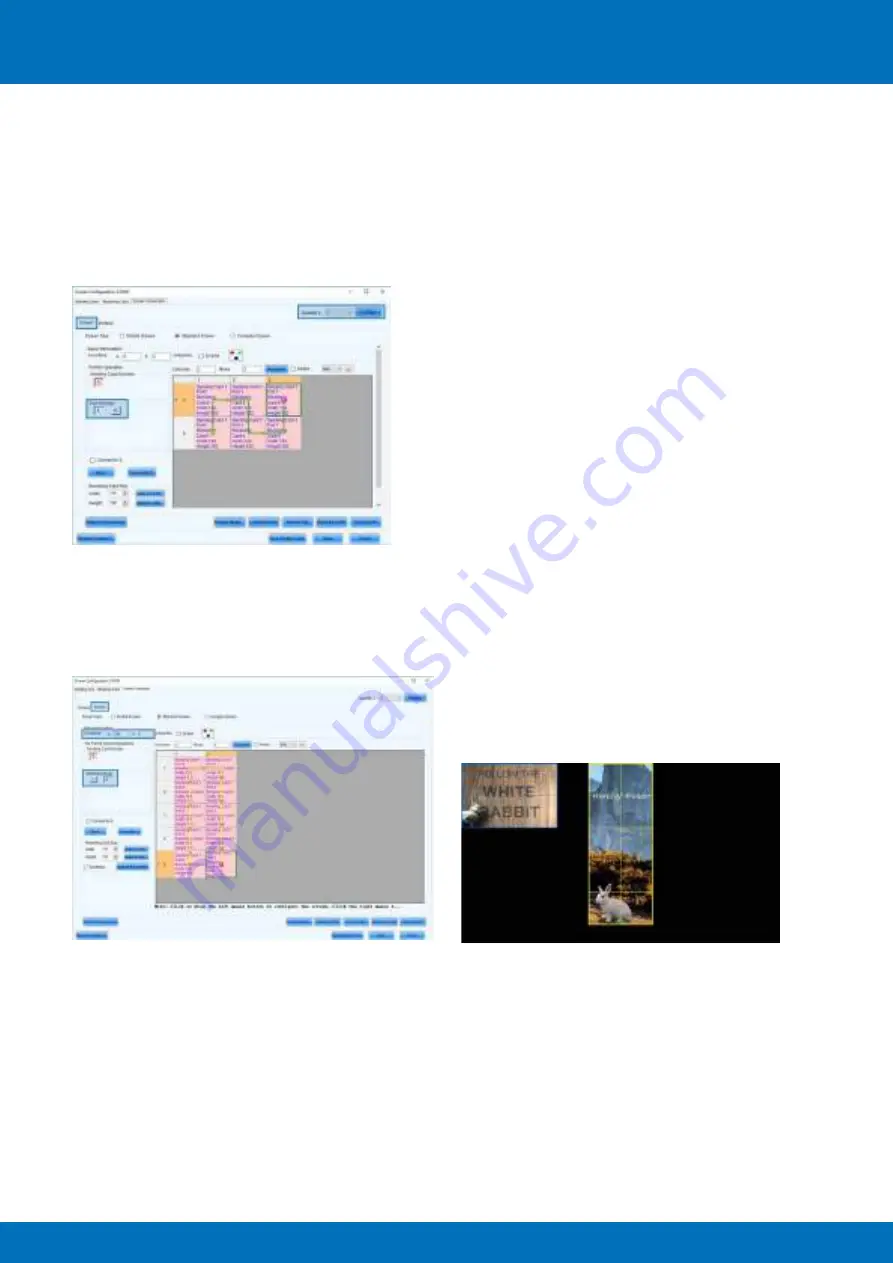
Now select the second tab
‘Screen 2’
. With the second output selected (Ethernet port No. 2), configure
data flow 2 (Columns: 2, Rows: 5). Since the video for screen 2 doesn’t start in the top left corner, it’s
necessary to set the correct coordinates. Based on the video’s pixelmap we can define that the video
for screen 2 starts 4 cabinets from the left and 0 cabinets from the top. This results in the following
coordinates: X = 4*192 = 768,Yy = 0. Fill in these coordinates in the corresponding boxes.
Send the configuration to the controller and save it by clicking
‘Send to HW’
and
‘Save’
. The video plays
properly now.


