


28
ALUVISION > Clemence Dosschestraat 44 > 9800 Deinze, Belgium > T: +32 (0)9 381 54 70 > [email protected] > www.aluvision.com
Installing and logging into the software, connecting the computer, opening the
screen configuration window and setting the resolution and refresh rate are
described in more detail in chapter ‘Simple screen — MCTRL300 controller
setup’.
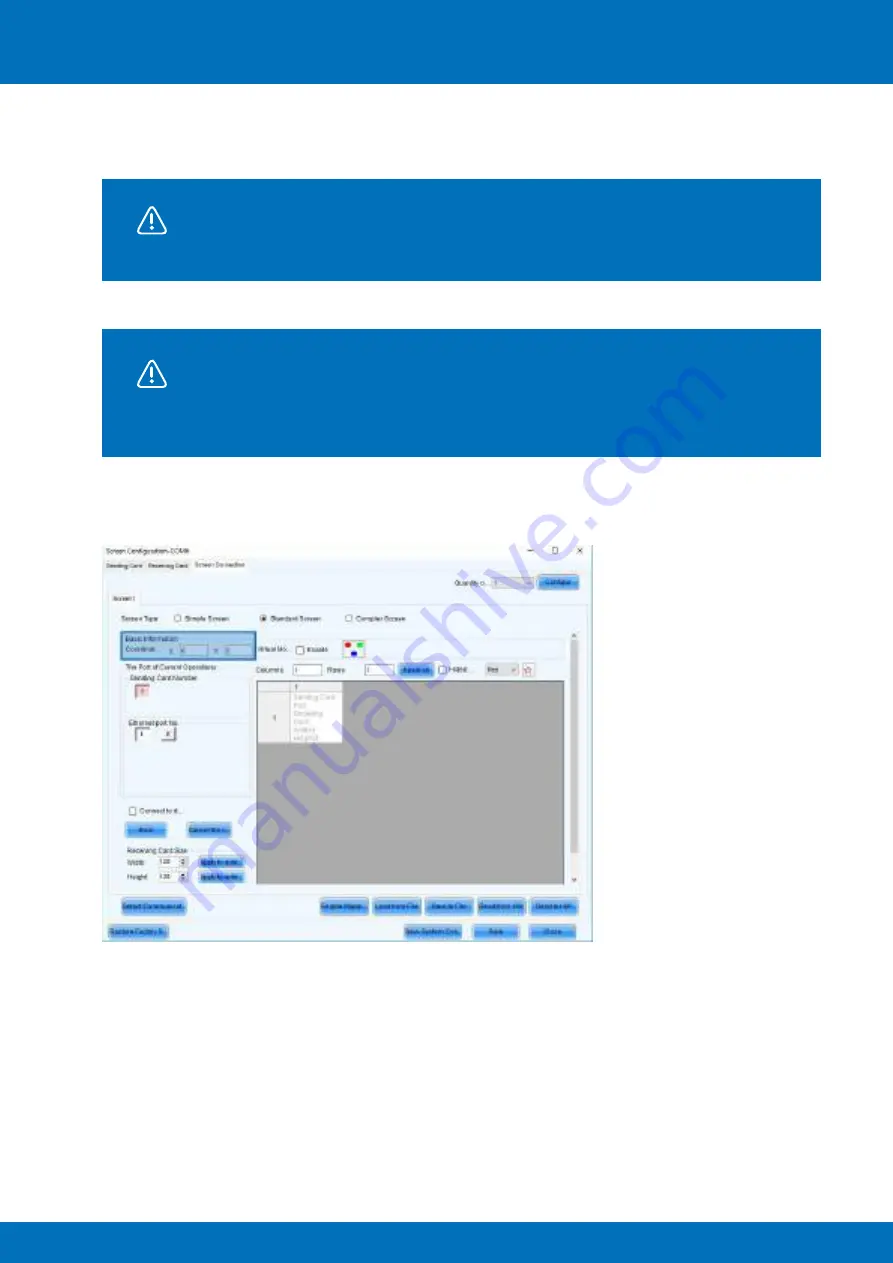
Select the third tab:
‘Screen Connection’
and select the second screen type option:
‘Standard Screen’.
Screen type options ‘Standard Screen’ and ‘Complex Screen’ are similar to each
other and can both be used to configure a complex LED screen. This example
will make use of screen type option ‘Standard Screen’. Attention: this is still a
complex screen. The screen type option ‘Complex Screen’ will be handled later
on.
Below the screen type selection you can find the coordinates. This refers to the position in the video
matching the top left position of your screen. By default
‘X’
and
‘Y’
are both
‘0’
. Do not change this unless
you don’t want to match the top left position of your video with the top left position of your screen.
Set the amount of columns and rows. In a simple screen setup this equals the amount of vertical and
horizontal cabinets. But in a complex screen setup, the gaps also have to be taken into account, use a grid
to make the gaps more visual (see chapter ‘Video file’). If your video content was created properly, each gap
has the same resolution as a cabinet and can be represented by a blank cabinet.
Start counting the squares, representing either a cabinet or a gap (blank cabinet), from the top left. We
need 5 columns and 5 rows to be able to show all the video content.


