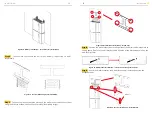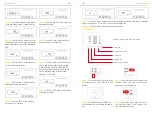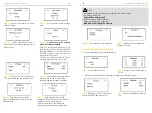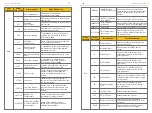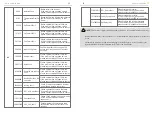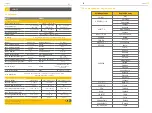
Step 1:
The initial interface of the meter
(normal working mode) is shown above.
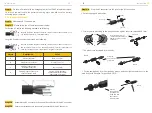
Step 2:
Click the “SET” button to enter the
password interface
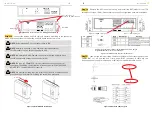
Step 3:
Click the "Enter" button to enter
the above interface, and press the up and
down arrow keys to enter the password
0001.
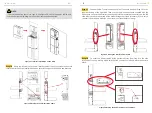
Step 4:
Click the "Enter" button and the
password input is completed.
Step 5:
Click the “Enter” button again to
enter the address interface
Step 6:
Click the “Enter” button and press
the up and down arrow keys to set the
meter address. The Grid meter (DC, AC
and Hybrid system) address is set to 001,
the PV meter (AC and Hybrid system)
address is set to 002.
Step 7:
Click the "Enter" button and the
address setting is completed.
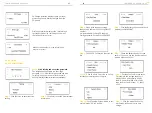
Step 8:
Click the “SET” button to enter the
following interface
Step 9:
Click the “SET” button again to
enter the save interface
Step 10:
Click the “Enter” button to enter the following interface, press the up and down
arrow keys, and set “no” to “YES” to save the configuration.
Step 11:
Click the "Enter" button and the setting ends.
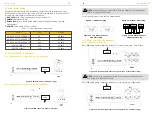
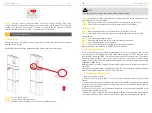
2.3.5.3 ACR10R
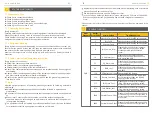
There are 5 buttons on the meter's front:
1. Enter key
2. Arrow to the right
3. Up arrow
4. SET button
5. FN key (no function)
INSTALLATION
INSTALLATION
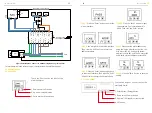
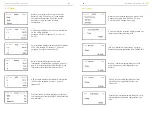
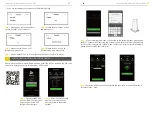
Step 1:
Activate the meter display by
pressing any key. Then click the "Set"
button.
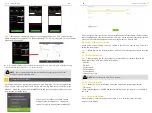
Step 2:
Use the arrow keys to select the
"SETUP" menu item and confirm your
selection with the Enter key.
Step 3:
Enter the password "0001" and
confirm the entry by pressing the Enter
key.
Step 4:
Select the menu item "Comm" in
the settings menu to change to the
communication settings.
35
36

