6
1.2
Initial Setup
Plug- in the power source to power-up the switch. After the switch is powered-on and in a ready state
(both the LED indicators POWER and DIAG are lit), you can use the
configuration
port
(a
standalone, out-of-band Ethernet port on the left side of the front panel) to connect to the switch. The
default IP and related settings
for this interface are shown below:
n
IP address:
192.168.0.100
n
Network mask:
255.255.255.0
n
Default gateway:
192.168.0.1
NOTE:
Connecting to the
configuration
port
is the ONLY way to control the switch. All Gigabit
(in-band) ports can’t be used to control the switch unless one gigabit port is linked to the
configuration port.
Try to PING the switch from your PC to make sure the network connection is successful. The IP
address on this switch can be modified later for your needs.
Now you can use a web browser to launch the user- friendly web management interface for this
switch. Currently (October 2004) the switch only supports
Microsoft Internet Explorer
for web
interface configuration. Please check with Alloy to determine support for other Web Browser
systems.
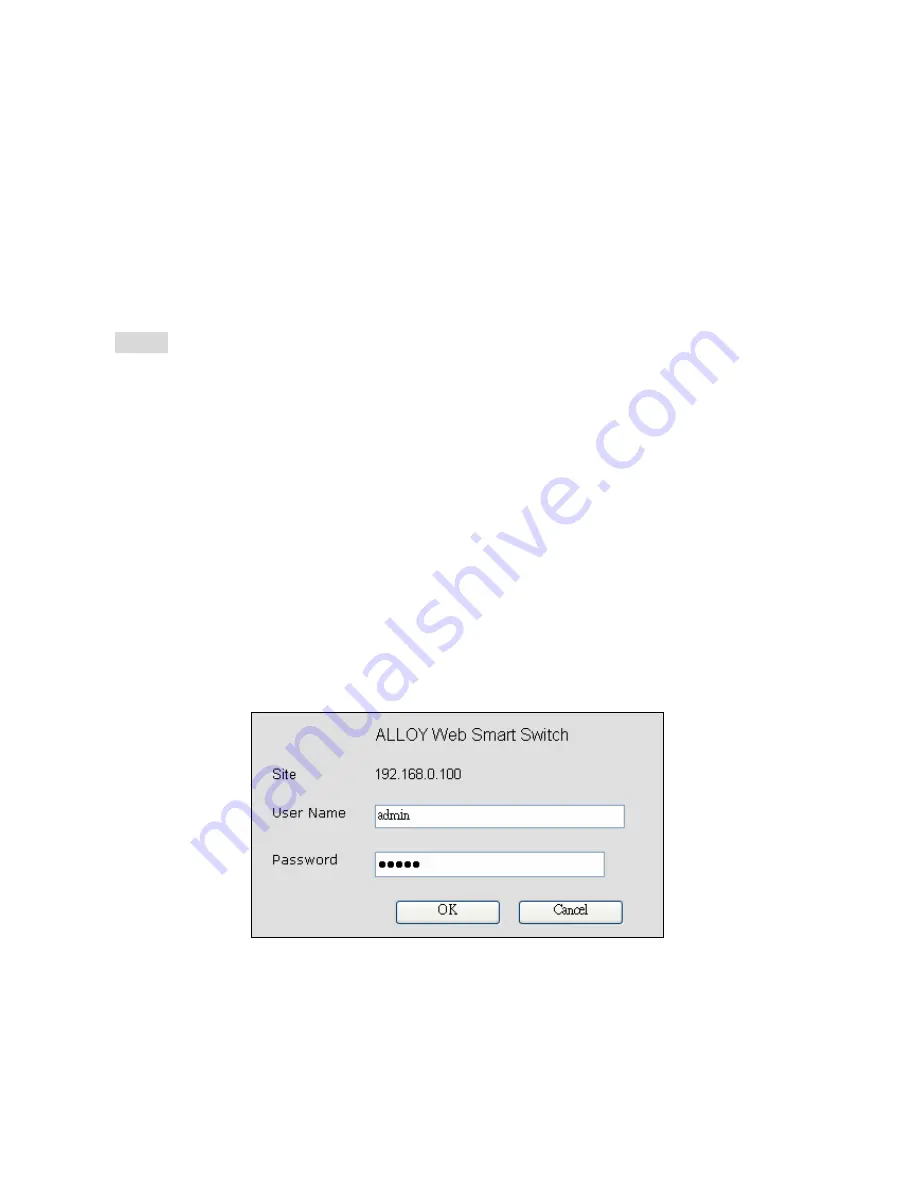
The login dialog box (shown below) is the first screen you will see when the switch’s IP address is
entered into your browser.
Use the
default username and password
shown as below to complete the login procedure:
n
Username:
admin
n
Password:
admin
This username/password can be modified if required.

