NANO 2 - Getting Started
User Manual v2.7
www.allo.com
4
2.3. Quick Installation Wizard
By following the Wizard, you will create a very basic configuration file allowing you to make
and receive calls thus confirming your NANO2 is fully functional. Most of the features won’t
be visible until you complete the wizard and access the full fledge user interface.
After the completion of Quick setup wizard, NANO2 will reboot and launch the basic
configuration file you’ve created. You are ready to test! You will also have access to the full
fledge user interface and all the features offered.
Once the reboot is done, Connect the WAN port of the Nano2 to your network switch ,also
you can remove the LAN connection and use the WAN IP to access the Full Fledge User
Interface of the NANO2. The WAN IP address can be obtained by dialing **# from the
Analog phone which is connected to the Nano2PBX
Important Note
:
We strongly recommend you to access the Nano2PBX webGUI after completion of Quick
setup wizard through WAN IP address. LAN interface only for initial setup.
Make sure to add the port number 8088 at the end of your IP address when logging in.
For Eg: 192.168.0.42:8088
The WAN IP address can be obtained by dialing **# from the Analog phone which is
connected to the Nano2PBX
2.4.
Accessing the Main GUI (Graphical User
Interface)
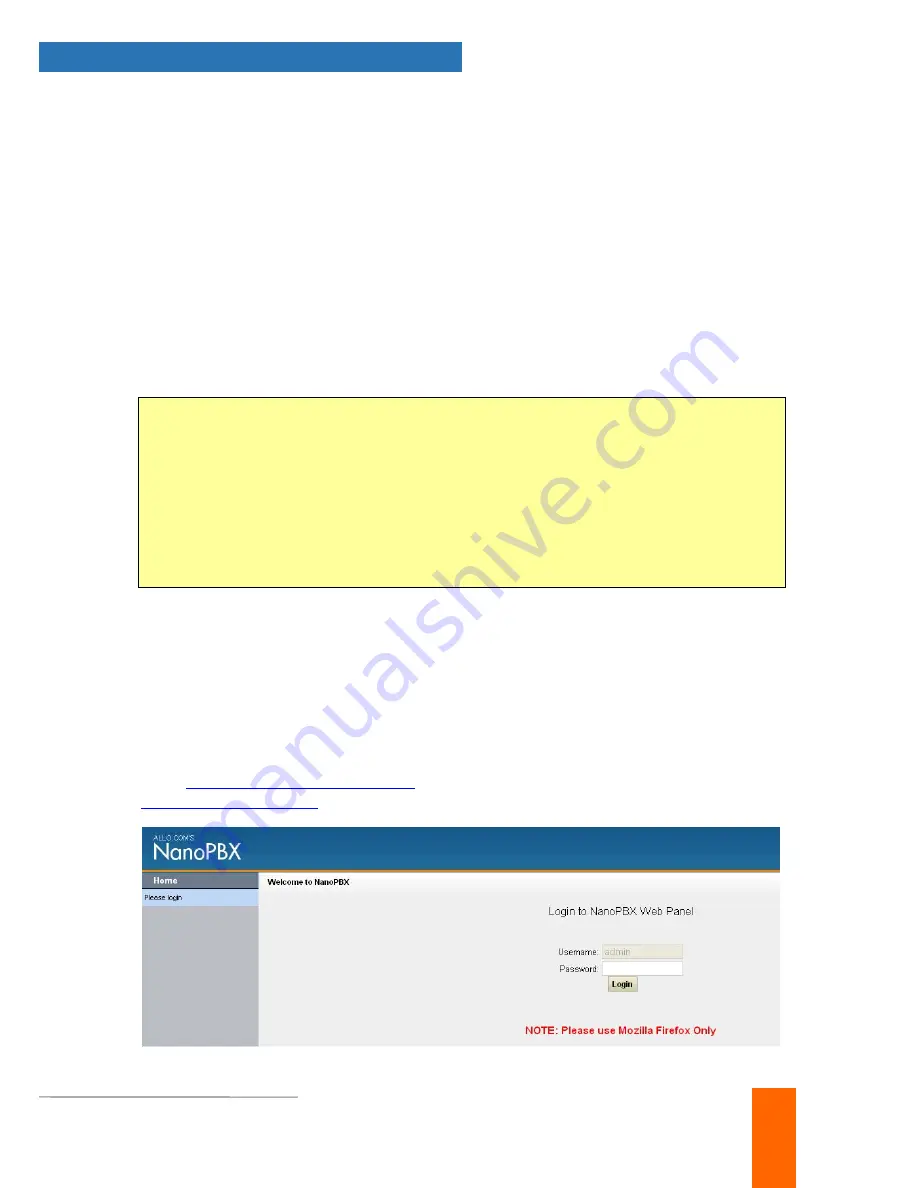
Connect an Analog phone to the any of the FXS ports of the Nano2PBX and dial “* *” to get
the WAN IP address of the unit. Using the IP address obtained, open the Web browser and
type:
http://<WAN IP Address:8088>
. Here is an example of how it should look:
http://192.168.1.100:8088
Summary of Contents for Nano 2
Page 1: ...Version 2 0...


