


NANO 2 – Setting up Features
User Manual v2.7
www.allo.com
15
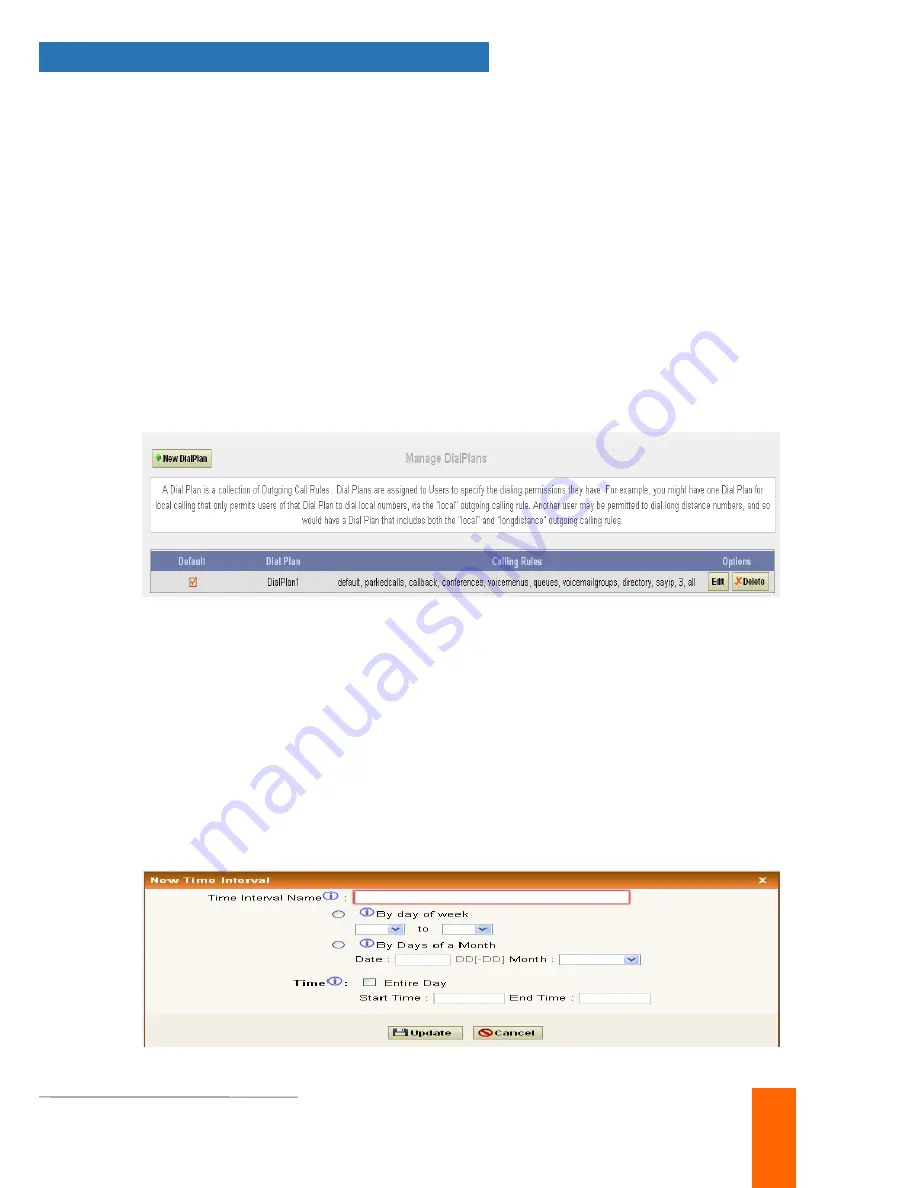
For Example: you might one Dialplan for local calling that permits the users of that DialPlan
to dial local numbers, via the “local” outgoing calling rule. Another user may be permitted to
dial long distance numbers, and so would have a DialPlan that includes both the “local” and
“log distance” outgoing calling rules.
You have to create the Dialplan first before you create any user accounts to make your call
successful. The Dialplan details are as follows.
Dialplan Name
: the name user wish to see in that field of Dialplan.
Include Outgoing Calling Rules
: when the outgoing Calling rules are created it displays
here so that to include it in the dialplan.
Include local contents
: here the user can select the features which he wishes to use.
After all the changes, click on the save button. And don’t forget to click on apply changes
button on top navigation bar immediately after save button.
4.6. Time Intervals
Navigation:
Time Intervals
: This is where you can create/edit /delete Time intervals for the
scheduling of the incoming calling rules.The time intervals Details are given as:
Time Interval name
: the name of the time intervals according to users need.
You can select either by day of week or by days of the monthYou can also select time
duration in a day or the whole day.After all the changes are done click on the update button
to create the time intervals and click on the apply changes button to confirm the time
intervals
configured.
Summary of Contents for Nano 2
Page 1: ...Version 2 0...


