51
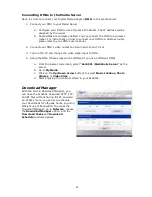
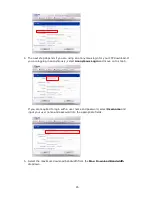
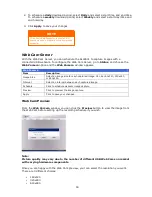
Use the drop down to select the desired recording interval.
Click
Apply
to save your changes.
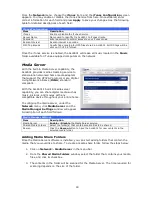
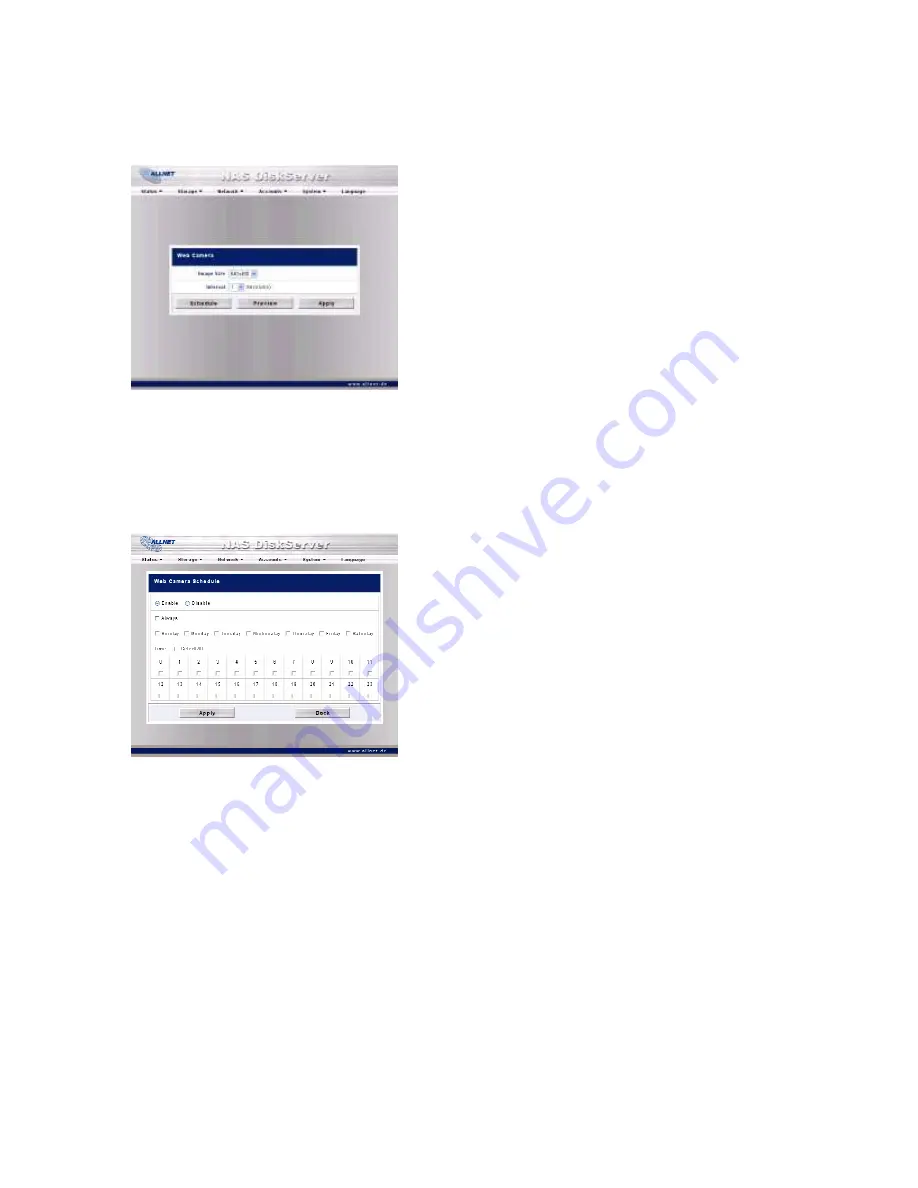
Adding a Web Cam Schedule
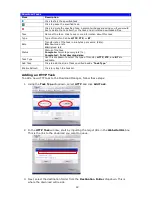
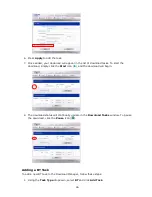
After finishing with the basic settings, we need to now configure the capture schedule. To do
this, begin by activating the schedule function by selecting
Enable
in the
Web Camera
Schedule
window.
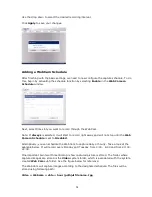
Next, select time slot you want to record through the Web Cam.
Note: If
Always
is selected, it will start to record right away and will not stop until the
Web
Camera Schedule
is set to
Disabled
.
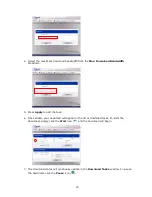
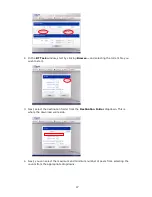
Alternatively, you can schedule the Web Cam to capture daily or hourly. Take a look at the
example below. It will record every Monday and Tuesday from 2:00 – 6:00 and from 20:00 –
22:00.
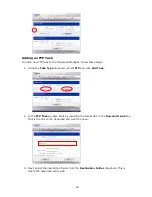
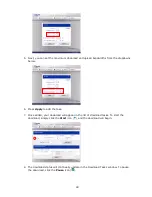
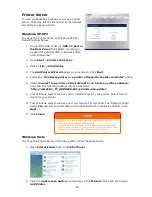
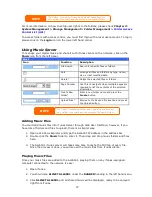
One important point worth mentioning is how captured picture is stored. The folder where
captured images are stored is the
Video
system folder, which is associated with the system-
created
Web Cam
sub folder. See the figure below for reference:
The Web Cam will capture images according to the designated schedule. The files will be
stored using following path:
Video + date + hour (path)
filename. Jpg

