24
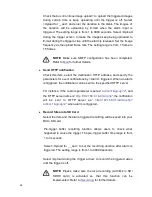
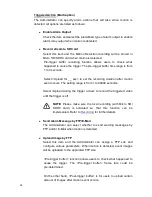
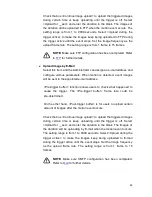
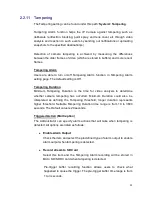
Check the box <Continue image upload> to upload the triggered images
during certain time or keep uploading until the trigger is off. Select
<Upload for __sec> and enter the duration in the blank. The images of
the duration will be uploading by E-mail when the alarm input is
triggered. The setting range is from 1 to 9999 seconds. Select <Upload
during the trigger active> to make the images keep being uploaded to
E-mail during the trigger active until the alarm is released. Set the Image
frequency as the upload frame rate. The setting range is from 1 frame to
15 frames.
NOTE:
Make sure SMTP configuration has been completed.
Refer to
for further details.
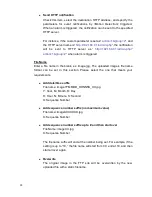
Send HTTP notification
Check this item, select the destination HTTP address, and specify the
parameters for event notifications by <Alarm> triggered. When an alarm
is triggered, the notification can be sent to the specified HTTP server.
For instance, if the custom parameter is set as
”
action=1&group=2
”, and
the HTTP server name is
”
http://192.168.0.1/admin.php
”, the notification
will be sent to HTTP server as
”
http://192.168.0.1/admin.php?
action=1&group=2
” when alarm is triggered.
Record Stream to SD Card
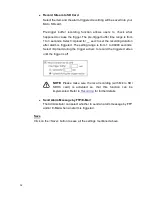
Select the item and the alarm-triggered recording will be saved into your
Micro SD card.
Pre-trigger buffer recording function allows users to check what
happened to cause the trigger. The pre -trigger buffer time range is from
1 to 3 seconds.
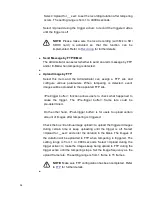
Select <Upload for __ sec> to set the recording duration after alarm is
triggered. The setting range is from 1 to 99999 seconds.
Select <Upload during the trigger active> to record the triggered video
until the trigger is off.
NOTE:
Please make sure the local recording (with Micro SD/
SDHC card) is activated so that this function can be
implemented. Refer to
Recording
for further details.

