26
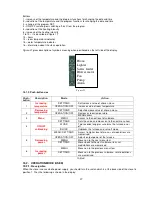
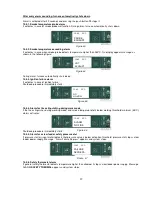
Figure 51
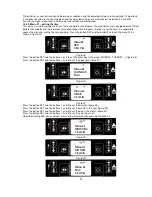
Press the button SET and then the button 1 and activate the weekly programming (On) as shown in figure 49.
Figure 52
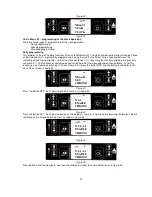
By pressing the button SET and then the button 1 we are setting the starting time of the stove operation in the first
program, as shown in figure 50. Repeat the same procedure and set the time of switching off of the stove in the first
program as shown in figure 51.
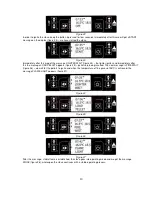
Figure 53
Figure 54
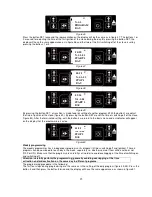
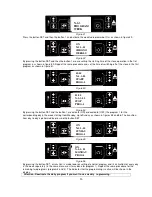
By pressing the button SET and the button 1 we activate (ON) or deactivate (OFF) the program 1 for the
corresponding day in the week starting from Monday, up to Sunday as shown in figures 55 and 56. The transition
from day to day is performed by pressing the button SET.
Figure 55
Figure 56
By pressing the button SET, a transition is made towards setting of another program and its activation for every day
in the week separately (in the same manner as it was done for program 1). Repeat the same procedure for the
remaining two programs (program 3 and 4). The indicator that the programming is active will be shown in the
display.
Attention: Deactivate the daily program if you want to use weekly rogramming.
N-2-3
PROGRAM
WEEK
ON
N-2-3- 01
CHRONO
WEEKLY
10:40
N-2-3- 02
START
PROG-1
12:00
N-2-3- 02
STOP
PROG-1
ON
N-2-3- 10
SUNDAY
PROG-1
ON
N-2-3- 01
MONDAY
PROG-1

