SER 340074-A
Tank Monitor System
Revision (9-05)
8
Alemite, LLC
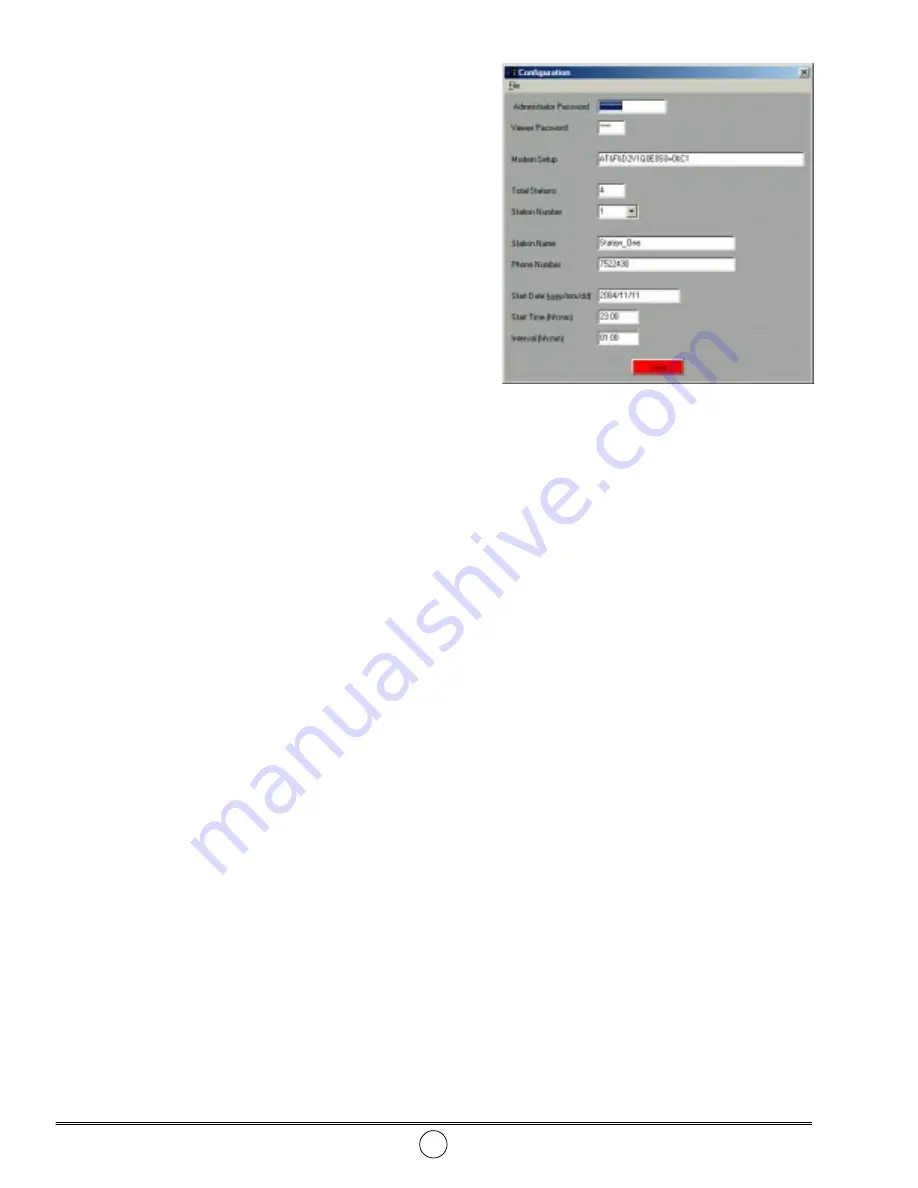
Configuration Screen
Administrator Password and Viewer Password
11. Highlight the asterisks within the field and enter a new
password in each field as desired.
• Press the Enter key after the completion of each field.
NOTE: The Administrator Password is required to
access the Configuration and Device Setup screens
The Viewer Password is required to access the Big-
view Main Window. See Figure 7.
Modem Setup (for modem connection)
The default modem string AT&F&D2V1Q0E0S0=0&C1
supports several modems including US Robotics model USR5699B,
Intel model 537EPV9xBFPCI, and Lucent model Win.56k. Should
the computer’s modem not operate with this default string:
12. Enter the computer’s modem string.
• Refer to the manufacturer’s documentation.
13. Press the Enter key.
• The field highlights in yellow.
Total Stations (Controllers)
14. Enter the number of stations*.
15. Press the Enter key.
• The field highlights in yellow.
Station Number
16. Select the station number from the drop-down button.
Station Name
17. Enter a unique name for the station.
18. Press the Enter key.
• The field highlights in yellow.
Phone Number (for modem connection)
19. Enter the phone number (area code can be required) of the
phone line connected to the Controller.
20. Press the Enter key.
• The field highlights in yellow.
Start Date (yyyy/mm/dd)
21. Enter the date (year/month/day) to start the monitoring process.
22. Press the Enter key
• The field highlights in yellow.
Start Time (hh:mm)
23. Enter the time of day [in military format, (9 P.M. is entered as
21:00)] required to start the monitoring process.
24. Press the Enter key.
• The field highlights in yellow.
* See step 33 for additional information.
Interval (hh:mm)
25. Enter the desired time interval (in hours and
minutes) between level reading collections.
IMPORTANT: The maximum num-
ber of readings saved by the system
in one day is 48.
26. Press the Enter key.
• The field highlights in yellow.
27. Repeat steps 16 through 26 for each
additional station.
28. Click the Save button.
• All data is saved to the computer.
• The Bigview Main Window (Status
Screen) appears.
• See Figure 8.
29. Select Administrator from the Option drop-
down menu.
• The Administrator Window appears.
• See Figure 9.
30. Enter the password.
31. Select the drop-down button and highlight
Device Setup.
32. Select the OK button.
• The Device Setup screen appears.
• See Figure 11.
Figure 10
Configuration Screen


