34
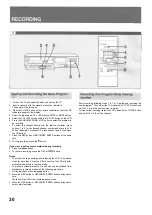
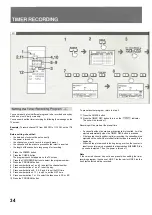
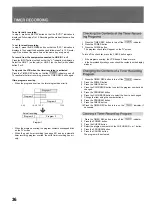
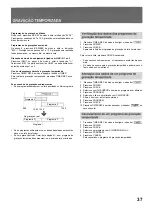
You can preset up to six different programs to be recorded on any day
within one month, daily or weekly.
You can easily set the timer recording by following the message on the
TV screen.
Example: To record channel 12 from 9:00 PM to 11:15 PM on the 17th
day.
Before setting, check that:
• the date and clock must be set correctly.
• the power is turned on.
• the channel you want to record is properly preset.
• the cassette with the erasure prevention tab intact is inserted.
• the length of the cassette is long enough for recording.
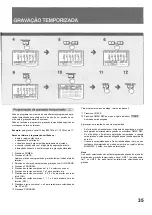
1 Press the POWER button.
2 Press the CHECK button.
The program check list appears on the TV screen.
3 Press the CH/CURSOR buttons to select the program number.
4 Press the PROGRAM button.
5 Press number buttons 1 and 2 to select the channel number.
6 Press number buttons 1 and 7 to set the day.
7 Press number buttons 0, 9, 0, 0 and 5 to set the ON time.
8 Press number buttons 1,1,1 and 5 to set the OFF time.
9 Press number button 1 or 3 to select the tape speed, SP or EP.
10 Press the PROGRAM button.
To preset another program, return to step 3.
11 Press the CHECK button.
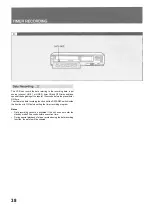
12 Press the TIMER REC button to turn on the indicator.
The unit will be turned off.
Recording will be made at the preset time.
• If a cassette without an erasure prevention tab is inserted, it will be
ejected automatically when the TIMER REC button is pressed.
• If the tape reaches its end during timer recording, the cassette will be
ejected and the unit will be turned off after the tape is rewound to the
beginning.
• When the tape is rewound to the beginning, or when the counter is
reset in counter memory mode and the tape reaches 0H00M00S, the
cassette is ejected. Then, the power is turned off.
Note
If the selected channel has not been preset when setting the timer
recording program, the channel, LINE 1 (on the rear) or LINE 2 (on the
front) last selected will be recorded.
Summary of Contents for HV-BR3000
Page 1: ......
Page 48: ...80 JU2 911 01 900510 ATM Y Printed in Japan AIWA Co Ltd...

