26
GR-UT699 Development Board
User Manual
3
SETTING UP AND USING THE BOARD
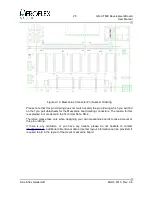
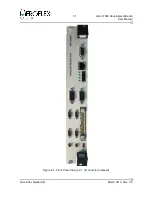
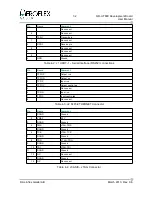
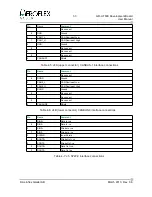
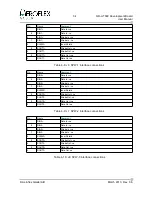
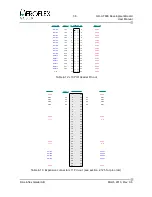
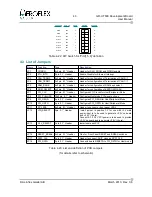
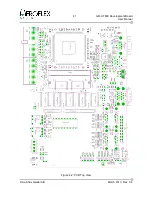
The default status of the Jumpers on the boards is as shown in table Figure 3-1.
In this configuration the board is set up as a PCI Host. For the meaning of the various
jumpers, refer to Table 4-23 and RD 1.
Jumper
Jumper Setting
Comment
JP1
1-2 not installed
3-4 not installed
5-6 not installed
7-8 installed
ASIC TEST mode pin not enabled
DSU is enabled
JTAG interface is enabled
Watchdog output can cause board reset
JP2
Not installed
Ethernet MDIO interface interrupt is not
connected to GPIO4
JP3
Install 1-3
End-stub termination enabled – see section
2.4.1
JP4
Install 1-3
End-stub termination enabled – see section
2.4.1
JP5
Install 1-2, 3-4, 5-6, 7-8
Connects RAMSN0 and RAMSN1 to on
board SRAM banks
JP6
Install 1-2
Connects ROMSN0 to on board Flash
Prom
JP7
Install 1-2 and 3-4
PCI Host Mode clocks to backplane – see
section 2.11
JP8
Install 1-2, 3-4, 5-6, 7-8, 9-10,
11-12, 13-14, 15-16, 17-18, 19-
20
PCI Host Mode- Pull ups enabled – see
section 2.11
JP9
Install 1-2 and 3-4
PCI Host Mode – see section 2.11
JP10
Install 1-2 and 3-4
PCI Host Mode – see section 2.11
JP11
Installed
Connects to Front Panel LED indicators
JP12
Installed 1-2
See section 2.9
JP13
Installed 1-2
See section 2.9
JP14
Installed
Can be used as current measure point for
Vcore supply to ASIC
JP15
Installed
Can be used as current measure point for
3.3V supply to ASIC
JP16
Installed
Connected to Front Panel push buttons for
RESET and BREAK
JP17
Not installed
Oscillator X3 provides source for
SPW_CLK
JP18
Installed 1-2
Board RESETN also generated PCI_RSTN
for PCI Host
Table 3-1: Default Status of Jumpers/Switches
To operate the unit stand alone on the bench top, connect the +5V power supply to the
Power Socket at the back of the unit.
The front-panel POWER LED should be illuminated indicating that the +3.3V power is active.
Upon power on, the Processor will start executing instructions beginning at the memory
location 0x00000000, which is the start of the PROM. If the PROM is 'empty' or no valid
program is installed, the first executed instruction will be invalid, and the processor will halt
with an ERROR condition, with the ERROR LED illuminated.
Pressing the DSU-BREAK button should illuminate the DSUACT LED and halt the
processor.
© Aeroflex Gaisler AB
March 2013, Rev. 0.6

