


ADOBE AFTER EFFECTS 7.0
User Guide
322
Hardness
Controls the brush stroke’s transition from 100% opaque at the center to 100% transparent at the edges.
Even with high hardness settings, only the center is fully opaque. Enter a percentage value or drag a new value.
Hardness settings at 100-percent (left) and 0-percent hardness (right)
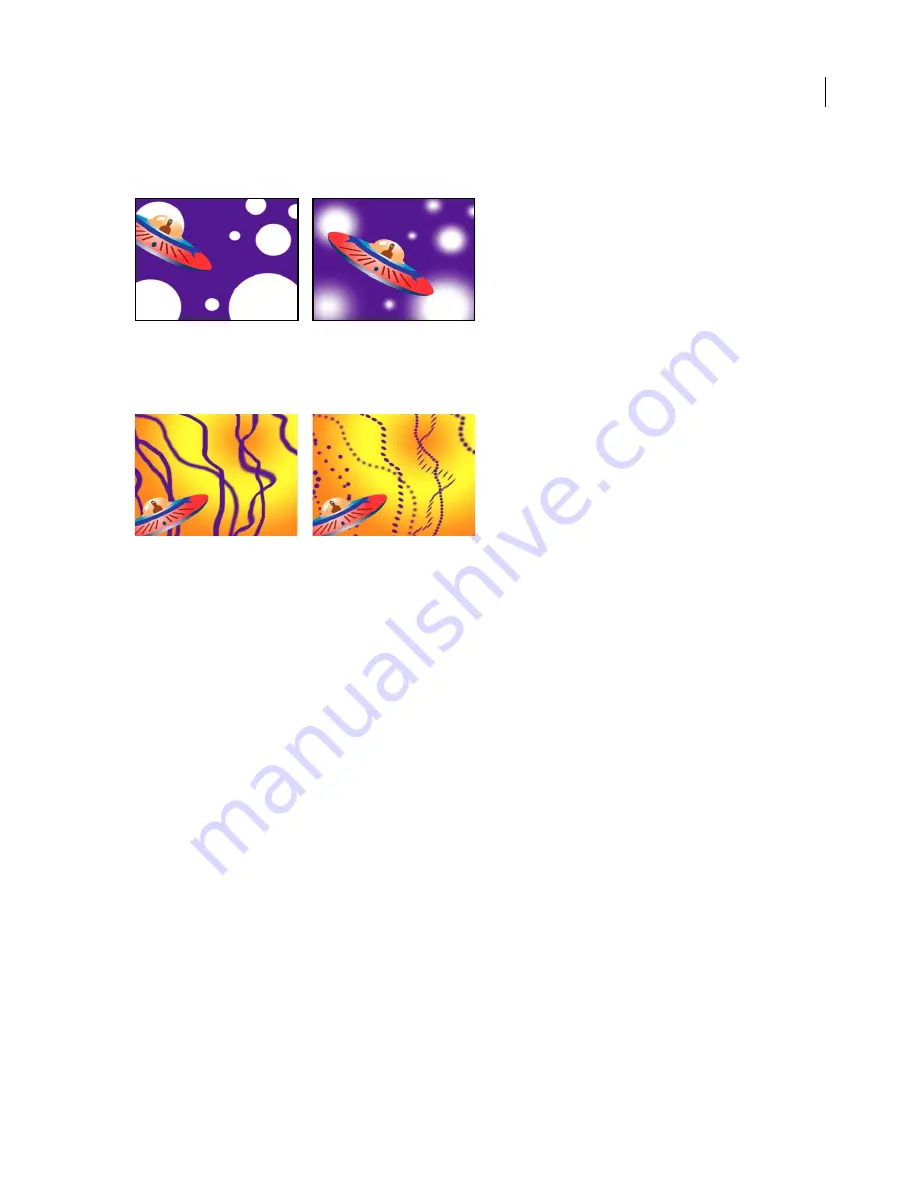
Spacing
Controls the distance between the brush tip marks in a stroke. The value is a percentage of the brush
diameter. When this option is deselected, the speed of the cursor determines the spacing.
Decrease spacing for continuous lines (left); increase spacing for dashed brush strokes (right).
Paint strokes
About paint strokes
Each time that you drag in an image with the Brush, Clone Stamp, or Eraser tool and create a paint stroke, After
Effects creates a separate paint item and duration bar in the Timeline panel. You can then use the Timeline panel to
change the stroke’s position in time and to animate each paint stroke’s shape, stroke options, and transform
properties.
Note:
Eraser strokes made with the Last Stroke Only option can’t be animated and permanently erase the targeted paint
stroke.
You can change a stroke’s position in time by adjusting values in the Timeline panel’s In, Out, and Duration columns,
in addition to dragging the stroke’s duration bar. In addition, you can nudge a paint stroke’s position, rotation, or
scale with the same keyboard commands that you use for nudging a layer.
See also
“Keyboard shortcuts” on page 642
Working with paint strokes in the Timeline panel
Once you have applied a paint stroke to a layer, you can modify the way the stroke interacts with the layer and the
composition by adjusting the blending mode, stroke properties, and transform properties in the Timeline panel.
Note:
To move a paint stroke, change its Position property values.
Summary of Contents for AFTER EFFECTS 7.0
Page 1: ...Chapter 1 User Guide...


