ADOBE DIRECTOR 11.0
User Guide
56
Creating a custom cast member thumbnail
Note:
For most cast members, Director displays a scaled version as the thumbnail unless you define a custom thumbnail.
Creating a custom thumbnail is useful for behaviors that you want to identify in the Library palette, because behaviors
have no identifying image.
1
Select a bitmap image and copy it to your system’s Clipboard.
You can copy the image from any bitmap editor, including the Paint window. The image can be of any size, but
smaller images look better because they require less scaling.
2
Select any cast member in the Cast window and open the Property inspector.
3
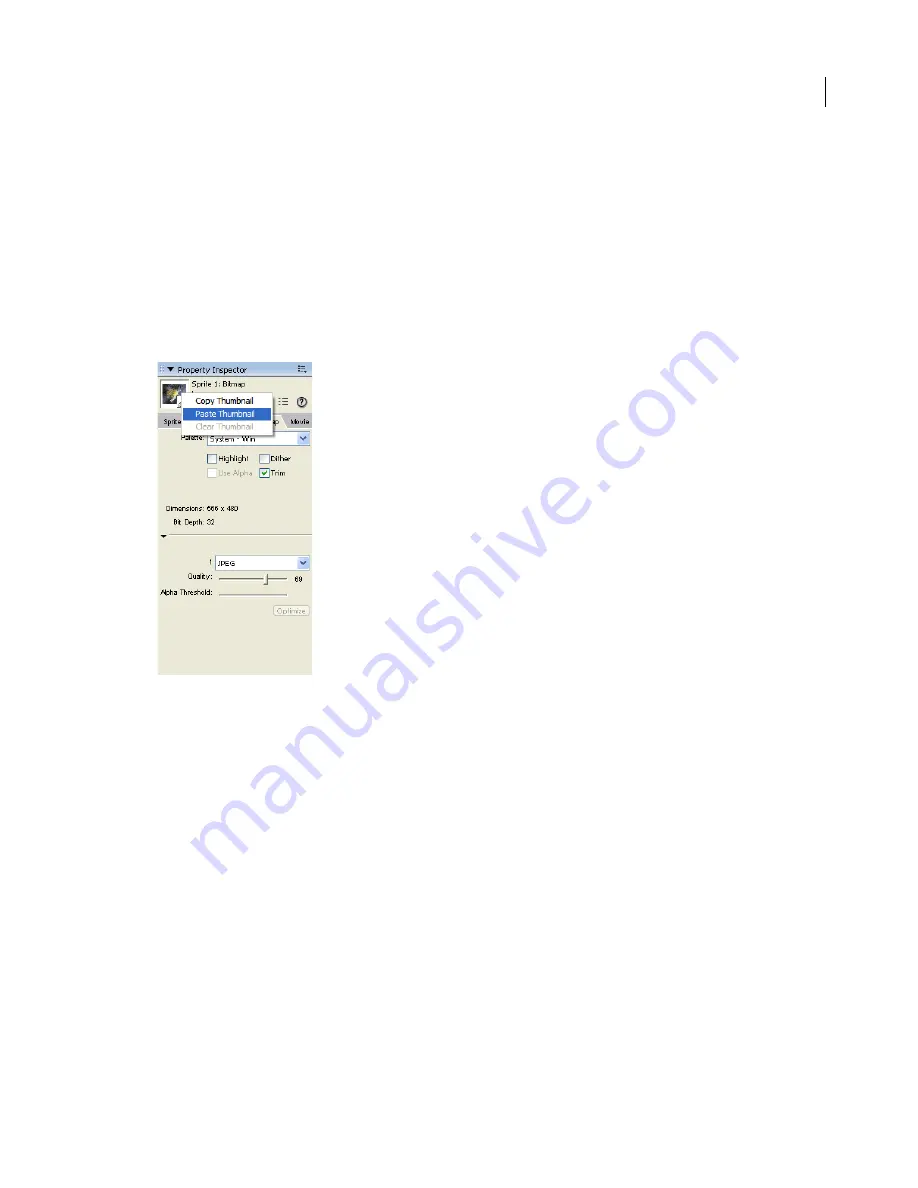
Right-click (Windows) or Control-click (Mac) the Thumbnail window.
4
From the context menu, select Paste Thumbnail.
The image from the Clipboard replaces the current cast member thumbnail, creating a custom thumbnail.
Note:
You can also use text as a thumbnail. Create and copy text instead of an image from any bitmap editor and follow
the same steps.
Launching external editors
You can specify external applications to edit many types of media. The Editors Preferences dialog box lists all the
types of media for which you can define an external editor. After you set up an external editor for a particular media
type, Director starts the application when you edit a cast member of that type. When you finish editing a cast
member in an external editor and then save and close the file, Director re-imports the cast member media.
You can easily edit Flash cast members by using the launch-and-edit feature in Director. For more information, see
Editing a Flash cast member
.
To use an external editor for an imported cast member, select Include Original Data For External Editing during
import. For more information, see
Importing cast members
.
You can’t define an external editor for any cast member created by an Xtra, such as text, vector shapes, and custom
pointers.


