Adobe Creative Suite 4 Printing Guide
50
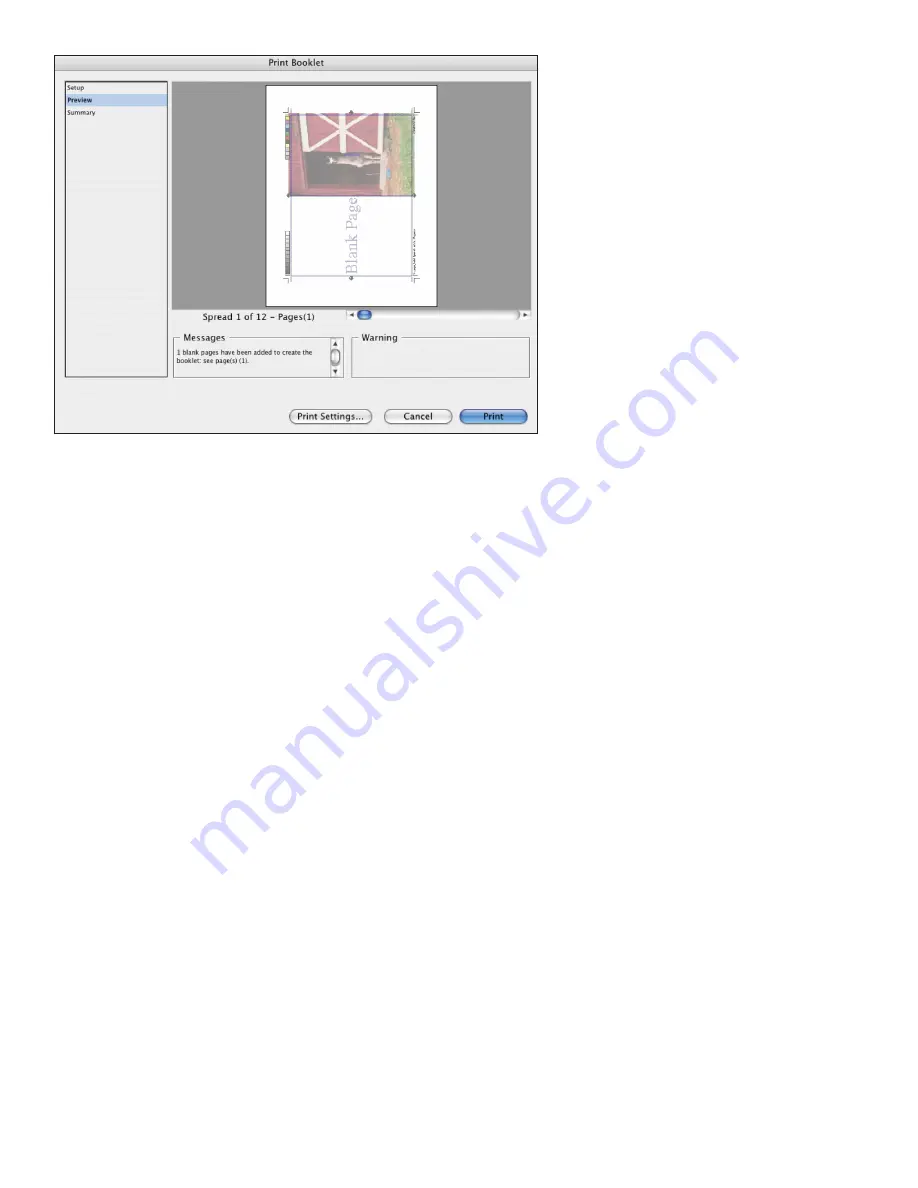
Print Booklet Preview
Page through the display to see pages included, as well as the
results of any creep values . The Messages area displays whether
blank pages had to be added to fulfill the signature; the Warning
area informs you if media size is too small for the imposed
spreads .
Helping Customers Prepare InDesign Files
When it’s time for final printed output, it is easier than ever for a customer to locate an Adobe
InDesign prepress service provider. The widespread acceptance of Adobe InDesign by prepress
service providers results from a long and proven record of reliable, consistent output and a deep
set of tools specifically geared to identify and resolve prepress issues before printing. As with
every previous version of the software, Adobe InDesign CS4 incorporates requests from print
professionals worldwide as solicited by Adobe. This close and continuing collaboration with the
print publishing community makes possible great advances in output efficiency and quality.
As a page layout application, InDesign is the “aggregator” of text, artwork from Illustrator, and
images from Photoshop. Consequently, in preparing to output InDesign files, you (and custom-
ers) have to consider issues relating to objects and effects created within InDesign as well as
attributes of placed artwork and fonts used.
Common-sense tips for customers
Customer education is an important part of a print service provider’s relationship with clients. In
addition to providing basic specifications for providing files for print, it’s helpful if you make sure
that clients are well-versed in the details of building and submitting files for successful print. You
can also help by supplying custom InDesign and Acrobat preflight profiles and encouraging your
customers to examine their own files before submitting them. In light of complex features such
as transparency, it’s easy to lose sight of the basics:
•
Monitor the Live Preflight module in the status bar of InDesign documents to catch
problems early.
•
Build to correct trim size, keeping in mind any specifications for image area (neces-
sary distance from trim and fold), and the need to accommodate any short-trim
panels.
•
Ensure that adequate bleed is created, and that bleed is included in PDFs submitted
as job files.
•
Avoid radical scaling of images.
•
Use Separations Preview to check for correct plates.
•
Reconcile extraneous spot colors, by editing content or by using Ink Manager.
•
Convert any spot colors to process if they are intended to print CMYK.
•
Include 100% printed comps (or comps marked for size).


