www.acti.com
www.acti.com
User
’s Manual
74
3.
Click
Draw
and then draw a detection area using the mouse. Adjust detection sensitivity as
needed to achieve optimal effects.
4.
Configure trigger actions. Click
right to
Trigger Actions
and set action(s) to trigger. For
more details, see
5.
Configure an arming schedule. Click
right to
Arming Schedule
and then set the time
when actions will be triggered.
6.
(Optional) Click
right to
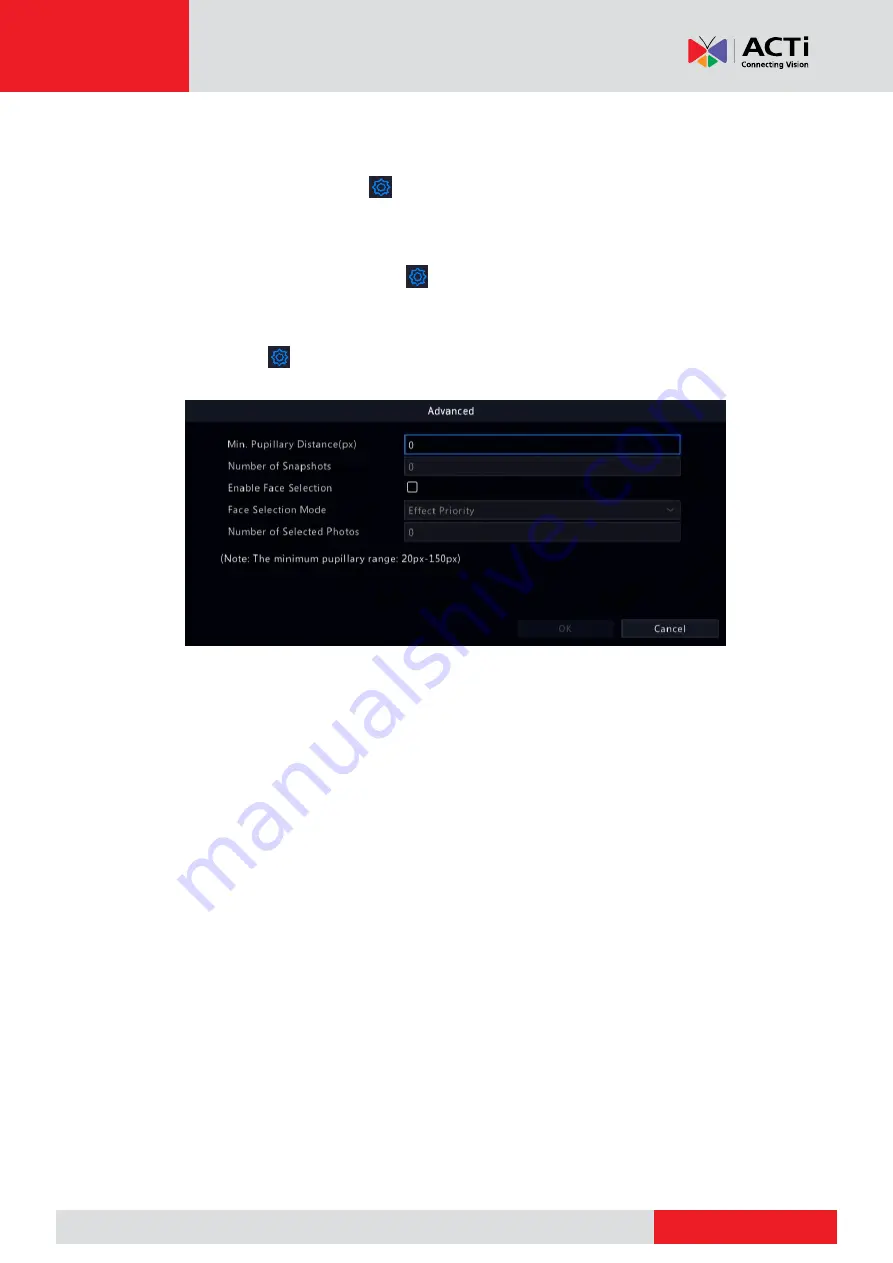
Advanced
, and complete the settings.
Min. Pupillary Distance
: the minimum resolution between two pupils. The face with
pupillary distance smaller than the value will not be captured.
Number of Snapshots
: the total number of snapshots to take for a face during the
detection. Up to 30 snapshots are allowed.
Face Selection
: Enable face selection, choose selection mode, then complete the
settings.
o
Effect Priority
: During the face’ stay in the surveillance area, select and upload
the face snapshots with best image quality. You can set the number of
snapshots.
o
Speed Priority
: Upload the best face snapshots within the time period from
when the face enters the surveillance area to when the set time is up.
o
Periodic Priority
: From the time when the face enters the surveillance area,
select and upload one snapshot in every set time period.


