


5 Operations After Start of Probing
5-5
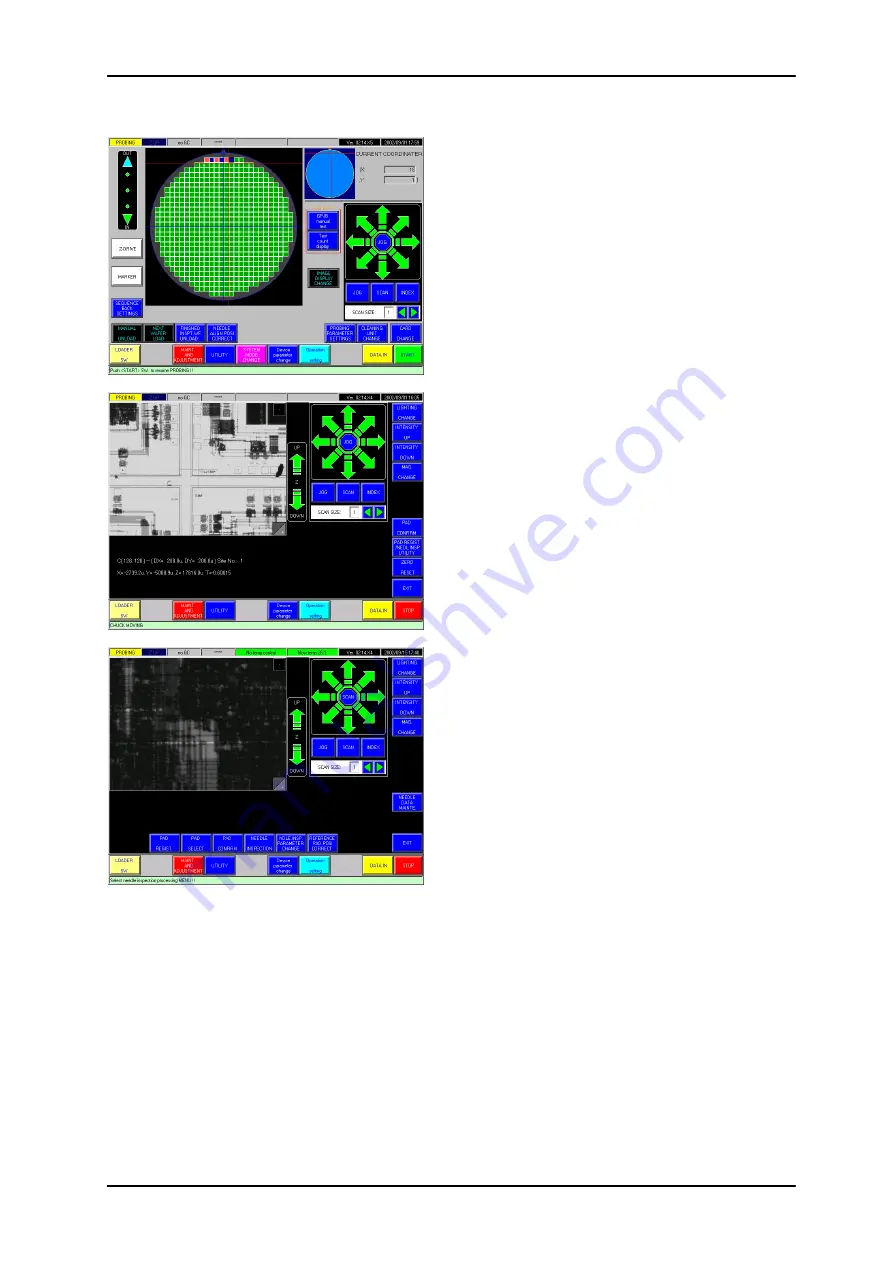
5.4 Probe Mark Display
For displaying the probe mark image on the screen,
you can use <Image Display Change> button on
the wafer map or Prober status screen in the
probing stop, instead of operating <Needle Align
Pos. Correct> button as explained on the preceding
page.
Touching the <Image Display Change> button,
twice successively, will make Chuck go under the
alignment camera and change the display to the
pad registration / probe mark inspection utility
screen as shown at left in the second.
Touch <Mag Change > button to change the display
to high mag. Choose the pad by operating the
direction key.
Touch the <Pad Regist/Nedl Insp. Utility> button;
additional buttons will appear in the bottom of the
screen for the utility operation as shown left in the
third.
In order to look at probe marks on the registered
pads, touch the <Pad Confirm> button. The screen
will change and with <All Pad Automatic Display>
button pushed there Chuck can move under the
alignment camera to automatically produce pad
images one by one in the pad registration order.


