F-2
Appendix F
If necessary, press the <Tab> key to move from
field to field until the appropriate field is
highlighted.
Selecting the RAID Mode
By default, RAID Mode is set to
Mirroring
. To
change to a different RAID mode, press the
down arrow key (<
↓
>) until the mode that you
want appears in the RAID Mode box – either
Mirroring, Striping, Spanning, or
Striping/Mirroring.
Selecting the Striping Block Size
Striping block size affects how data is arranged
on the disk. It is recommended to leave this
value at the default
Optimal
, which is 32KB,
but the values can be between 4KB and 128KB.
Assinging the Disks
The disks that you enabled from the
IDE
Function Setup
BIOS menu appear in the
Free
Disks
block. These are the drives that are
available for use as RAID array disks.
To designate a free disk to be used as a RAID
array disk:
1.
2.
3.
Tab to the
Free Disks
section. The first
disk in the list is selected.
Move it from the
Free Disks
block to the
Array Disks
by pressing the right arrow key
(<
→
>).
The first disk in the list is moved, and the next
disk in the list is selected and ready to be
moved.
Continue pressing the right arrow key
(<
→
>) until all the disks that you want to use as
RAID array disks appear in the Array Disks
block.
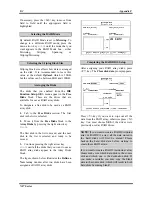
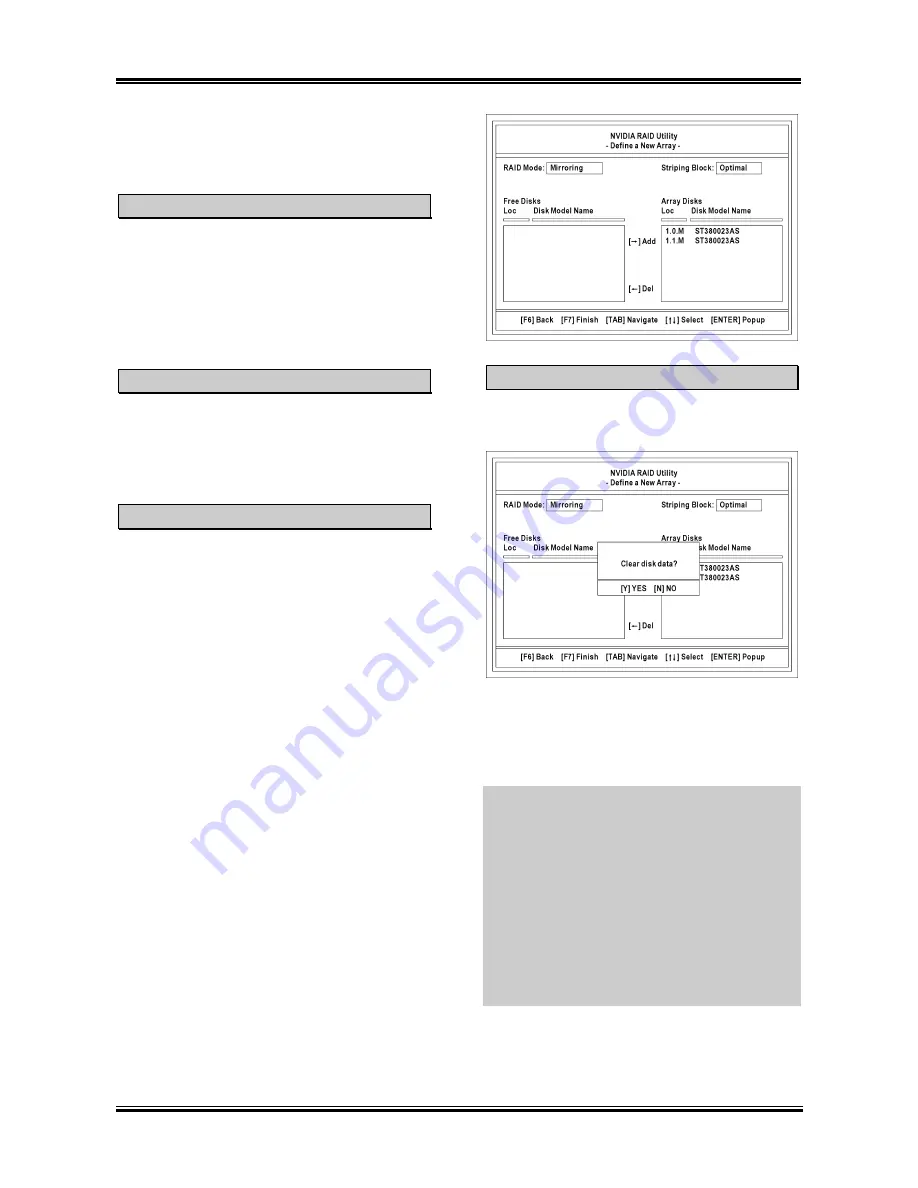
The figure shown below illustrates the
Define a
New Array
window after two disks have been
assigned as RAID1 array disks.
Completing the RAID BIOS Setup
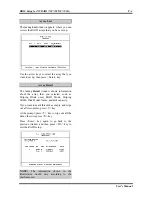
After assigning your RAID array disks, press
<F7> key. The
Clear disk data
prompt appears.
Press <Y
>
key if you want to wipe out all the
data from the RAID array, otherwise press <N
>
key. You must choose
YES
if the drives were
previously used as RAID drives.
NOTE:
If you want to create a RAID 0 (striping)
array or RAID 0+1 array, all the data stored in
the hard disks will first be erased! Please
backup the hard disk data before starting to
create these RAID arrays.
If you want to create a RAID 1 (mirroring) array,
please make sure which hard disk is the source
disk and which one is the destination disk. If
you make a mistake, you may copy the blank
data to the source disk, which will result in both
hard disks becoming blank!
NF7 Series
Summary of Contents for NF7
Page 8: ...1 4 Chapter 1 1 2 Layout Diagram NF7 NF7 S NF7 Series ...
Page 9: ...Introduction 1 5 1 3 Layout Diagram NF7 M User s Manual ...
Page 10: ...1 6 Chapter 1 1 4 Layout Diagram NF7 S2 NF7 S2G Ver 0 22 NF7 Series ...
Page 29: ...Hardware Setup 2 19 NF7 S2 NF7 S2G User s Manual ...
Page 68: ...3 34 Chapter 3 3 34 Chapter 3 NF7 Series NF7 Series ...
Page 72: ...Appendix B B 2 NF7 Series ...
Page 74: ...Appendix C C 2 NF7 Series ...
Page 76: ...D 2 Appendix D NF7 Series ...
Page 84: ...F 4 Appendix F NF7 Series ...

