


13
14
5. Press Accept to start the Sensor .
The Receiver automatically displays the Home
screen . An
icon is displayed at the top
while the system waits for the first calibration
time (approximately 1 hour) . The system
displays “---“ before continuous glucose
monitoring is available .
When the system is ready to be calibrated, a
icon is displayed . To
calibrate, perform a blood glucose check .
Checking your Blood Glucose
You can use the built-in FreeStyle Lite Blood Glucose Meter at any time
to check your blood glucose, whether wearing a Sensor or not . You
can perform the blood glucose check on your fingertip or approved
alternative site on the body . When calibrating, perform a blood glucose
check only on your fingers .
Note:
Use ONLY the FreeStyle Lite Test Strips with the FreeStyle
Navigator II System. Using other strips can produce inaccurate results.
For important test strip information, including storage and usage
details, refer to the FreeStyle Lite Test Strip package insert.
WARNING: The FreeStyle Lite Test Strips and lancets are small parts
that may be dangerous if swallowed .
320
180
40
15 Apr 2012
Graph
13:30
Menu
mmol/L
18
10
2
CAUTION: Do NOT check your blood glucose while charging your
Receiver .
Prepare the FreeStyle Lite Test Strip
1. Locate the expiry date on the vial
of FreeStyle Lite Test Strips . If the
test strips have expired, discard
them and obtain a new vial of
test strips .
2. Remove a single test strip from
the vial and close the vial tightly .
Insert the FreeStyle Lite Test Strip
into the Receiver’s test strip port
Note:
To use the test strip port light, press
and hold the Left Softkey button
for
2 seconds when the display is on.
1. Make sure that the Receiver Display
is on the Home screen or the display is turned off .
2. Turn the test strip so the faces up .
3. Grasp the test strip by the end with the sample areas .
Expiry Date
FreeStyle Lite
Test Strip
Sample Area
CAUTION: If you accept an incorrect Transmitter serial number, your
glucose readings will be incorrect or not available .
After you accept the new Transmitter serial number, you will only
see this screen again when you connect to a new Transmitter .
3. When the Receiver has accepted a Transmitter
serial number, the Sensor Code screen is
displayed .
4. Using the Scroll Wheel, enter the 3 digit
Sensor Code from the Sensor Inserter
packaging .
CAUTION: The code numbers MUST match to ensure accurate
glucose results .
Note:
Once the Sensor Code has been entered and you have pressed
Accept
,
you cannot change the Sensor Code number. Be careful: If you enter the
code incorrectly, you have to replace the Sensor. If you enter the wrong
Sensor Code, you may get incorrect continuous glucose results.
SENSOR CODE
Enter Sensor code to
start Sensor.
Sensor Code = 105
Cancel
Accept
Continuous Glucose Monitoring System
Continu glucose-controlesysteem
Système de mesure en continu du glucose
System zur kontinuierlichen Glukosemessung
Sistema di monitoraggio continuo del glucosio
System til kontinuerlig glukoseovervågning
Jatkuva glukoosin seurantajärjestelmä
System for kontinuerlig glukosemåling
System för kontinuerlig glukosövervakning
Sistema de Monitorização Contínua de Glicose
Sistema para la monitorización continua de la glucosa
Customer Care: | Klantenservice: | Service clientèle : |
Kundenservice: | Assistenza clienti: | Kundeservice: |
Asiakaspalvelu: | Kundeservice: | Kundtjänst: |
Apoio ao Cliente: | Atención al Cliente:
+ 8000 - 2255 - 232 (+ 8000 - CALL - ADC)
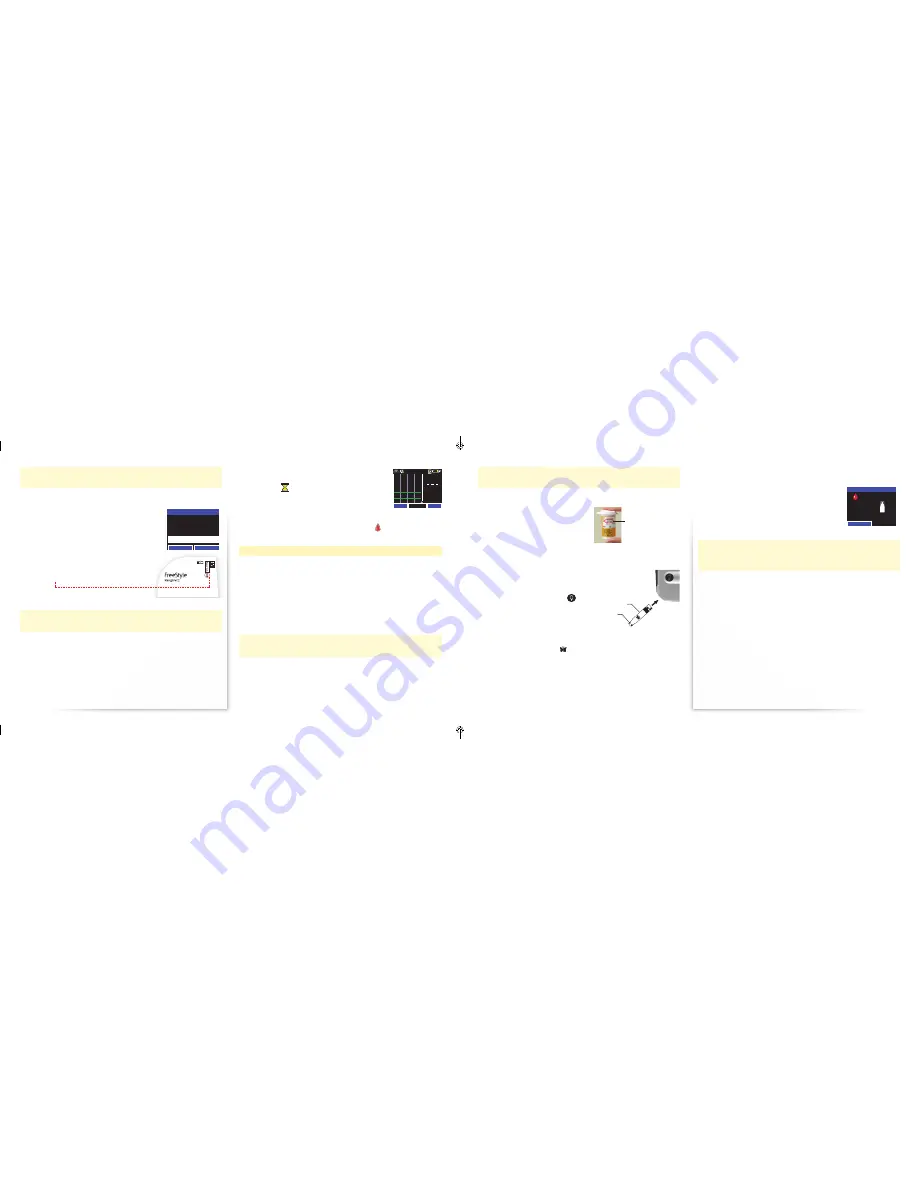
4. Insert the other end of the test strip into the Receiver’s test strip port
until it stops . The Receiver displays “Apply Blood Sample” along with
a blood drop and test strip .
Note:
If you do not apply your blood within 2
minutes of inserting a test strip, the display turns
off. To resume testing, remove and reinsert the
unused test strip.
Prepare your test site
CAUTION: Perform blood glucose checks ONLY on your fingers if you
have hypoglycaemia or hypoglycaemia unawareness or when you are
calibrating your system .
Note:
Vary the sites from test to test to avoid tenderness and to avoid
creating calluses. Avoid moles, veins, bones and tendons.
1. Wash your hands and the test site with soap and water and dry
thoroughly . Make sure there is no lotion on the test site .
2. If testing a site other than the finger, rub the test site vigorously until
you feel it getting warm (3 to 5 seconds) .
Lance your test site to get a blood sample
1. Wait until you see “Apply Blood Sample” appear on the Receiver’s
display before lancing your finger . Set the Receiver aside and
proceed to the next step .
Light On
APPLY BLOOD SAMPLE
ART22683-101_rev-B.indd 13-14
1/7/15 11:43 AM


