AAON SS1068 Quick Start Manual Download Page 8

Zone

Zone

INITIALIZATION 

 Operator Interface SD

8

Setting the Operating Mode

Setting the Operating Mode

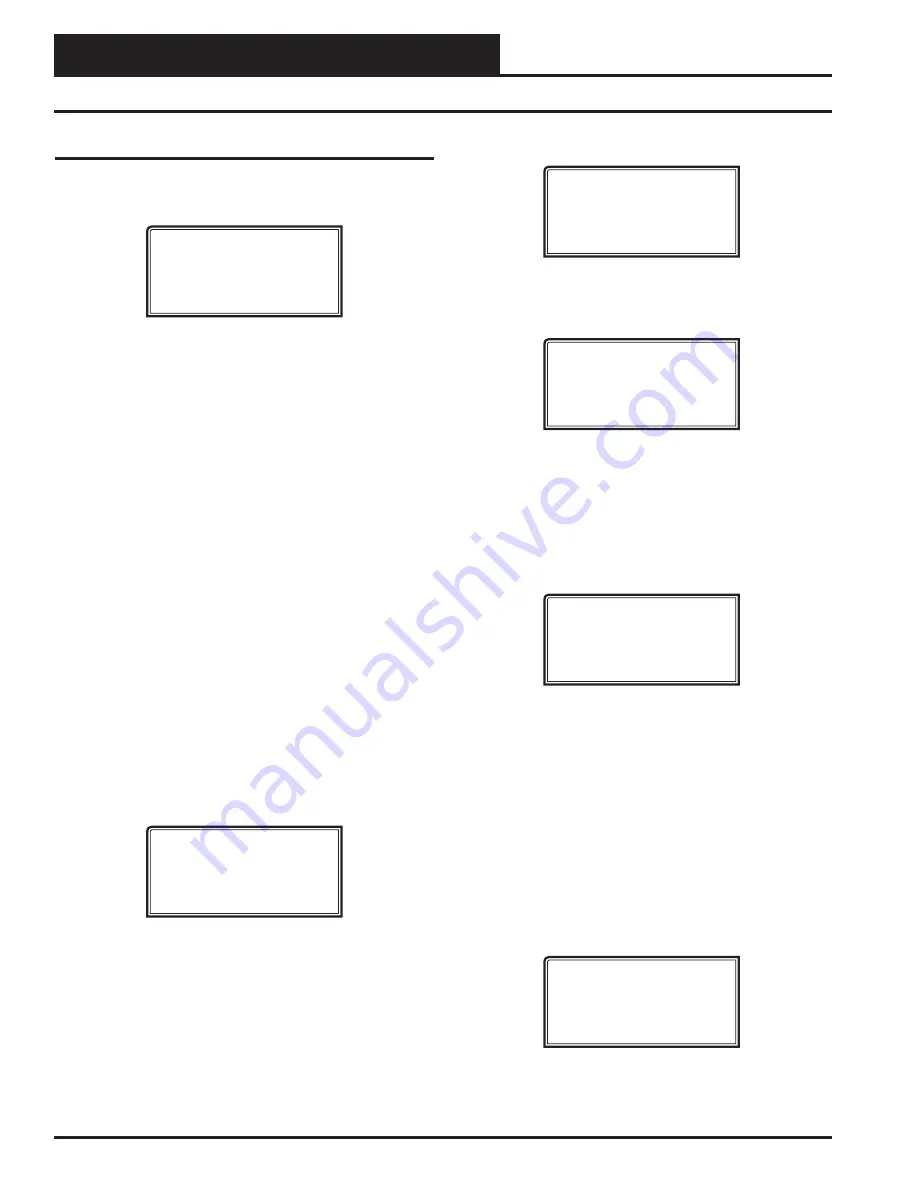
The Operating Mode is displayed on the last line of the 

Main Screen 

as shown below. The factory default setting for the System Manager 

is 

LS (Low Speed) Stand Alone Mode

System Manager SD
01/16/17 02:21 PM

LS  Stand Alone

The System Manager must be confi gured for the correct mode of 
operation for your system. There are 5 modes of operation available 
for the Orion System—

LS (Low Speed) Stand-Alone, HS (High 

Speed) Stand-Alone, LS (Low Speed) Network, HS (High Speed) 
Network

,


and 

LS  (Low  Speed)  &  HS  (High  Speed)  Multiple 

MGRS

If you are using this System Manager on a communications loop 
that doesn’t have a MiniLink PD or CommLink connected to it and 
you  have a single System Manager on your system, then you need 
to operate in 

LS (Low Speed) Stand-Alone Mode

.  If you are using 

a VCC-X, VCB-X, or GPC-XP Controller that is set for high speed, 

and you don’t have a MiniLink PD or CommLink connected to the 

loop, then you will need to change the setting to 

HS (High Speed) 

Stand Alone Mode

.

If you are using the System Manager on a communications loop 

and have an installed MiniLink PD or CommLink, you will need to 

change the setting to

 LS (Low Speed) Network Mode

. If you are 

using a VCC-X, VCB-X, or GPC-XP Controller that is set for high 

speed, and are using a MiniLink PD or CommLink, then you will 

need to change the setting to 

HS (High Speed) Network Mode

.

If you are using this System Manager on a communications loop, 
have a MiniLink PD or CommLink installed, and have multiple Sys-
tem Managers, then you need to operate in 

Multiple MGRS Mode

If your display indicates a diff erent mode than the one you need, 

press 

<2>

 at the 

Setup Screen 

shown below. You will have to cycle 

power to get to this screen or by 

pressing 

<ESC> 

and 

<PREV>

.

  1) Set Time & Date

 2) Communications 


NEXT) More Options

ESC) Exit Menu

T

he   

Passcode Clearance Screen

 will appear as shown below.


THIS ACTION REQUIRES

A SPECIAL HIGH LEVEL 


PASSCODE CLEARANCE

Enter: XXXXXXX

Enter

 the seven digit passcode 

<2337377>

 to access the next screen.

You will then see the screen below displayed. 

   Stand Alone Mode
 Lo Speed Connection
 Use Left/Right Arrow
 To Change Selections

Press


<

>


or


<

>


if  you  need  to  change  the   mode  of  op-

eration  to 

LS  (Low  Speed)  Stand-Alone,  HS  (High  Speed) 

Stand-Alone,  LS  (Low  Speed)  Network,  HS  (High  Speed) 
Network

,

   LS  (Low  Speed)  Multiple  Manager  or  HS  (High 

Speed)  Multiple  Manager

  and  then  press 

<ENTER> 

to  save 

your selection. If you are not using Multiple Manager Mode, 

press


<ESC>

 at the screen below and continue scrolling right and left.

Multiple Manager

Unit Address: 0

Press ESC to Exit

For 

Multiple MGRS Mode

, enter the address at which you want 

this particular System Manager to be set. 

When  multiple System Managers are used on a local loop, each 
must be set with a unique address diff erent from any other device 
on that loop. You must perform this same operation again for each 
System Manager installed. If you want one of these System Manag-
ers to be able to indicate alarms and overrides for the entire system, 
you must 

select 

either 

LS

 or

 HS 

Network Mode

 on that particular 

System Manager. 

Once you have the correct number per the display above displayed, 

press


<ENTER>

. The following screen will appear telling you that 

you have changed the system mode:

You Have Changed The

System Manager Mode

Press Any Key To 

Continue

Press

 any key on the keyboard to exit this screen.


Summary of Contents for SS1068

Page 1: ...oller Code SS1051 Version 2 0 and up VCM X Controller Code SS1026 VCM X E BUS Controller Codes SS1030 SS1032 SS1033 SS1034 RNE Controller Code SS1045 SA E BUS Controller Code Y200921 VCM Controller Co...

Page 2: ...com This document is subject to change without notice Form AA QSSMSD TGD 01F Copyright October 2018 AAON Inc AAON Part Number V38780 AAON is a registered trademark of AAON Inc Tulsa OK AAON assumes no...

Page 3: ...n Buttons 6 INITIALIZATION 7 Initialization Setting the Time Date 7 Setting the Operating Mode 8 Changing Passcodes 9 Loop Search 10 System Alarm Search 10 Alarm Override Search 11 Schedules Holidays...

Page 4: ...uthorized users is provided by the System Manager s integral multi level passcode authorization programming For a Stand Alone system a power comm cable with modu lar connectors on one end and stripped...

Page 5: ...plice the communications wire if at all possible The transformer should be rated at 6 VA minimum power output Alternatively 2 conductor twisted pair with shield cable can be used to wire from the RS 4...

Page 6: ...ear the data entry eld and start over Minus If a setpoint with a negative value is required press this key for the minus sign DEC Press this key when entering data that requires a decimal point Use th...

Page 7: ...avings you will need to manually adjust the time twice a year Initialization Setting the Time Date Programming the Time From the Setup Screen shown below press 1 on your keypad to access the Set Time...

Page 8: ...n Multiple MGRS Mode If your display indicates a di erent mode than the one you need press 2 at the Setup Screen shown below You will have to cycle power to get to this screen or by pressing ESC and P...

Page 9: ...222 If you wish to change either Level 1 or Level 2 passcodes please see the instructions that follow From the Main Status Screen press ESC and then press PREV The following screen will appear 1 Set T...

Page 10: ...h Finished Loops Found XX Press ESC to Exit The screen will display the number of loops found on your system The information will be saved into the System Manager s memory No further loop searches wil...

Page 11: ...o To clear any alarms that are found you must x the problem indicated in the alarm Once the problem is xed the alarm will clear from the screen the next time the unit is polled System Manager Override...

Page 12: ...ilable per day so the screen will show which event is being programmed If you need only one event keep Event 2 s times set at ZERO All times are in 24 hour military format so 5 00 PM would be entered...

Page 13: ...ter the time in 24 hour military format the same as a regular week schedule Normally the holidays will operate in an unoccupied mode or a reduced schedule mode There are two start stop events availabl...

Page 14: ...wn below Save Setpoints Press Enter To Save Press ENTER and a setpoint le will be saved to the SD card You will receive a message that the save was successful This le is speci c to this controller on...

Page 15: ...d and need to be reset You can perform this function on a networked system however the Modular Service Tool needs to be directly connected to the controller you wish to restore previously saved setpoi...

Page 16: ...le Modular_HH_Screens zip and double click your mouse on it 4 Click Save File when asked to save or open the le and then click OK This option will save the le to the Downloads folder on your PC 5 Ope...

Page 17: ...ing screen will be displayed Change Setpoints Configure Unit Save Copy Restore The cursor will be on Change Setpoints Press ENTER The rst Con guration Screen will appear Press ENTER to save entered da...

Page 18: ...e s to continue voting without causing a Maverick alarm In other words all zones are included in the voting regardless of whether they are more than four degrees from setpoint MiniLink PD Configuratio...

Page 19: ...NOTES Operator Interfaces SD 19...

Page 20: ...2425 So Yukon Ave Tulsa OK 74107 2728 Ph 918 583 2266 Fax 918 583 6094 AAON Part No V38780 WM Form AA QSSMSD TGD 01F Printed in the USA Copyright October 2018 AAON Inc...

Reviews: