


APPENDIX A - SAVE, LOAD, COPY SETPOINTS
Operator Interfaces SD
14
Save Setpoints - Network Mode
From any Main screen,
press
<SETPOINTS>
. The screen below
will appear because this option requires passcode clearance. Only a
Level 2 passcode can change setpoints.
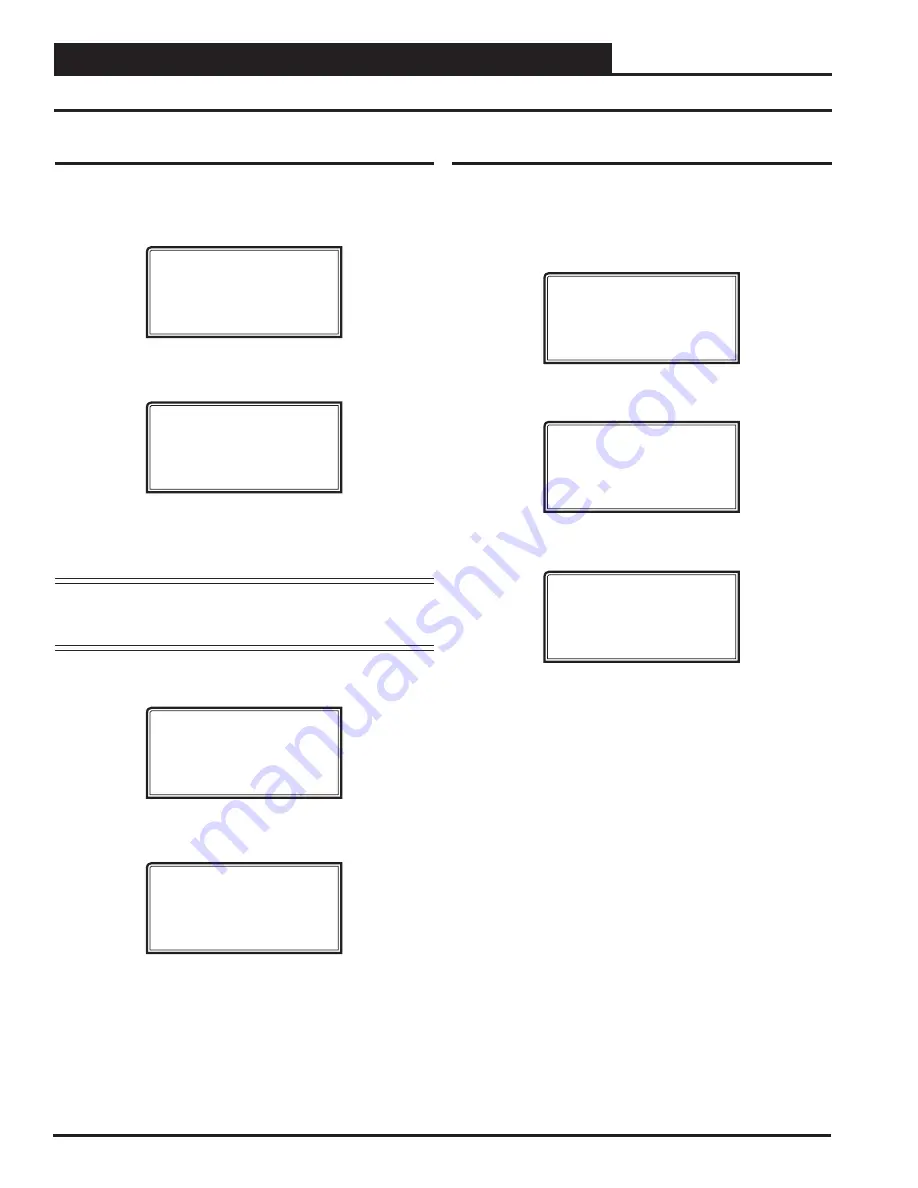
THIS ACTION REQUIRES
PASSCODE CLEARANCE
Enter Passcode: XXXX
If the correct passcode was entered, the
Unit Selection Screen
will
be displayed.
Enter Unit Address
Then Press Enter
Selected Unit#: XXXX
Enter the Unit ID of the controller you want to confi gure and
press
<ENTER>
. Once communication is established, the words “Press
Down” will appear at the bottom of the screen.
NOTE:
If “Press Down” does not appear at the bottom of the
screen, communication with the controller has not
been established.
The following screen will be displayed:
Change Setpoints
Configure Unit
Save/Copy/Restore
Scroll down to the ‘Save/Copy/Restore’ option and
press
<ENTER>
.
This will take you to the
Save Setpoints Screen
shown below
Save Setpoints
Press Enter To Save
Press
<ENTER>
and a setpoint fi le will be saved to the SD card.
You will receive a message that the save was successful. This fi le
is specifi c to this controller on this loop.
Copy Setpoints - Network Mode
To copy a saved setpoints fi le to other controllers on the network
do the following:
From the screen
s
hown below, scroll down to the ‘Save /Copy/Restore’
option and
press
<ENTER>
.
Change Setpoints
Configure Unit
Save/Copy/Restore
This will take you to the
Save Setpoints Screen
.
Save Setpoints
Press Enter To Save
Press
<
>
once to access the
Copy Setpoints Screen
shown below.
Copy Setpoints
From Loop 1
From Unit 2
Press Enter to Copy
In the ‘From Loop’ fi eld, enter the Loop of the controller you want
to copy the setpoints from. In this example it is ‘1’. Then
press
<ENTER>
.
In the ‘From Unit’ fi eld, enter the Unit ID of the controller you
want to copy the setpoints from. In this example it is ‘2’. Then
press
<ENTER>
.
Now your cursor will be on the last line, and you can
press
<ENTER>
once more to copy the setpoint fi le from unit 102 to unit 103.
You will receive a confi rmation that the copy was successful.
Saving & Copying Setpoints


