Operating and Assembly Instructions Flexilo FLAT BOTTOM for wood pellets
Assembly
Subject to technical change
Issue 09/2016
Page 21 of 32
©A.B.S. Silo- und Förderanlagen GmbH
5.4
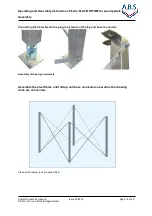
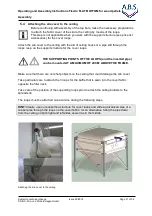
Attaching the silo cover to the ceiling
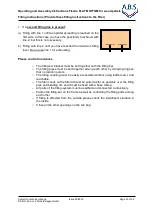
Attach the silo cover to the ceiling with the aid of ceiling hooks or a pipe slid through the
loops resp. on the support structure for the cover loops.
THE SUPPORTING POINTS OF THE LOOPS (and the inserted pipe)
can be mounted AT A MAXIMUM OF 20 CM ABOVE THE FRAME.
Make sure that there are not sharp objects on the ceiling that could damage the silo cover.
Take particular care to attach the 3 loops for the baffle that is sewn into the cover fabric
opposite the filler neck.
Take care of the position of the supporting loops prior to attach the ceiling-holders to the
spread silo.
The loops must be attached one at a time during the following steps.
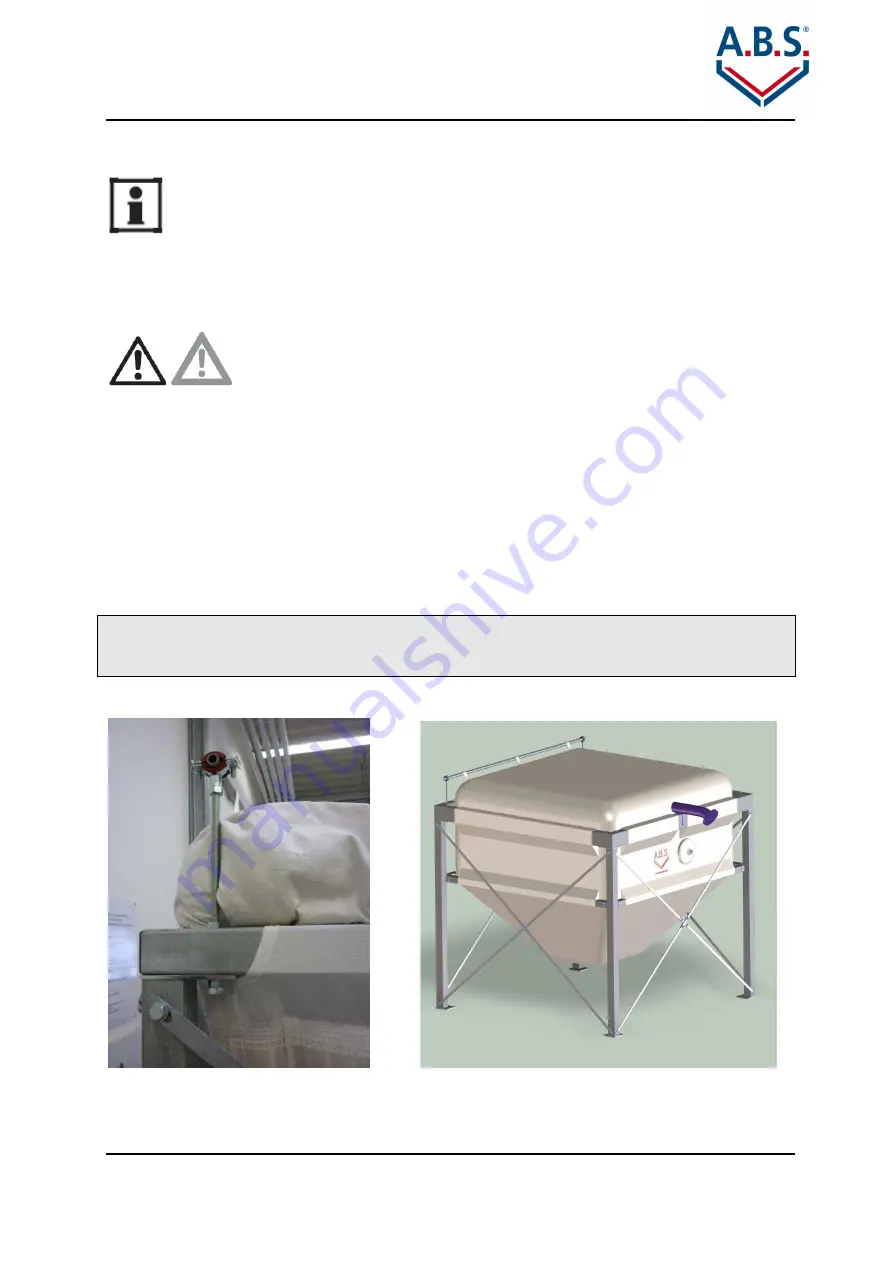
HINT: Ideally, use our supporting structure for cover loops and slide a galvanized pipe or a
copper pipe through the loops on the cover fabric. As an alternative, hang the pipe down
from the ceiling on both right and left sides as well as in the middle.
Attaching the silo cover to the ceiling
Before continuing with assembly of the top bars, make the necessary preparations
to attach the fabric cover of the silo to the ceiling by means of the loops.
This step is not applicable when you work with the support structure (see price list
accessories) for the cover loops.

